Mod: DC Fridge to Replace Norcold 3150

Norcold N2175 installed.

This is the OLD N3150. If you have this model currently, then you can upgrade to the N2175 12v DC Compressor.

Norcold N2175 installed, lower freezer drawer open (motion light added inside).
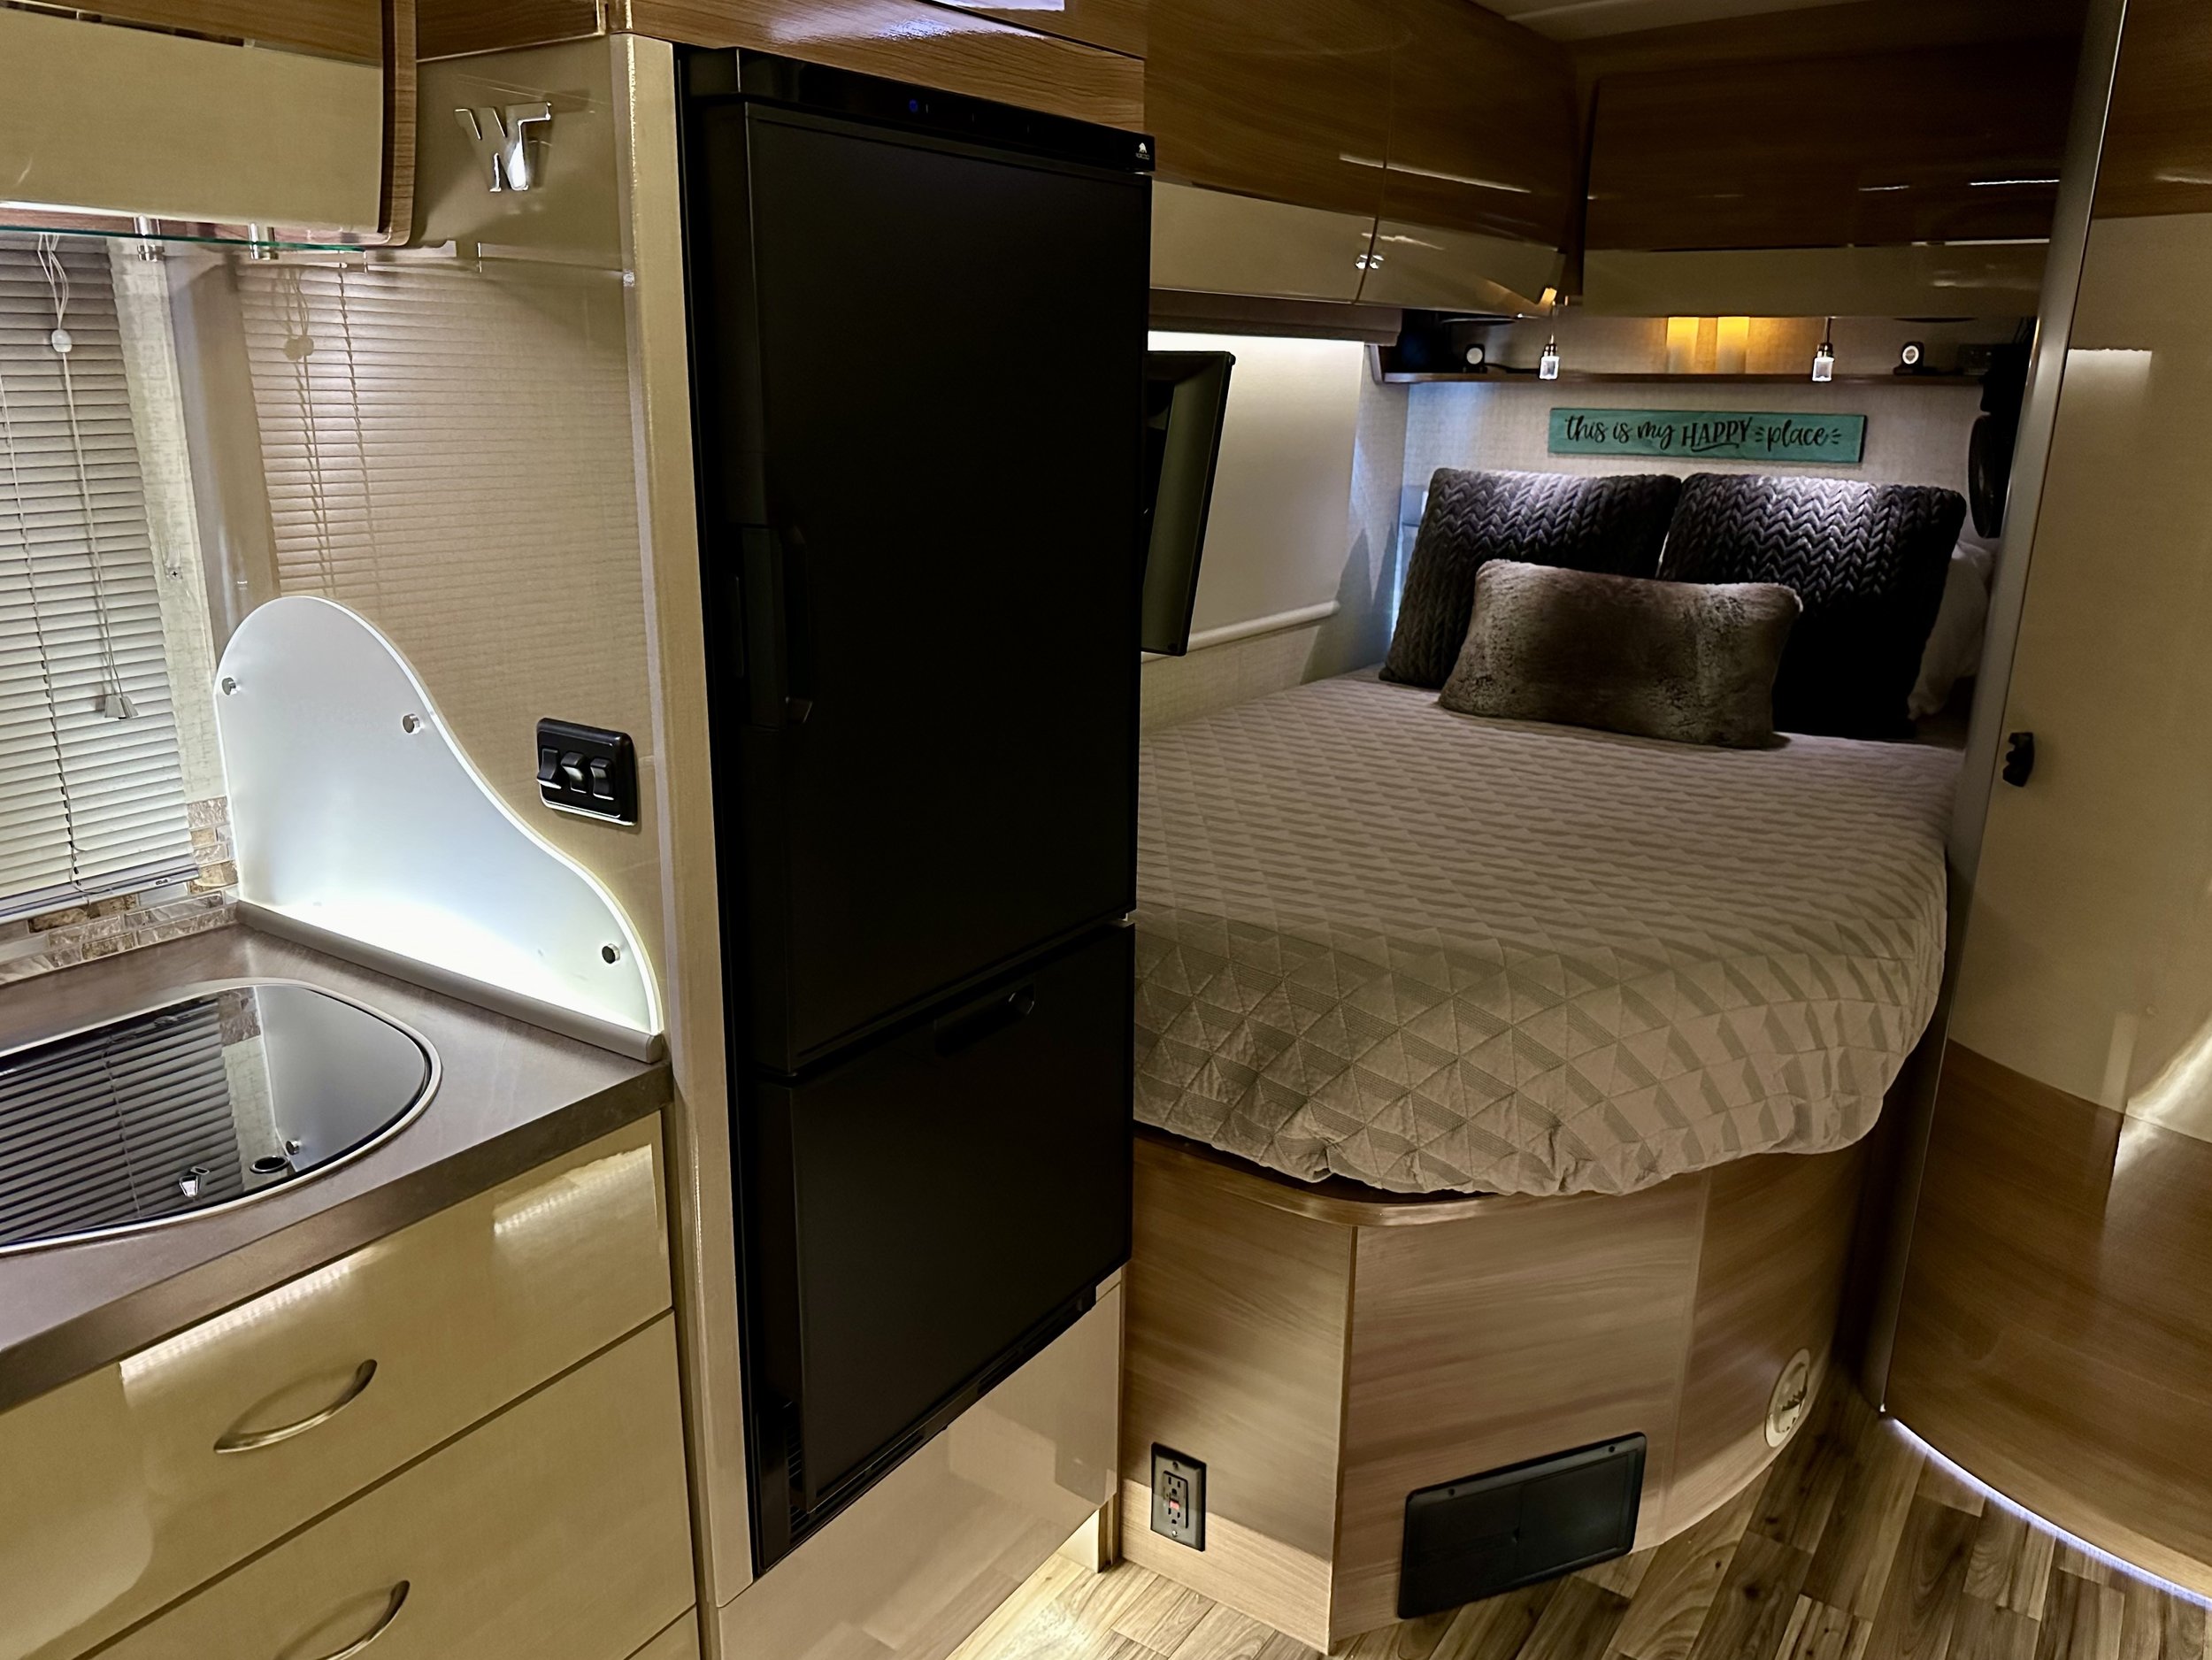
N2175 installed.

Norcold N2175 installed.

Norcold N2175 installed, lower freezer drawer open (motion light added inside).

Inside of N2175 refrigerator compartment.

Norcold N2175 installed, lower freezer drawer open (motion light added inside).

Upper vent with board and spray foam visible (not desirable). I solved this by inserting a rigid black plastic panel on the backside of the vent.

Final look — the black void is really a rigid black plastic panel just behind the vent cover.

Bottom vent as seen from the outside. I used spray foam on all seams on both sides of the new wood construction. Note the propane line is now capped with a 3/8" flared plug. I positioned the propane line to be on the outside (exterior) of the new wood construction vs. trapped on the inside behind the new refrigerator. If there was ever a propane issue in the future at this connection point, it would vent to the outside of the RV.
The 12v power connection is visible via two WAGO connectors wrapped in electrical tape.
Top vent as seen from the outside. I used spray foam on all seams on both sides of the new wood construction.

I added some insulation board from Home Depot to better insulate this exterior wall from outside temperatures.. I used spray foam sealant to fully seal and insulate all gaps to be air tight and water tight.

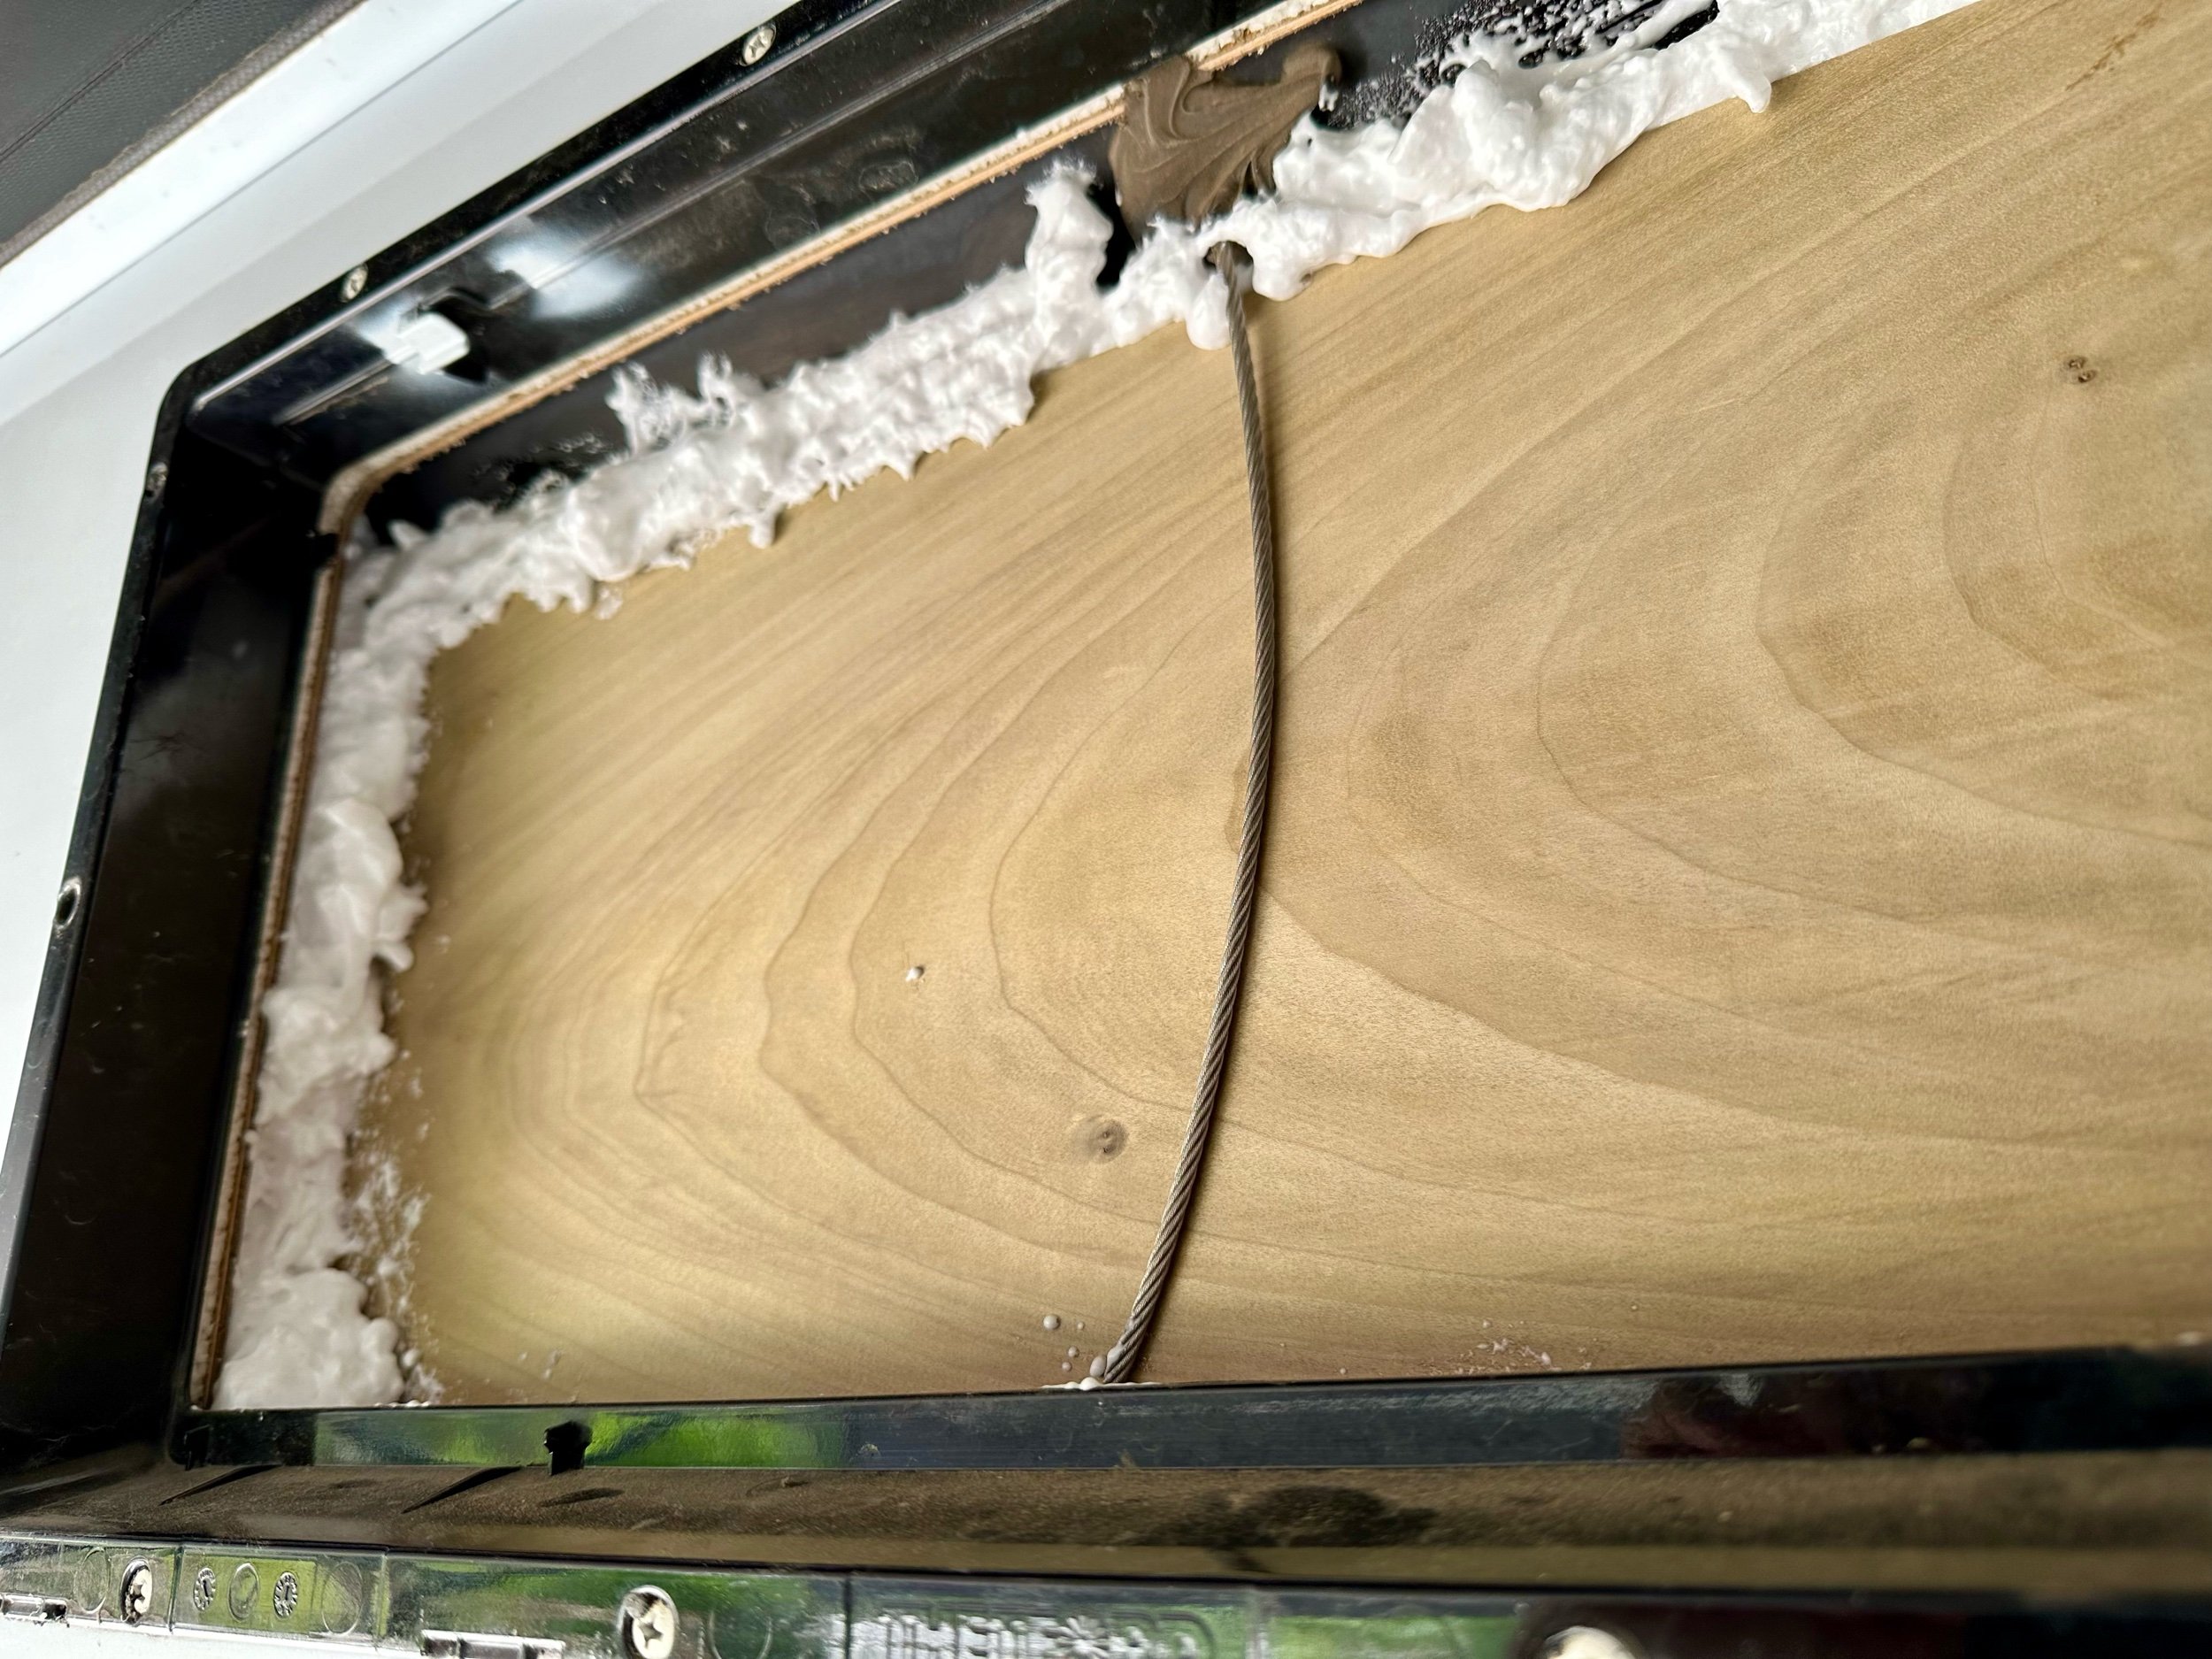
I custom cut some wood pieces to seal off the lower vent, working from the inside.

I custom cut some wood pieces to seal off the upper vent, working from the inside.

This is looking in the lower vent with the new fridge in place (prior to propane line being plugged). This was a temporary test fit and power on of the N2175.
Unlike the 3-way fridge, this new DC model is not supposed to be exposed to the elements. It needs to be sealed off from the outside. Otherwise, rain, dust, blowing sand, etc. could enter through the vent and wreak havoc with the compressor and other systems that are intended to be protected in a sealed compartment (like a newer rig built with a DC fridge that has no vents to the outside).
After this photo was taken, I removed the N2175 and began sealing off the two vents from the inside.

Side-by-side comparison. Notice how much deeper the new model is despite the height/width dimensions being the same. The old N3150 (3-way) has the cooling unit on the back which takes up a lot of space.

Side-by-side comparison. The new N2175 is on the left, and the old N3150 is on the right. Notice how much deeper the new model is despite the height/width dimensions being the same.

This is the inside of the lower vent area. I used spray foam sealant to fully seal and insulate all gaps to be air tight and water tight.

This photo is AFTER I removed the "stops" and other misc. obstructions to allow the deeper N2175 to fit. The new model sits within 2 inches of the exterior wall using up almost the entire space as pictured. Notice the large holes to the outside — these are where the two vents are and they need to be sealed off.

Side-by-side comparison. The new Norcold N2175 is on the left, and the old N3150 is on the right (technically this is the N4150 but they look identical).