Mod: Electric Waste Valve
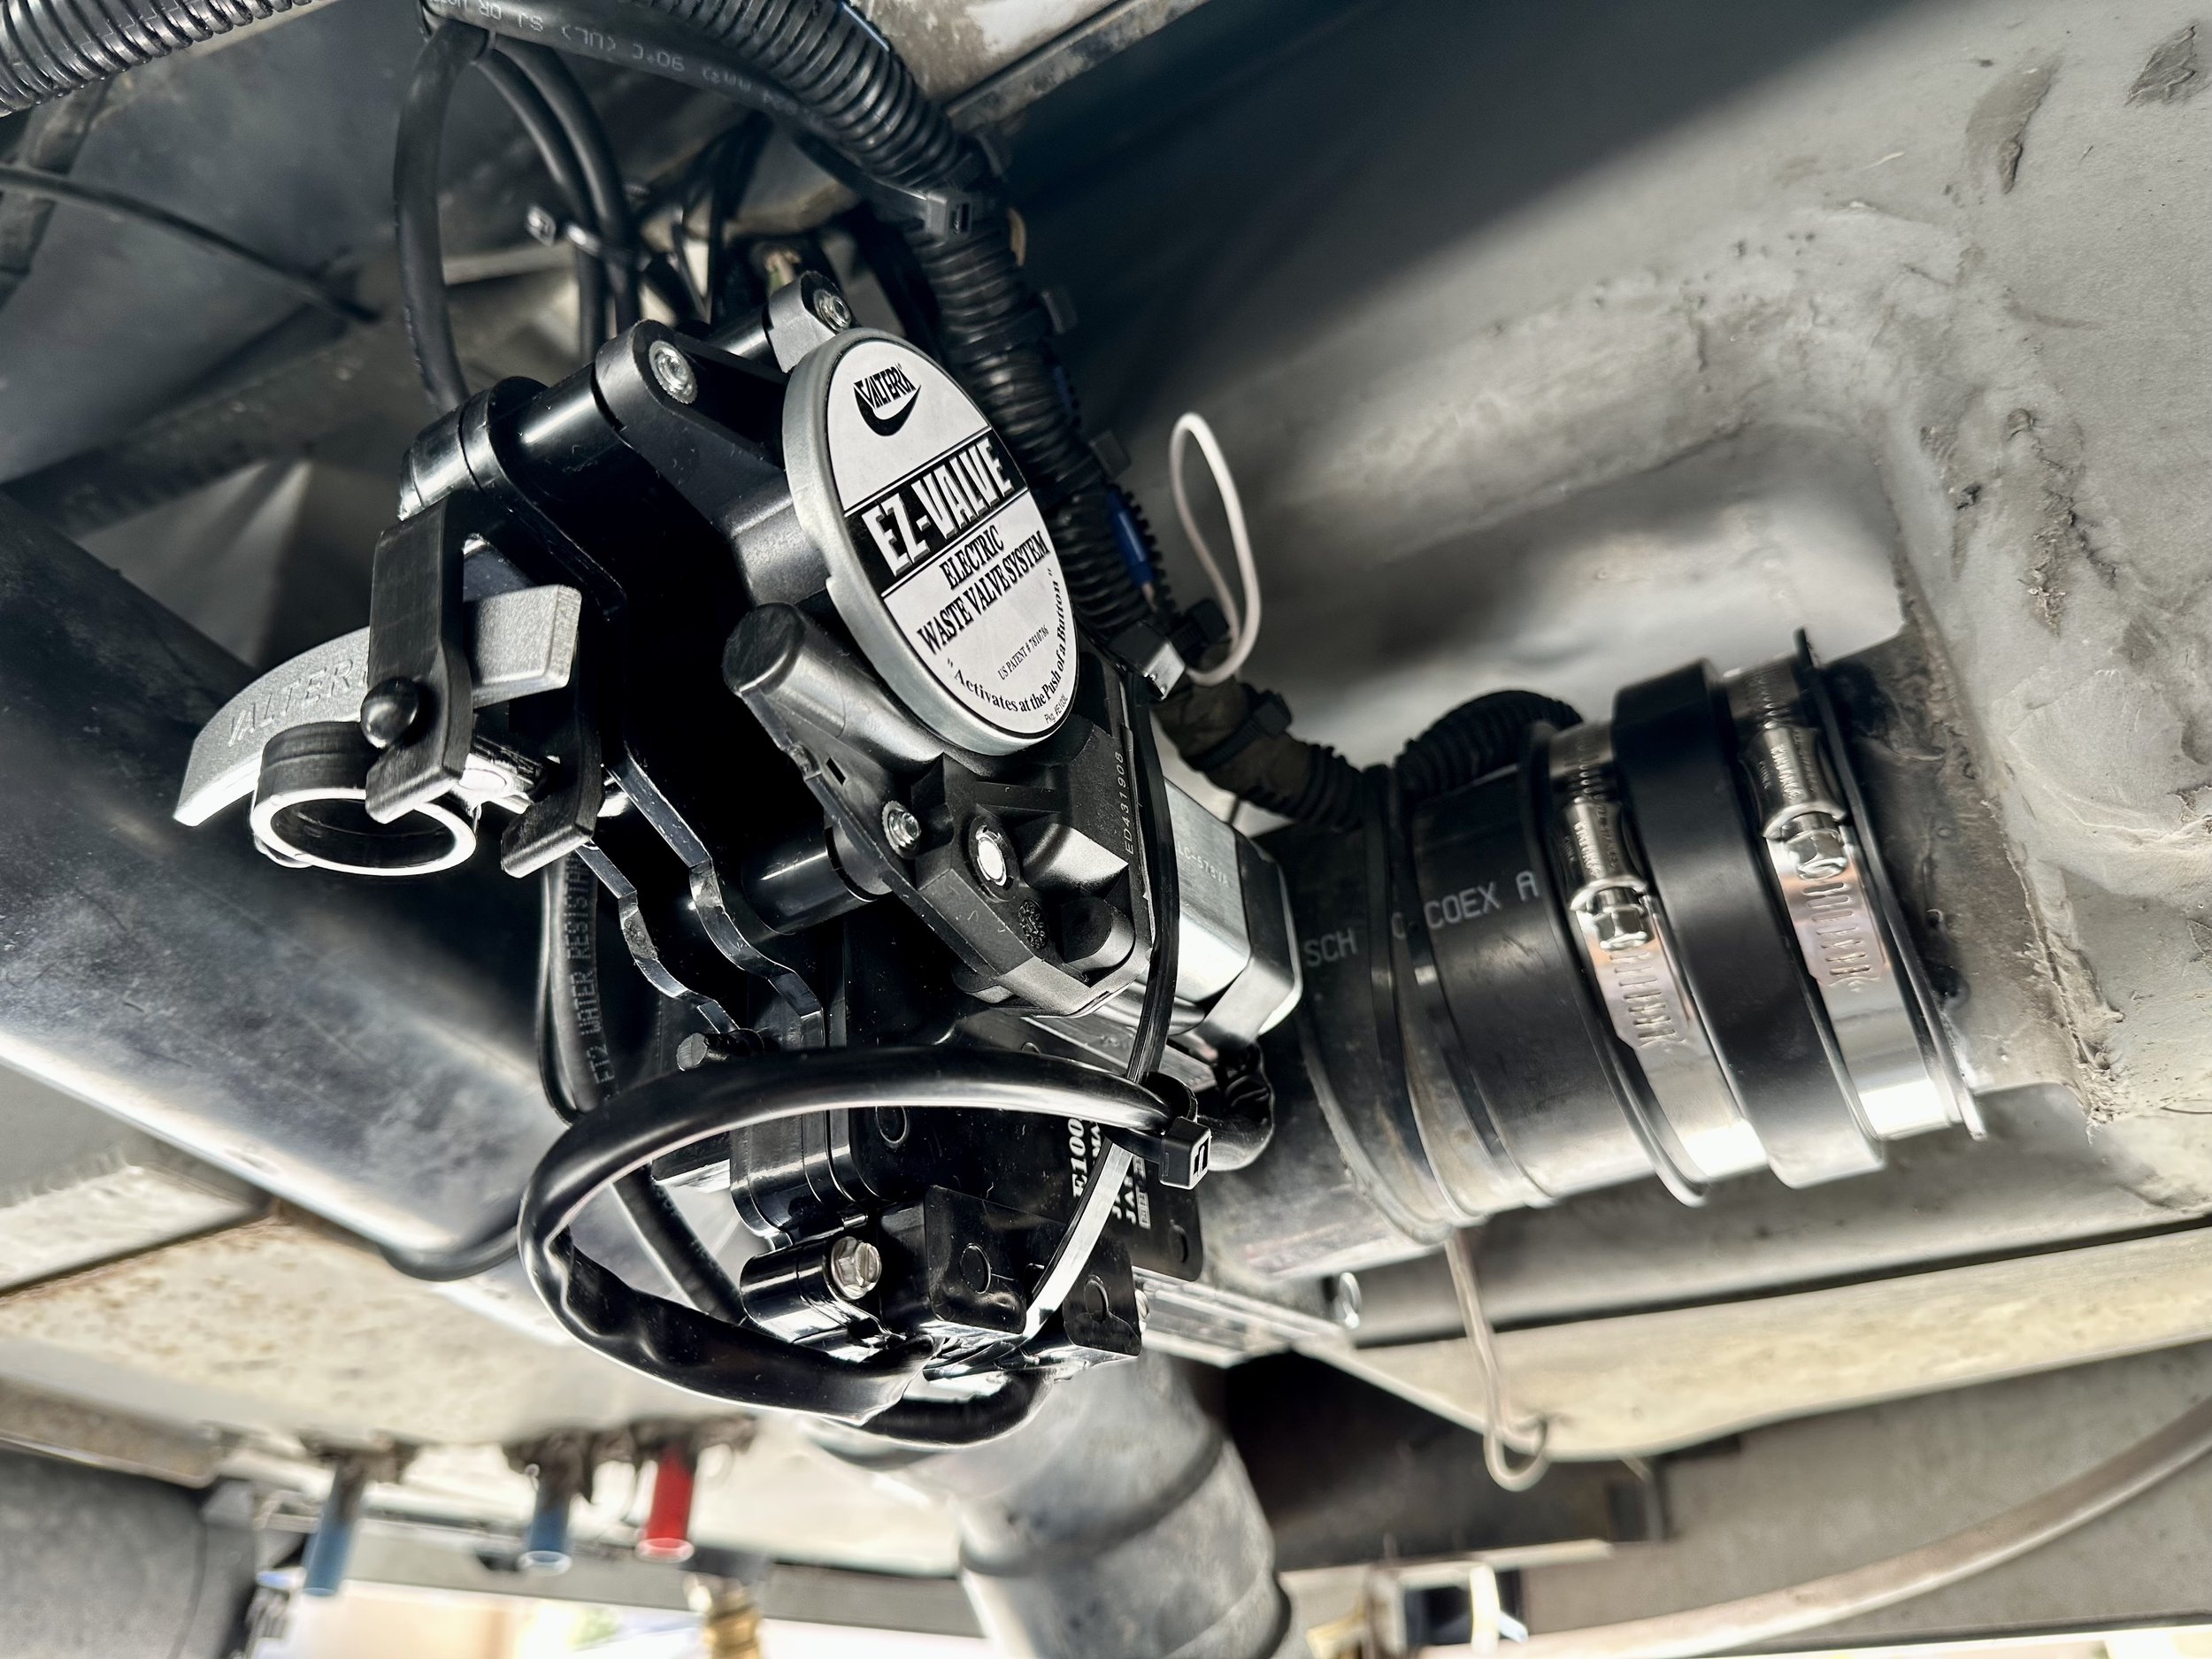
This is the new electric waste valve system installed.

This is the new electric waste valve system installed.

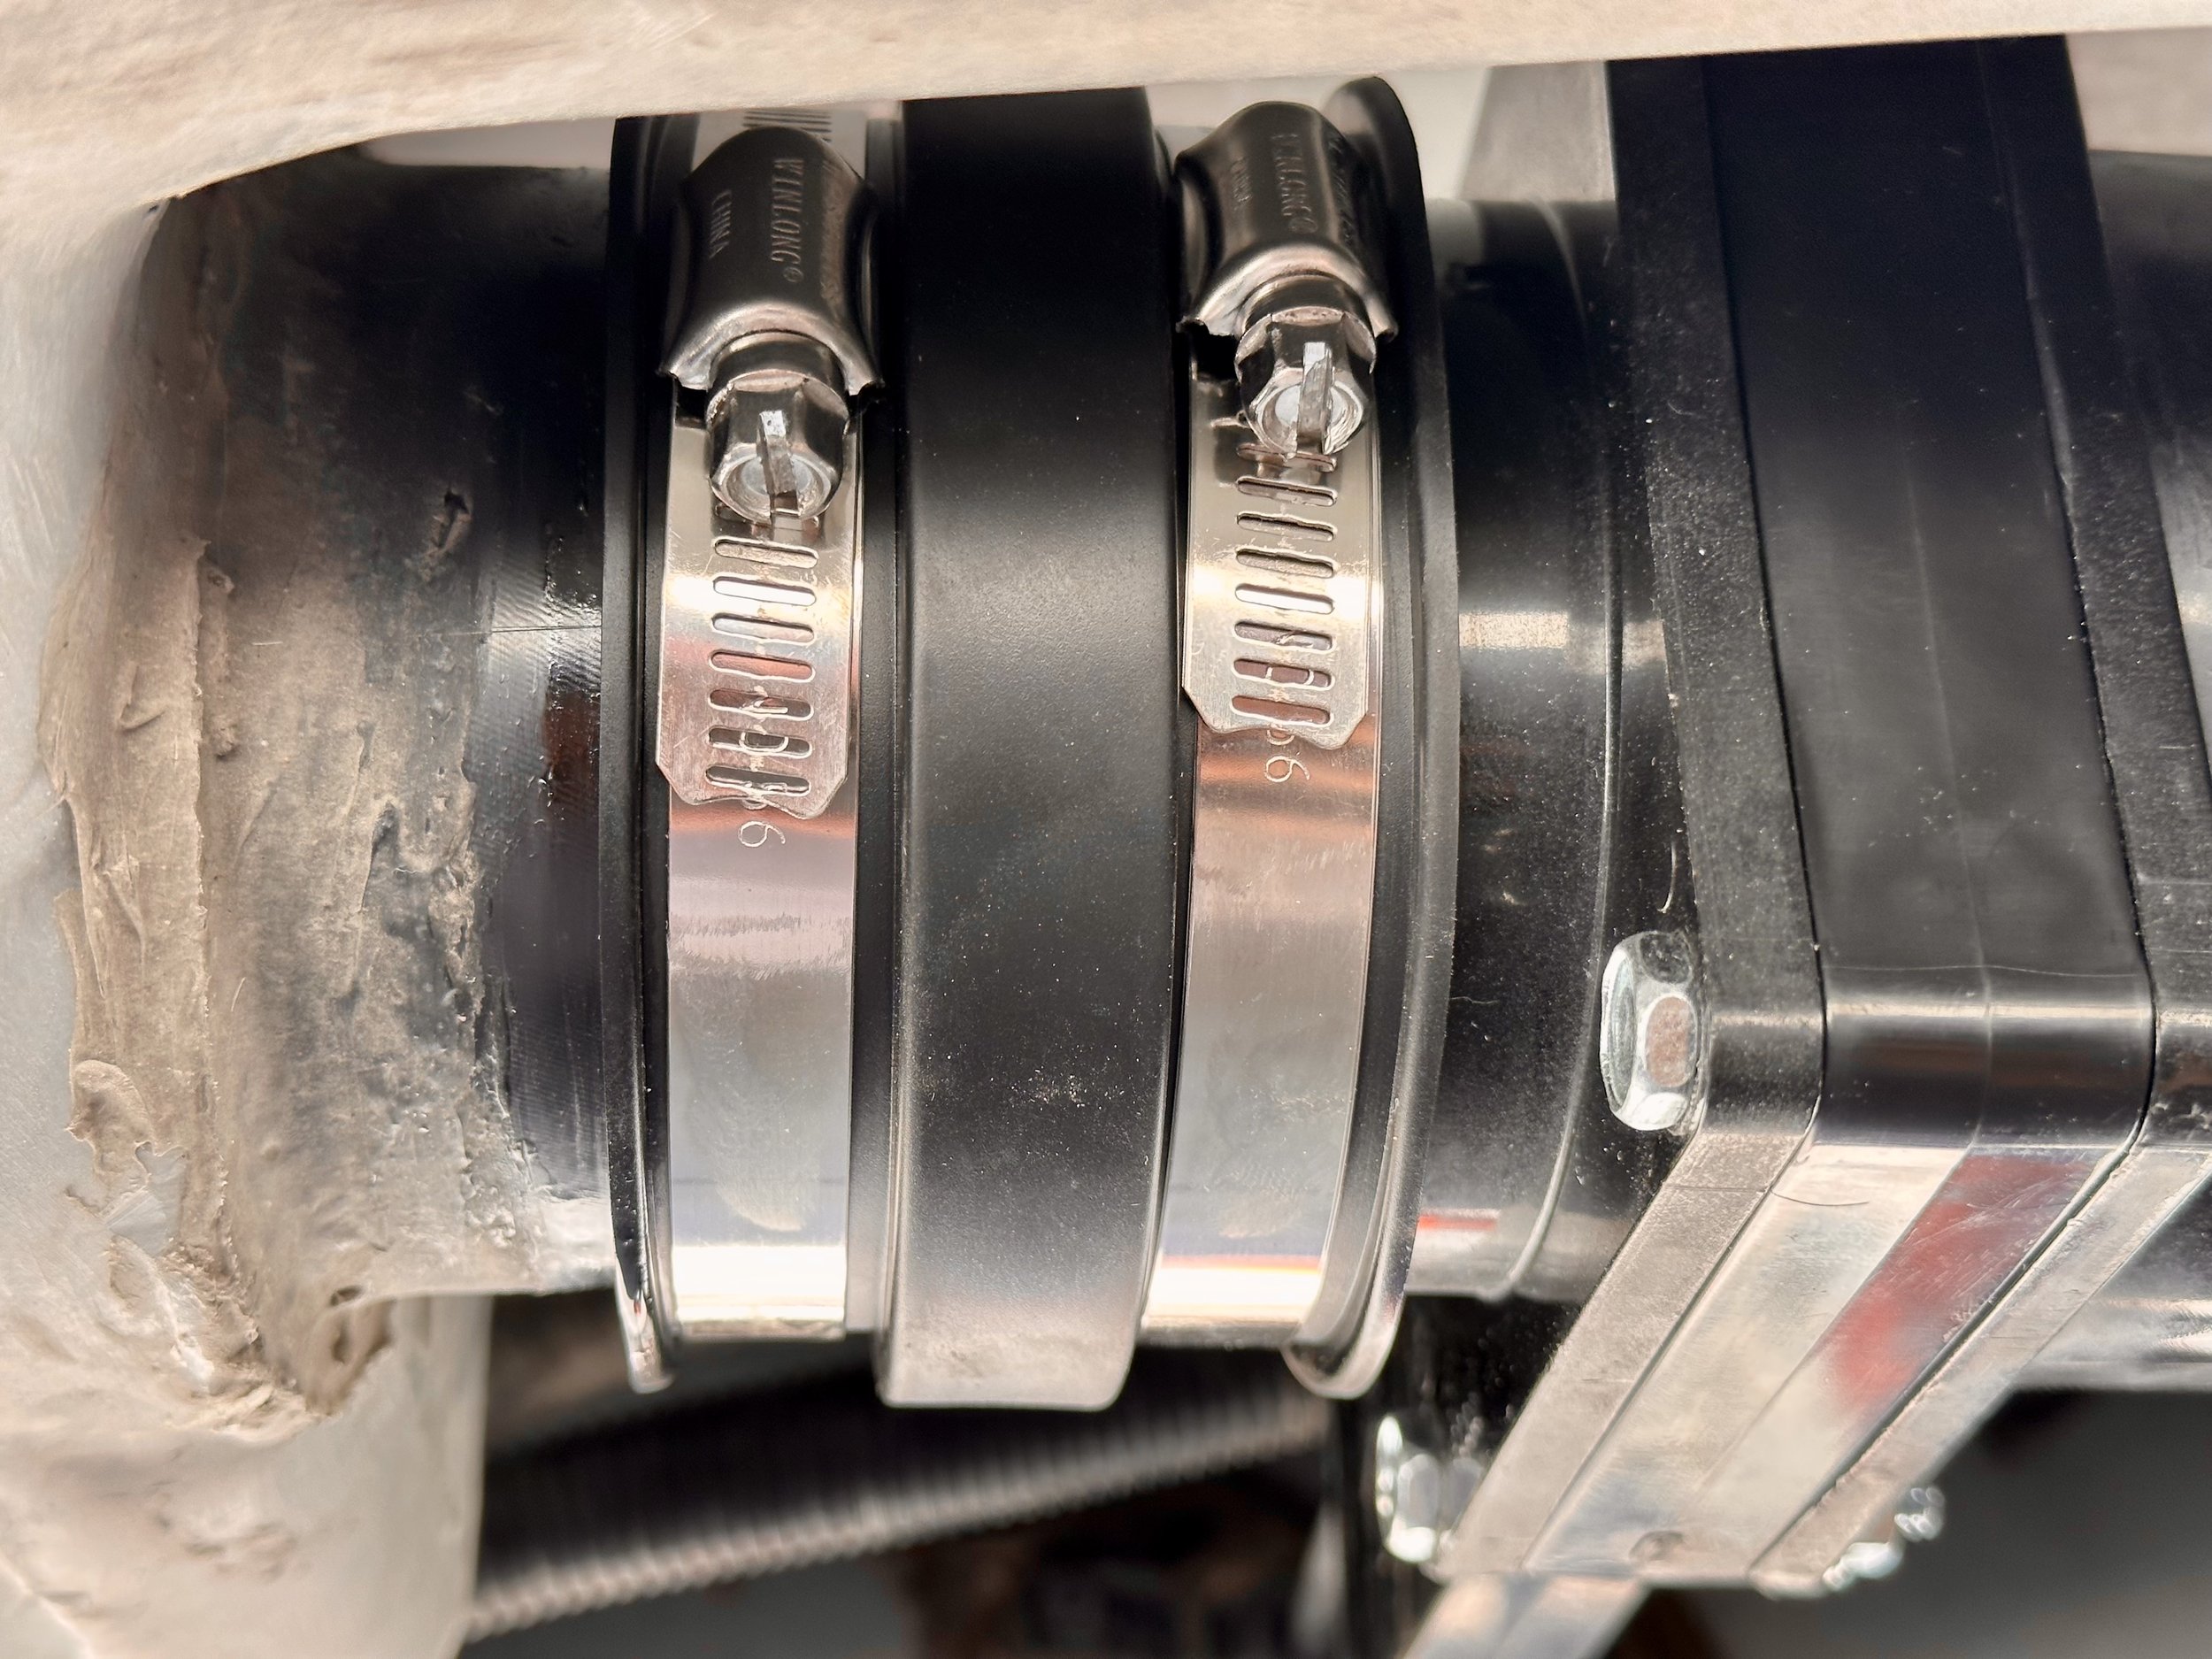
This is one of the new flexible couplers installed.

Original, five-year-old cracked flexible coupler before replacement.

Original, five-year-old cracked flexible coupler before replacement.

Original gray tank valve before replacement. In this photo, the extension rod is currently connected.

Original gray tank valve before replacement. In this photo, the extension rod is disconnected. It’s important to do this, even if you only change out the black tank valve. Disconnecting this extension rod, in addition to loosening the flexible coupler to the gray tank, gives you the needed play in the plumbing to install the electric valve on the black tank.

This is the original black tank cable-driven valve prior to replacement shown in the open valve position. Notice the small silver cylinder at the end of the silver rod — this is what you can pull 1/4” to 1/2” further with your fingers to close the valve completely if you’re having an issue with the black tank valve “leaking”.

Mod in progress — it’s actually easier and more straightforward than it looks.

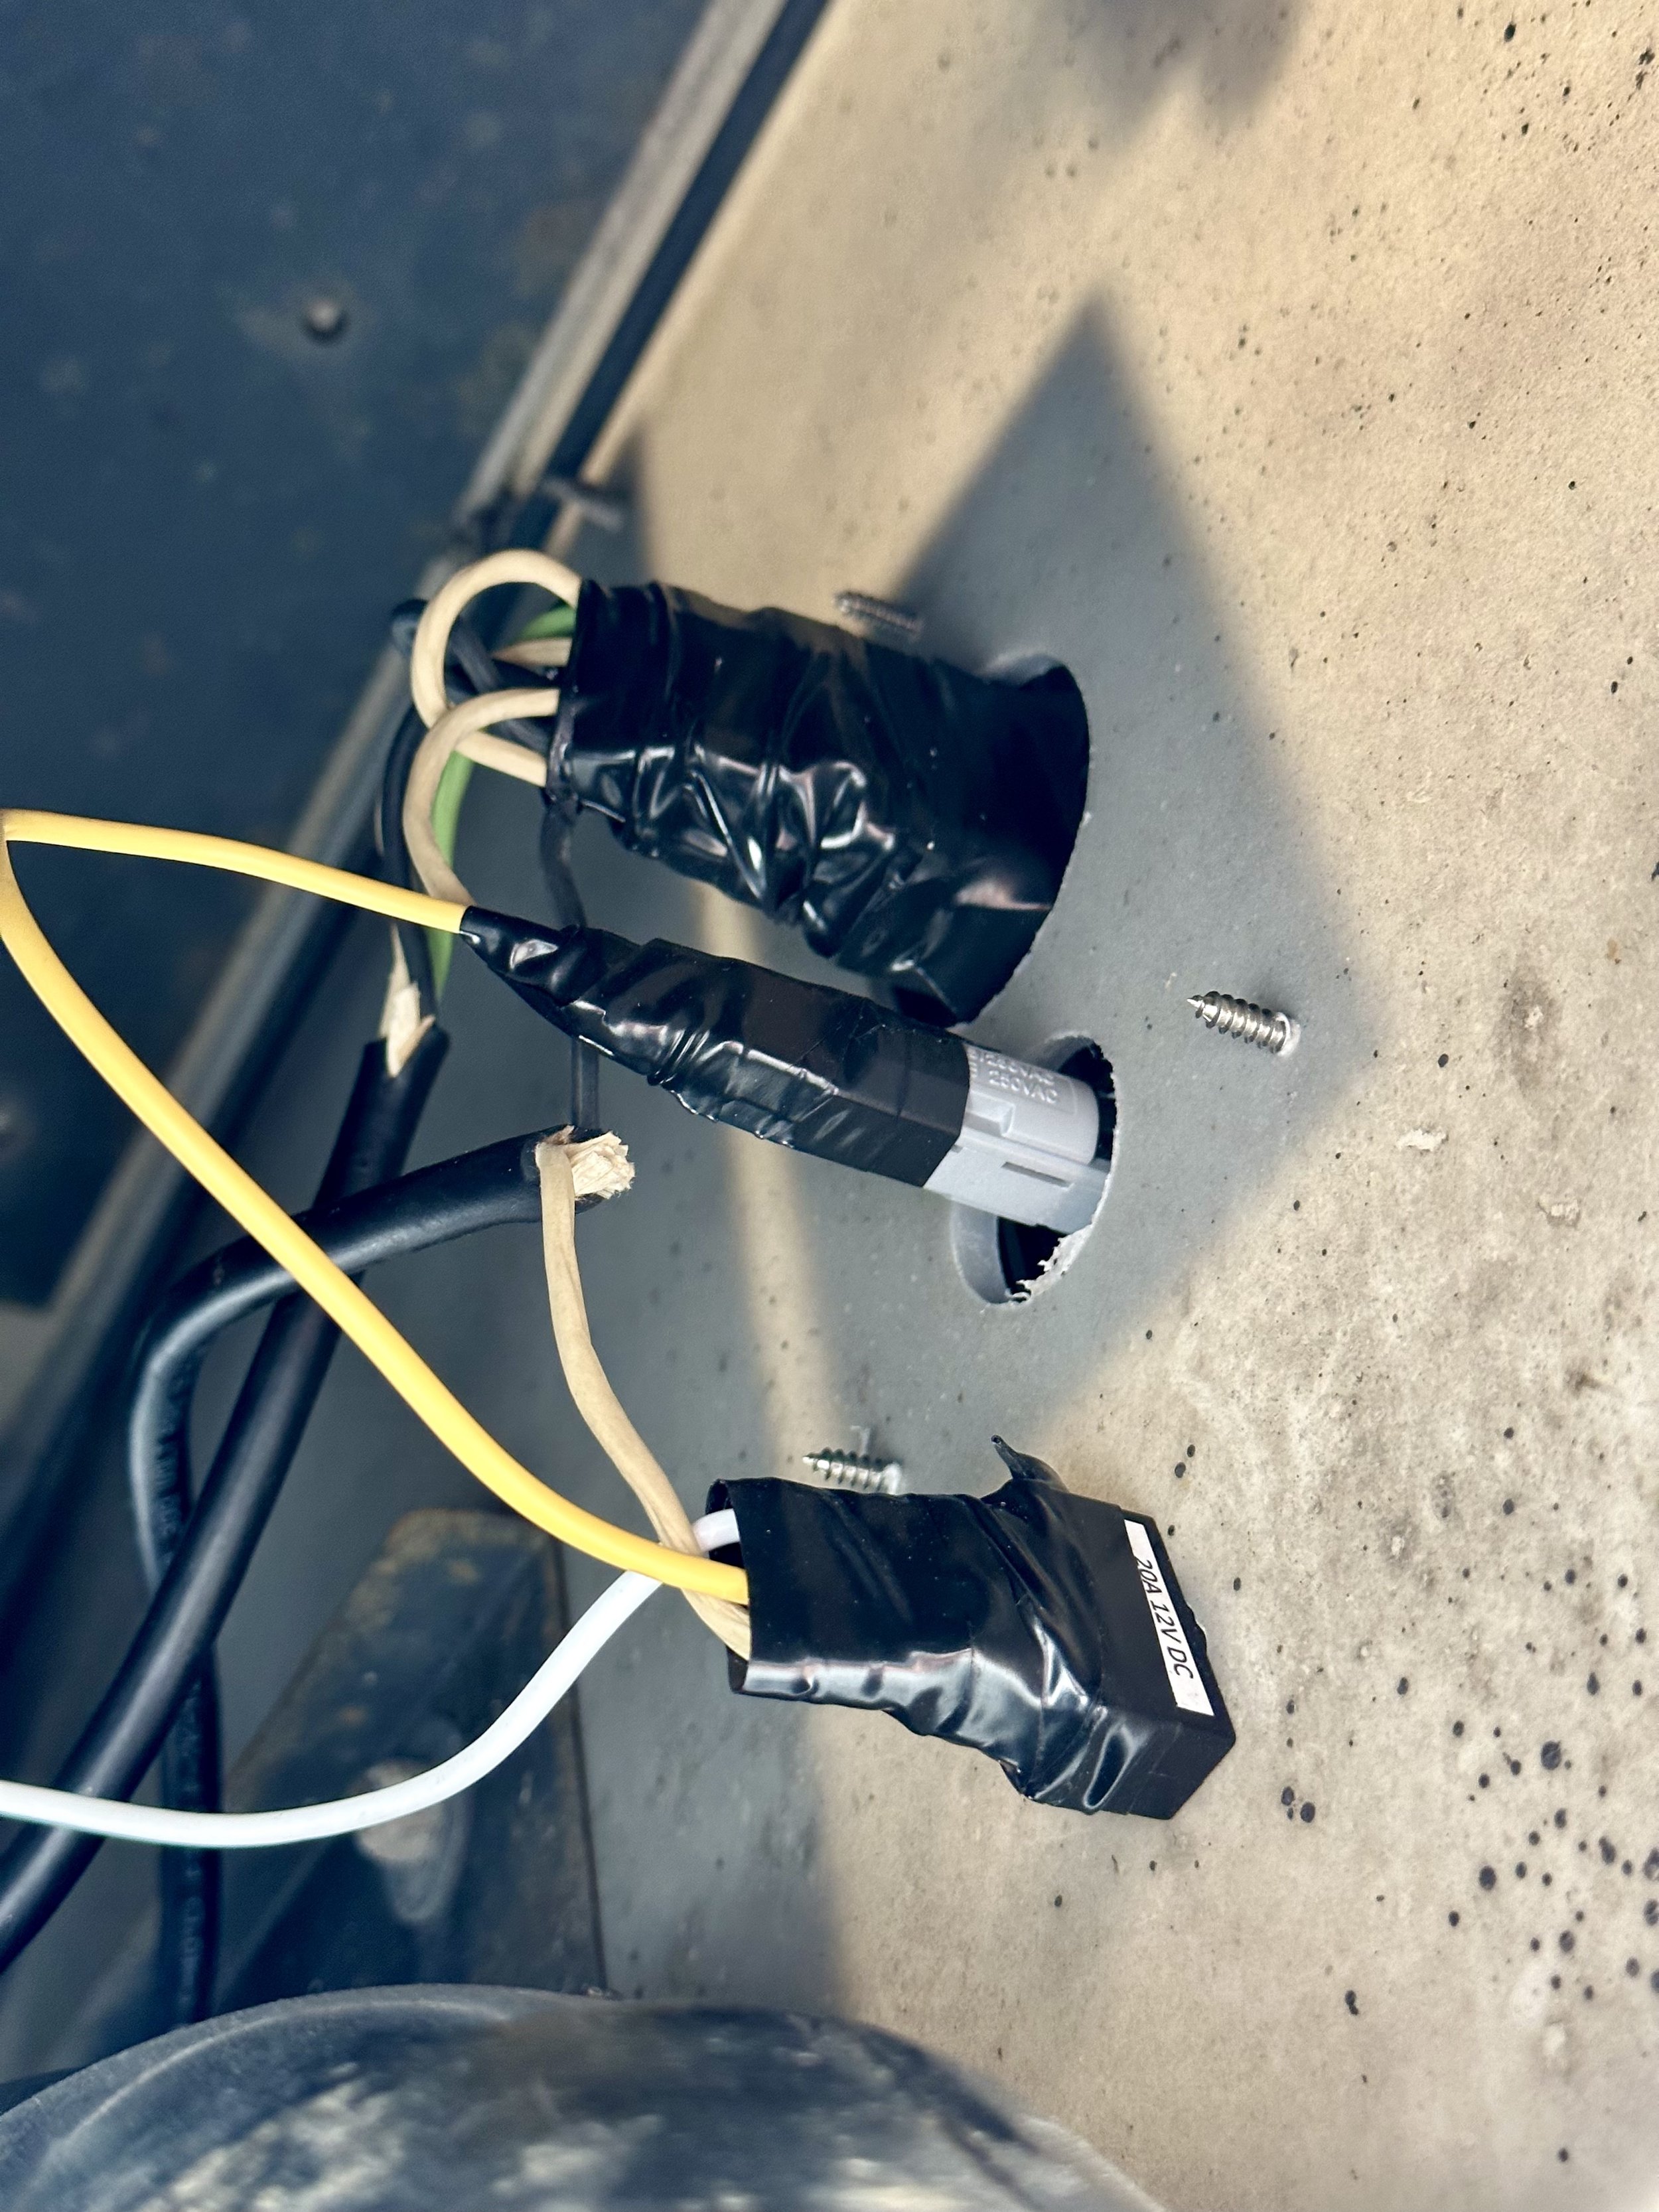
This is the back of the main dump switch. It comes pre-wired as pictured.

Two holes drilled per template and instructions. The wiring harness for the main dump switch goes through the holes and then you mount the switch — they make this part very easy. The secondary toggle switch is installed below.
This is the backside of the main dump switch after installation.

Final install of main dump switch and secondary toggle switch in the “off” position.
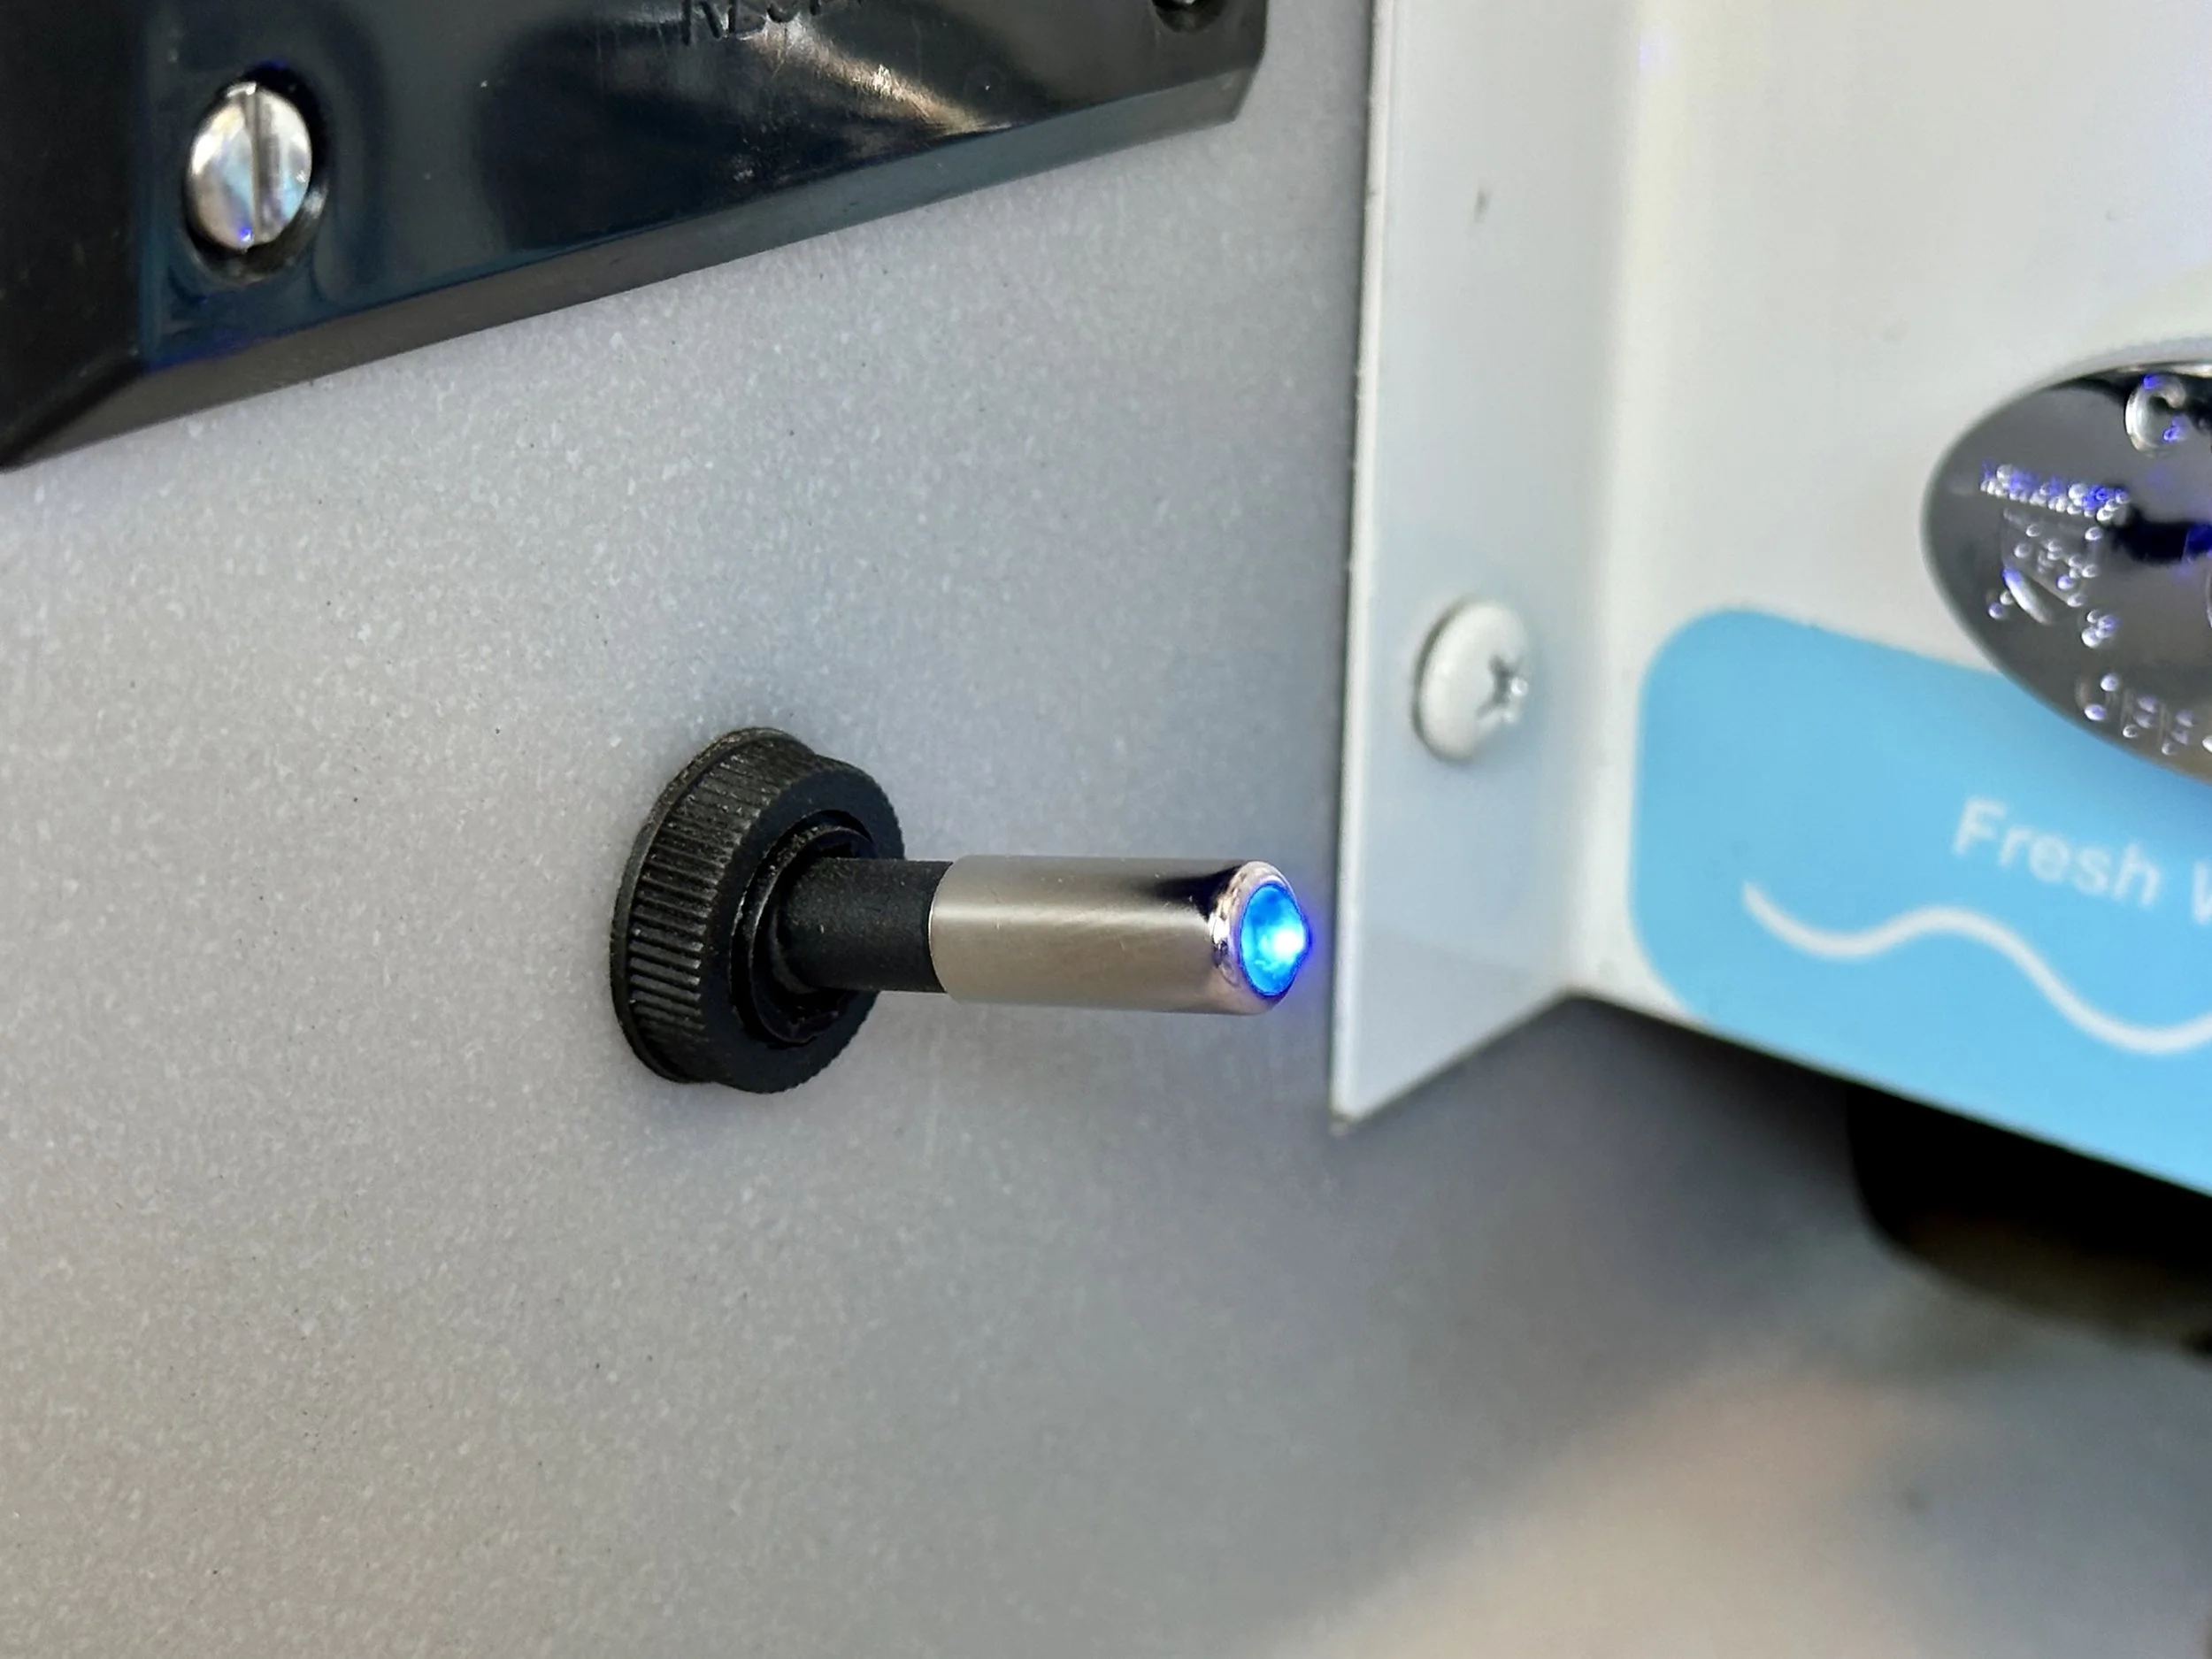
Secondary toggle switch in the “on” position, indicated by the bright blue LED light.