Mod: Garmin 56 Dash Cam


DETAILS: Garmin 56 Dash Cam
My RV is my most valuable asset outside my house, and since it’s constantly exposed to the risks of the open road, I decided a dash cam would be a worthwhile investment to help protect it with documentation in the event of an unfortunate circumstance.
Overview
The Garmin 56 is a GPS-enabled, WiFi-enabled, G-meter-enabled, Voice-activated dash cam that automatically starts recording when you start the engine. If you hardwire it with the optional cabling kit, it also records any activity when you’re parked and away from the RV. The G-meter helps “flag” and save an event, such as an accident or a hit and run while parked. Using GPS data, it automatically records date, time, location (lat/long) as well as speed. Any/all of the aforementioned data points can be disabled if desired. It also connects via WiFi to a free app on your smartphone so you can view and download full-resolution videos without ever removing the memory card. The voice control allows you to “save video”, “take a picture” or “start travelapse” at any time, and these voice commands work perfectly and instantly.
Rechargeable Battery Included
Unlike many dash cams that have a capacitor that will record for at most a few seconds after the camera loses power (i.e. in an accident), the Garmin 56 has a small built-in battery that will continue recording for up to 30 minutes.
Smartphone App
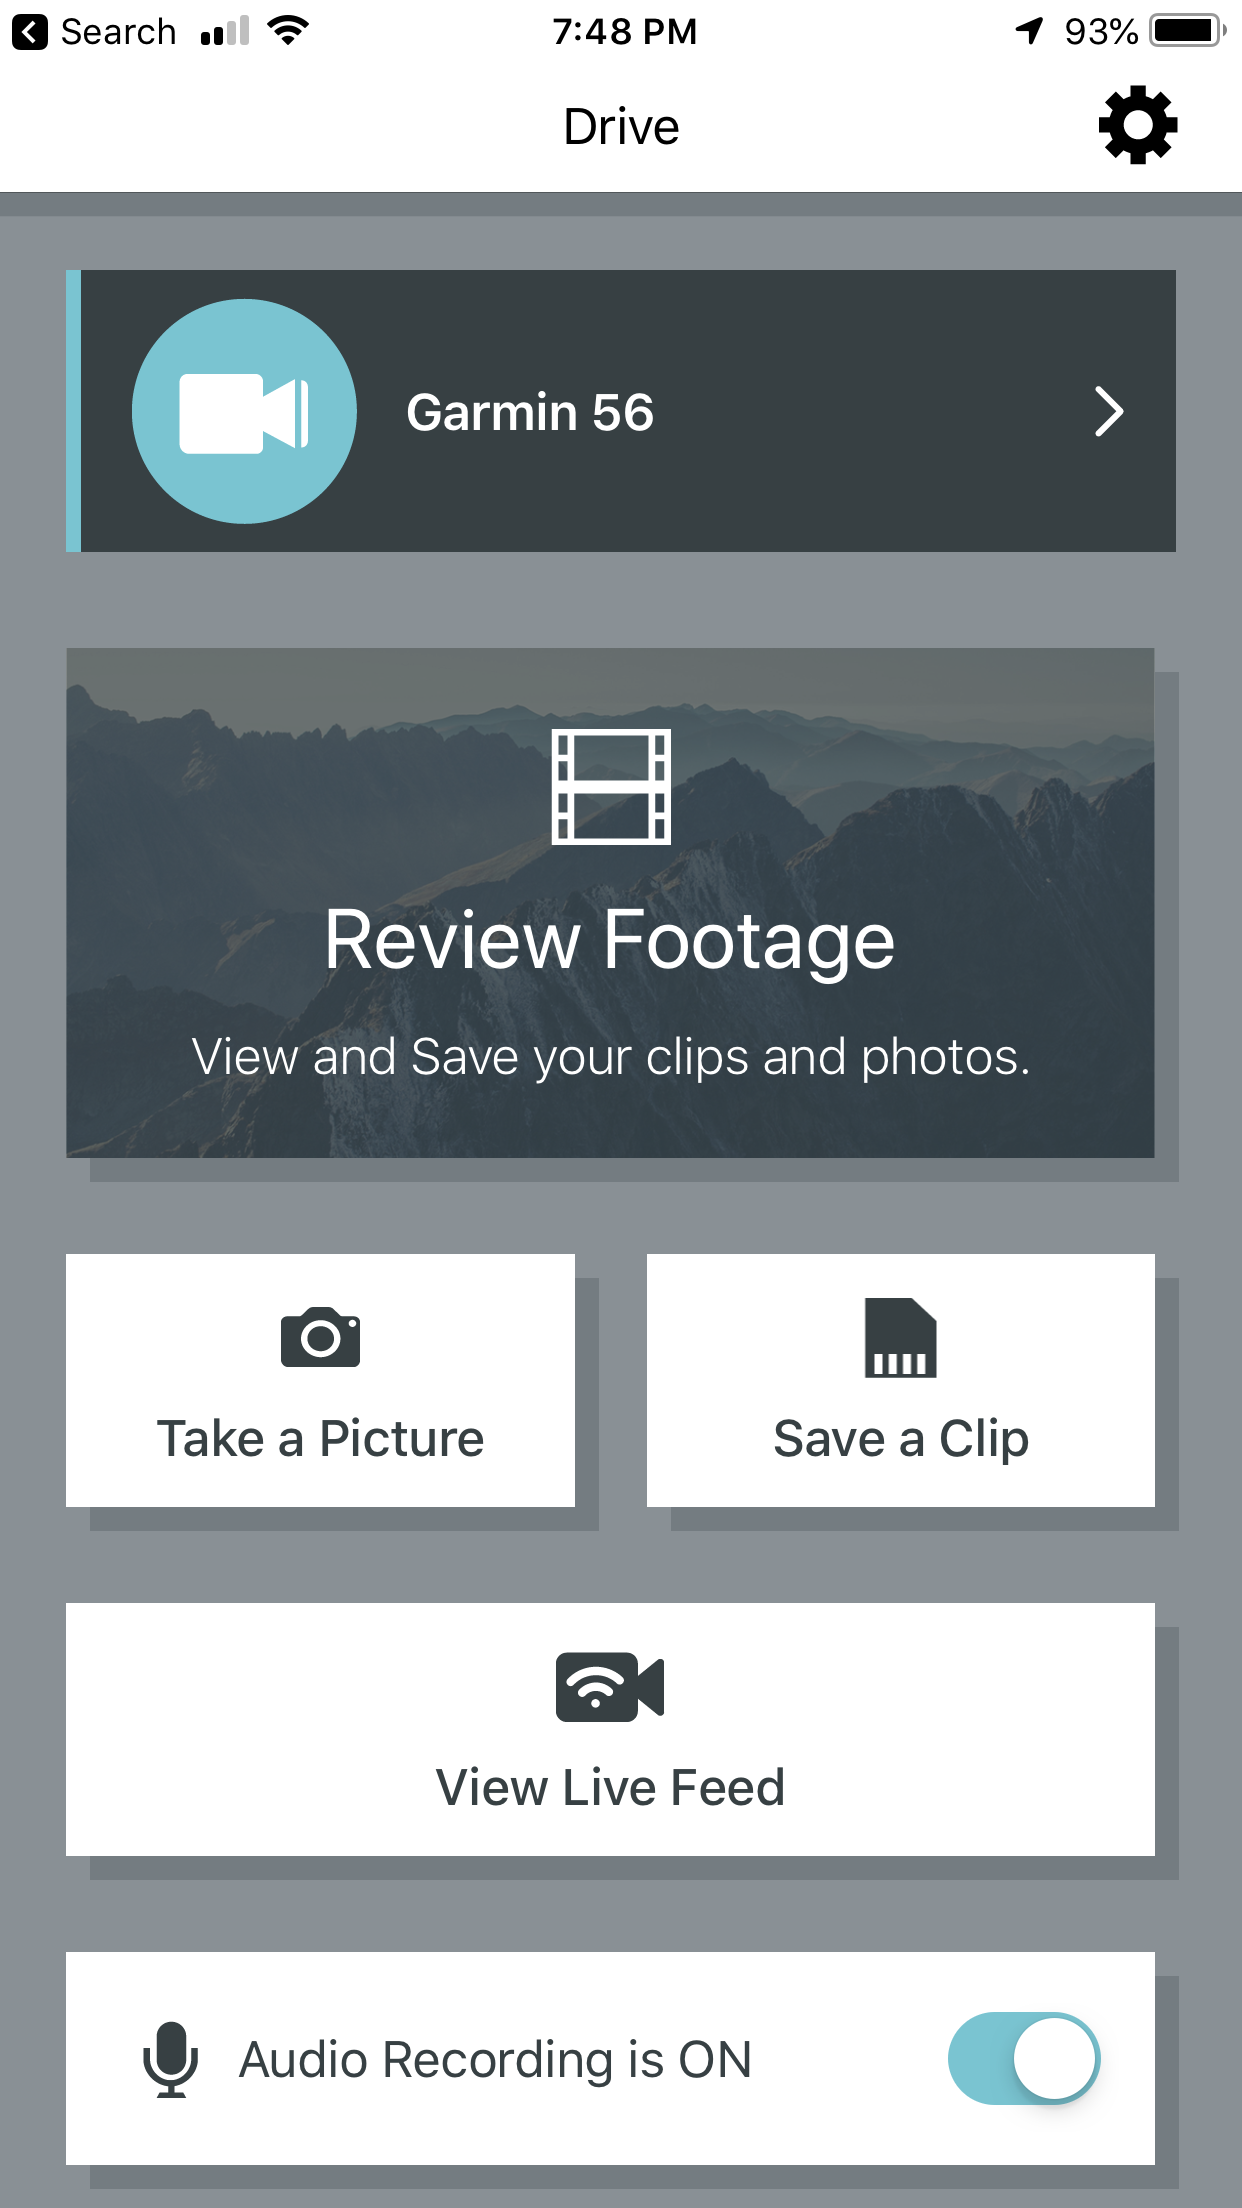
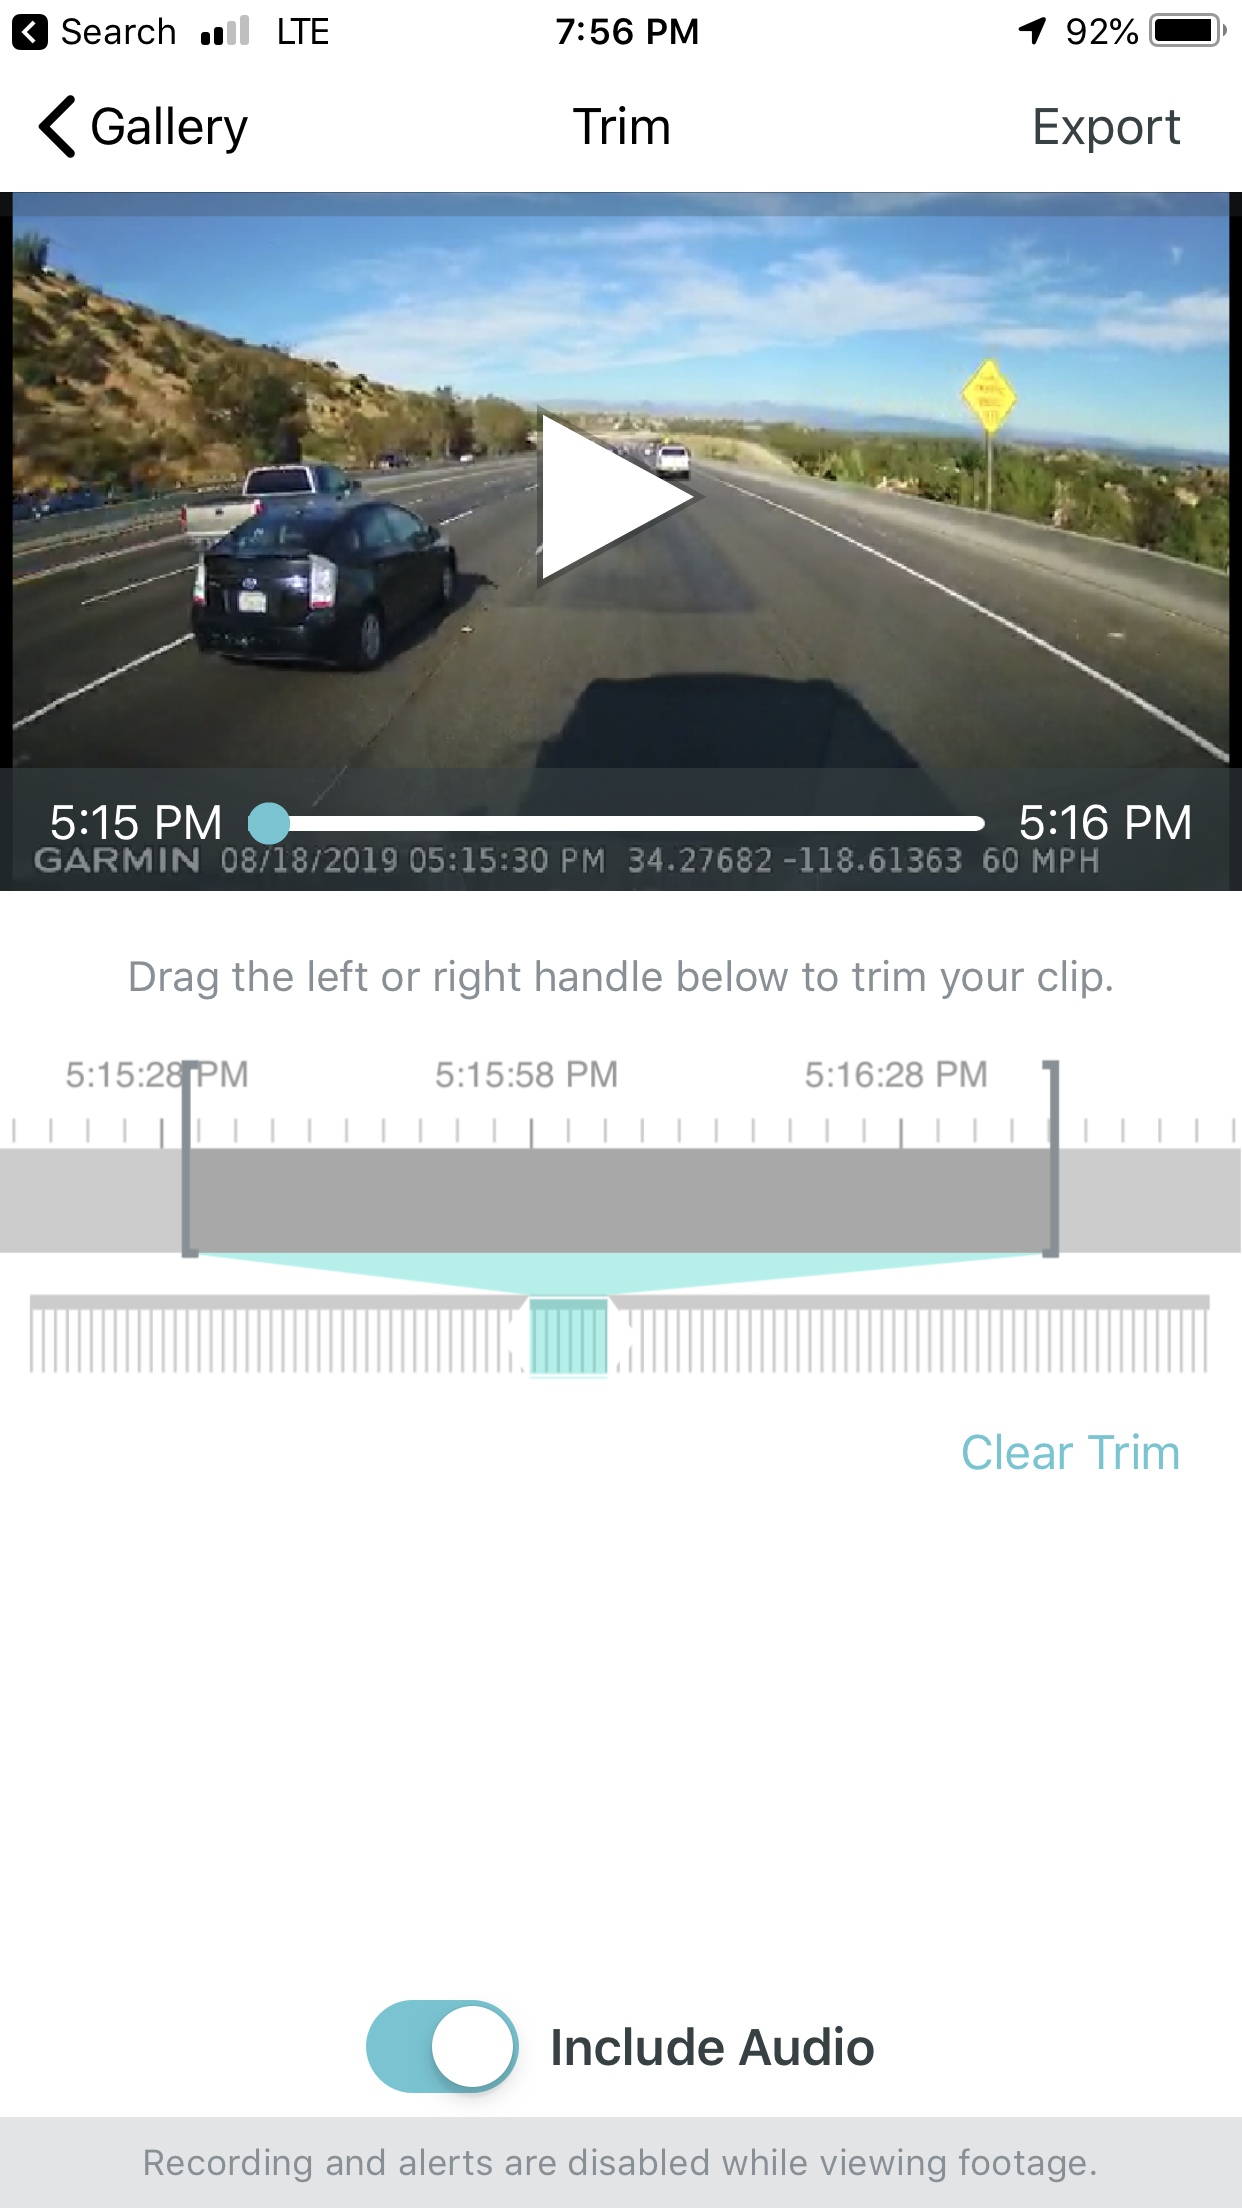
The “Garmin Drive” app is a free download and offers a lot of functionality including “View Live Feed”, “Review Footage”, “Take a Picture” and “Save a Clip”. It also allows you to trim and export any photo or video in full quality right to your smartphone, without removing the memory card. You can also adjust almost any setting on the camera without touching the camera itself. Since this is a name brand camera, I trust that this app will continue to be updated in the years to come.
Voice Control
This is one of the camera’s most impressive features. At any time while driving, you can say “Okay, Garmin” and the camera makes a beep and four options appear on the screen. You can then say “Save Video”, “Take a Picture", “Record/Stop Audio” and “Start/Stop Travelapse”. It works instantly and very consistently. The saved pictures, videos and “travelapses” (which are basically timelapse videos) are all retrievable later, and won’t be overwritten when the recording loops over old footage.
Driver Awareness Features and Alerts
The camera comes with a few features that go beyond a dash cam, including Forward Collision Warning, Lane Departure Warning and Go Alert. They do work, but they also can be too sensitive and have false positives. I wouldn’t depend on these features or recommend buying this dash cam for these features, though they do provide extra value (see the 3rd video for an example of the Lane Departure Warning System in action).
Video Quality
For a dash cam, it’s better than average. I spent a lot of time reading reviews and analyzing comparison videos on YouTube. However, if you are expecting the quality of a GoPro or the cameras available on the latest high-end smart phones, it’s definitely not as good. Based on the entire feature set, size, ease of mounting and price, I feel that this camera is in the sweet spot for a dash cam. It’s not intended to compete with a “real” camera — its primary purpose is to document an incident and help your case with insurance companies. The highest resolution setting is 2560x1440 (1440p) at 30 fps, though it can also record in lower resolution HD which is 1920x1080 (1080p) at both 30 and 60 fps.
Garmin Dash Cam Model Comparison
There are three similar offerings from Garmin: 46, 56, 66W. The previous models were the 45, 55, 65W, respectively. For a comparison of the features of all current models, click here. In short, the 45/46 are 1080p only. The 55/56 are 1440p (which is higher resolution). The 65W/66W are also 1440p, but they have a wider field-of-view. After studying the cameras online, I determined that the additional field-of-view of the 65W/66W is superfluous and too distorted to be of any use. It was my assessment that the Garmin 56 is the sweet spot of their current line-up.
Powering the Dash Cam
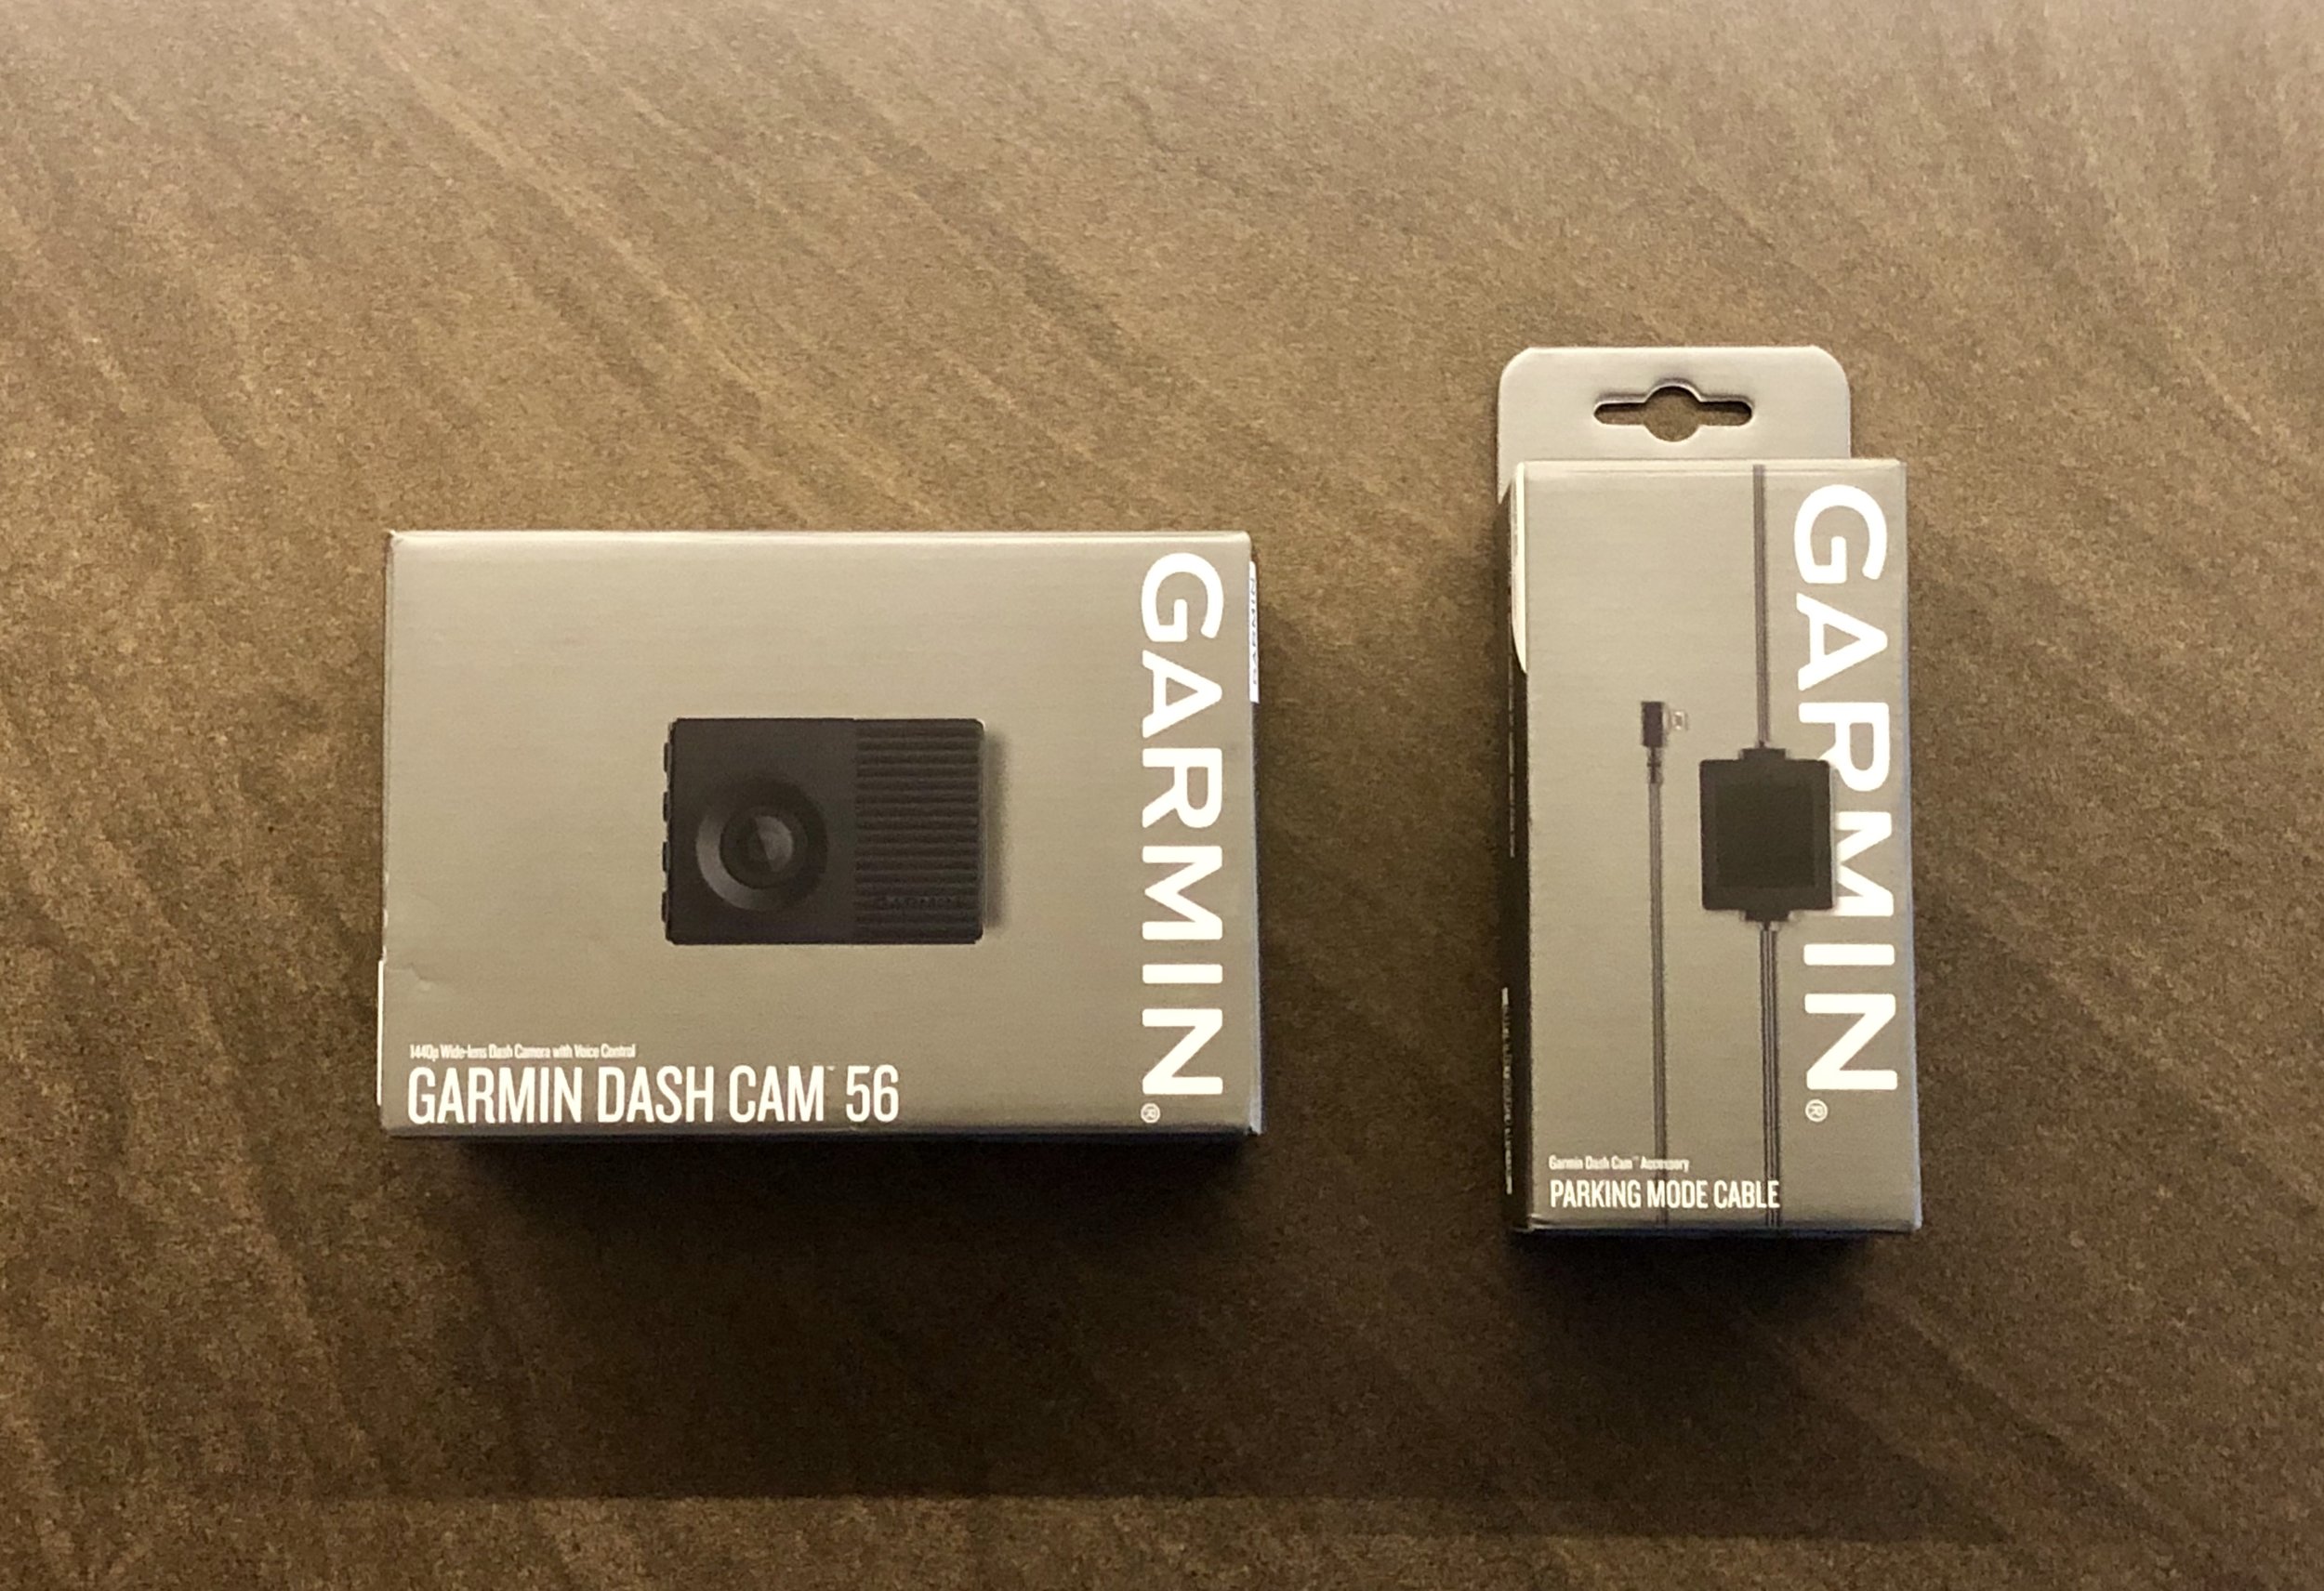
The Garmin 56 camera comes with a USB cable and a 12v cigarette lighter power adaptor, so it’s easy to power. Garmin sells an optional Parking Mode Cable that allows you to hardwire the camera into the chassis 12v fuse box (which is what I did, installation details below).
There are a few benefits of hardwiring: clean installation, no exposed wires, doesn’t take up a 12v cigarette lighter location and the camera’s parking mode will be enabled. The parking mode senses motion, and will record any activity that the camera sees. If your RV was to be hit while parked, the camera will record and save the incident. Since I have a Tril-L-Start installed, I’m not concerned about the small draw on the chassis battery since it’s constantly being charged by solar during the day, and the draw isn’t much overnight (I’ve tested it).
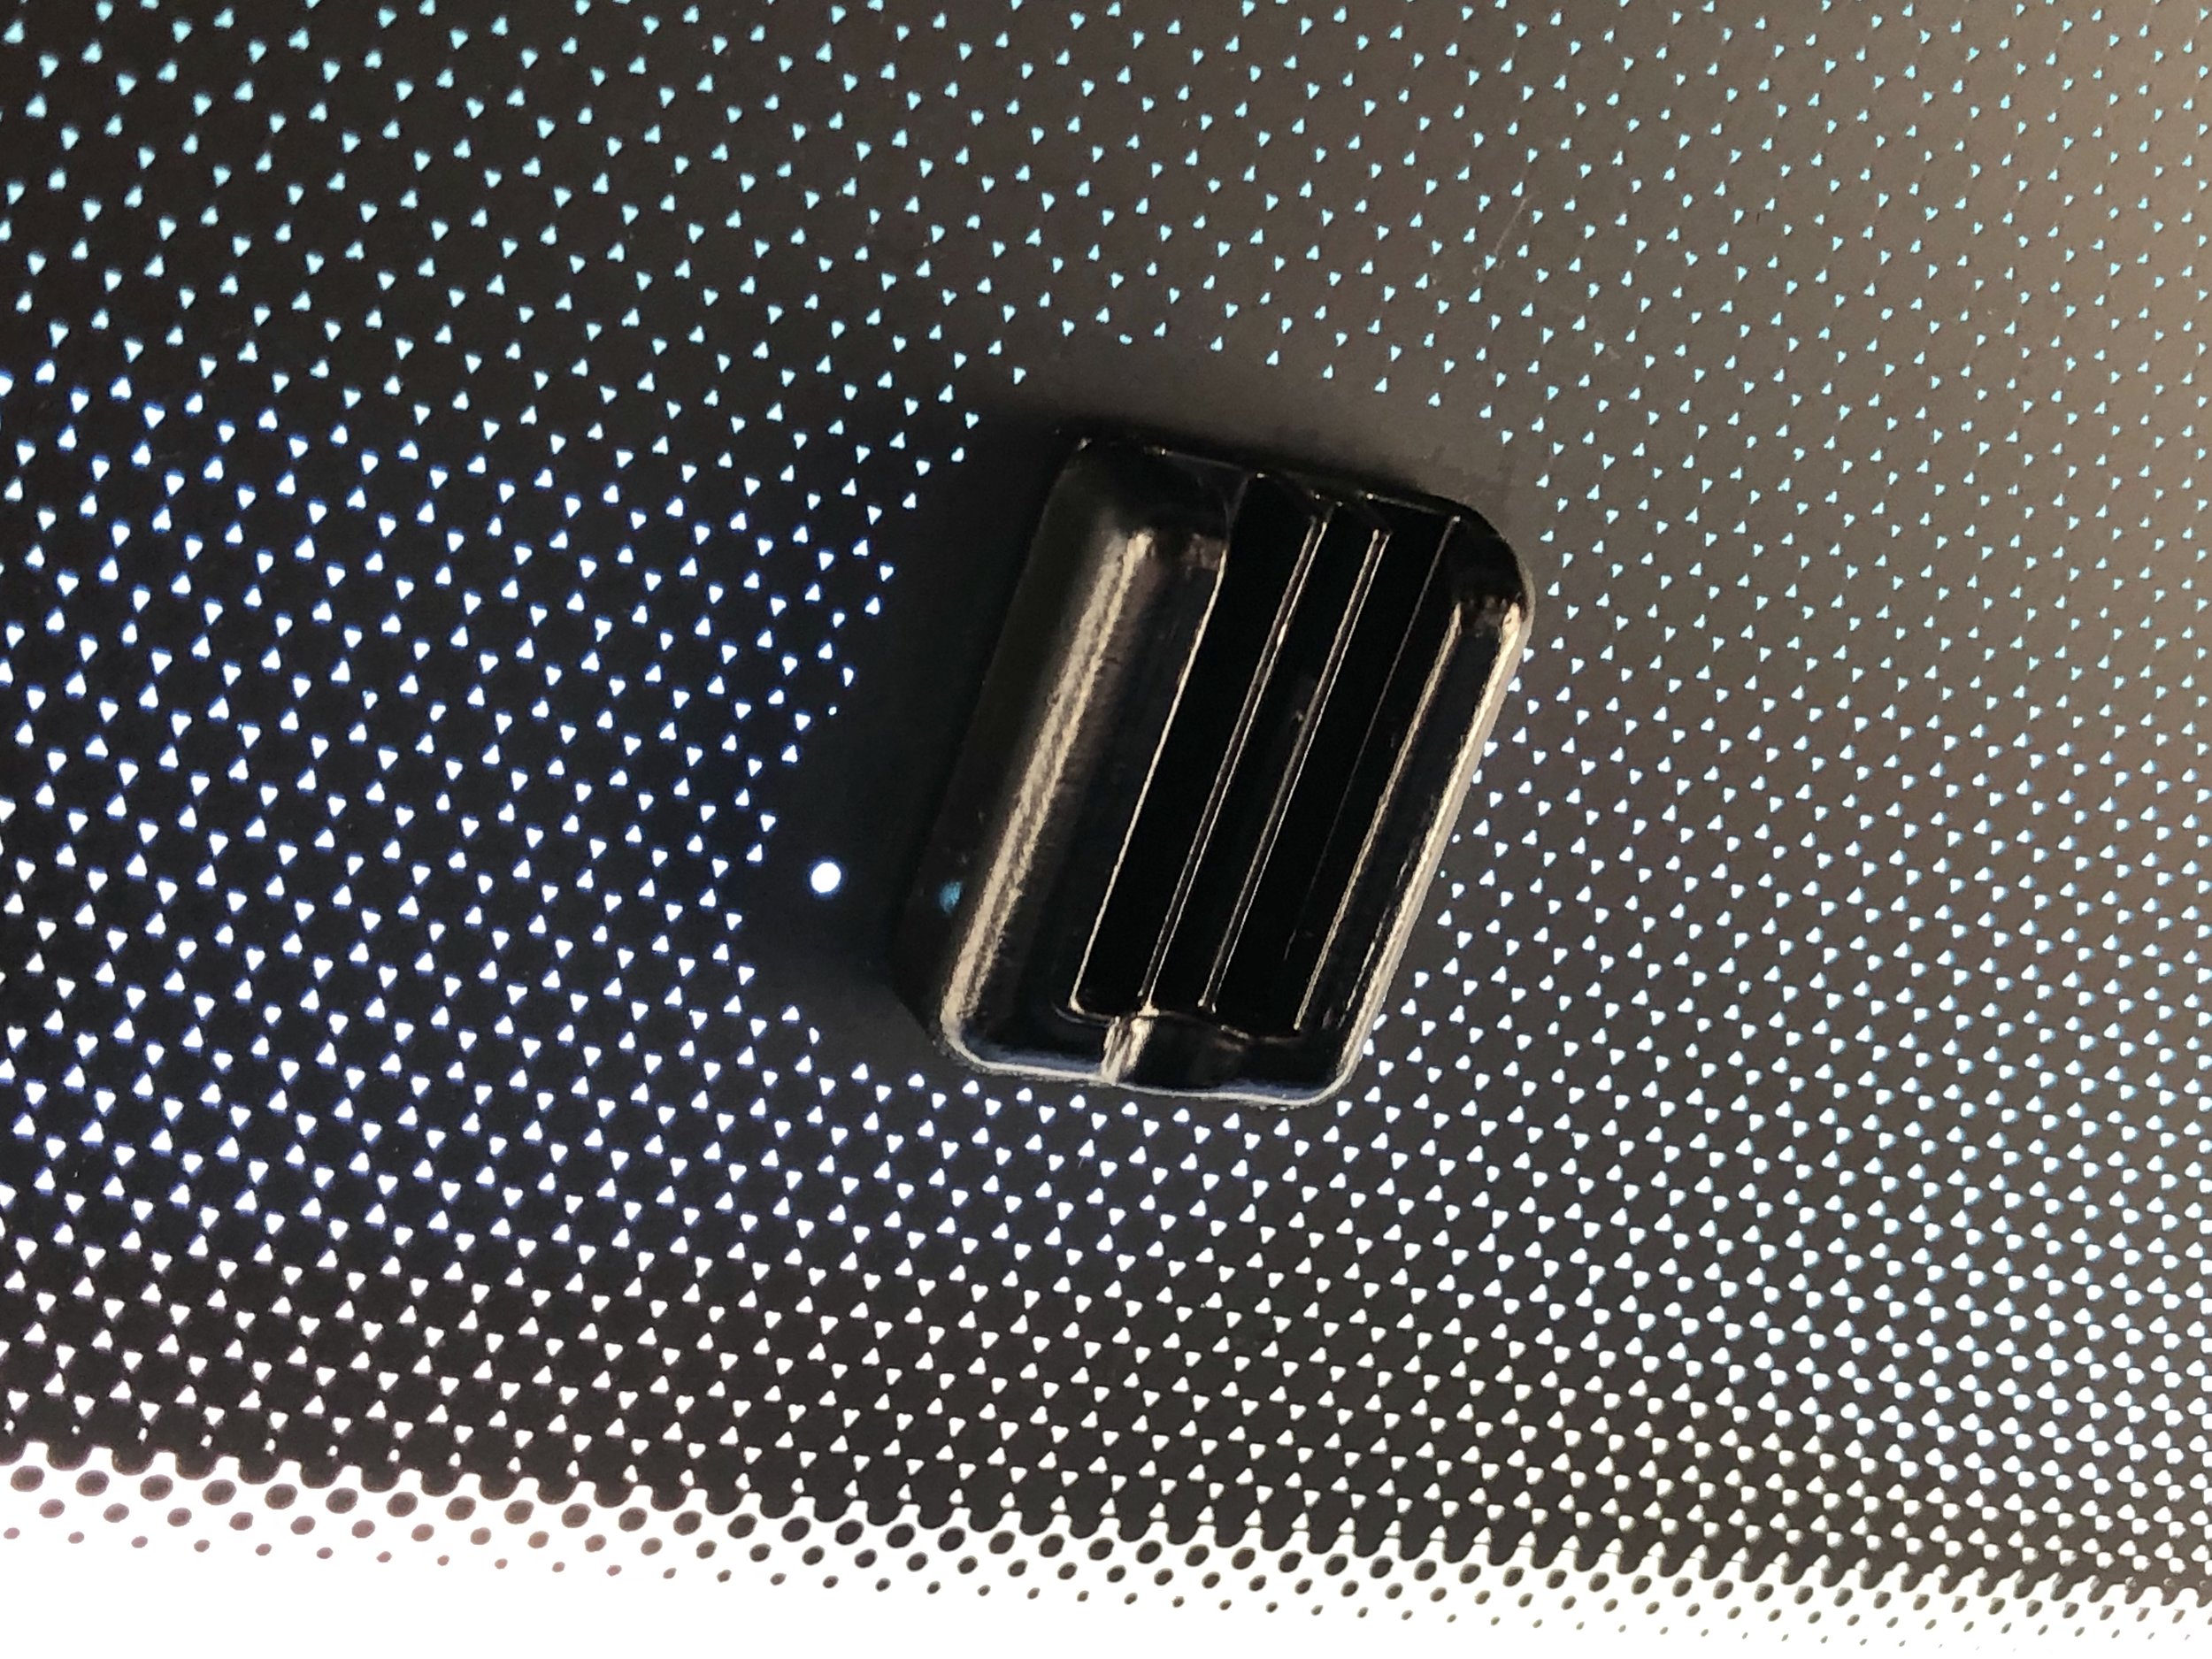
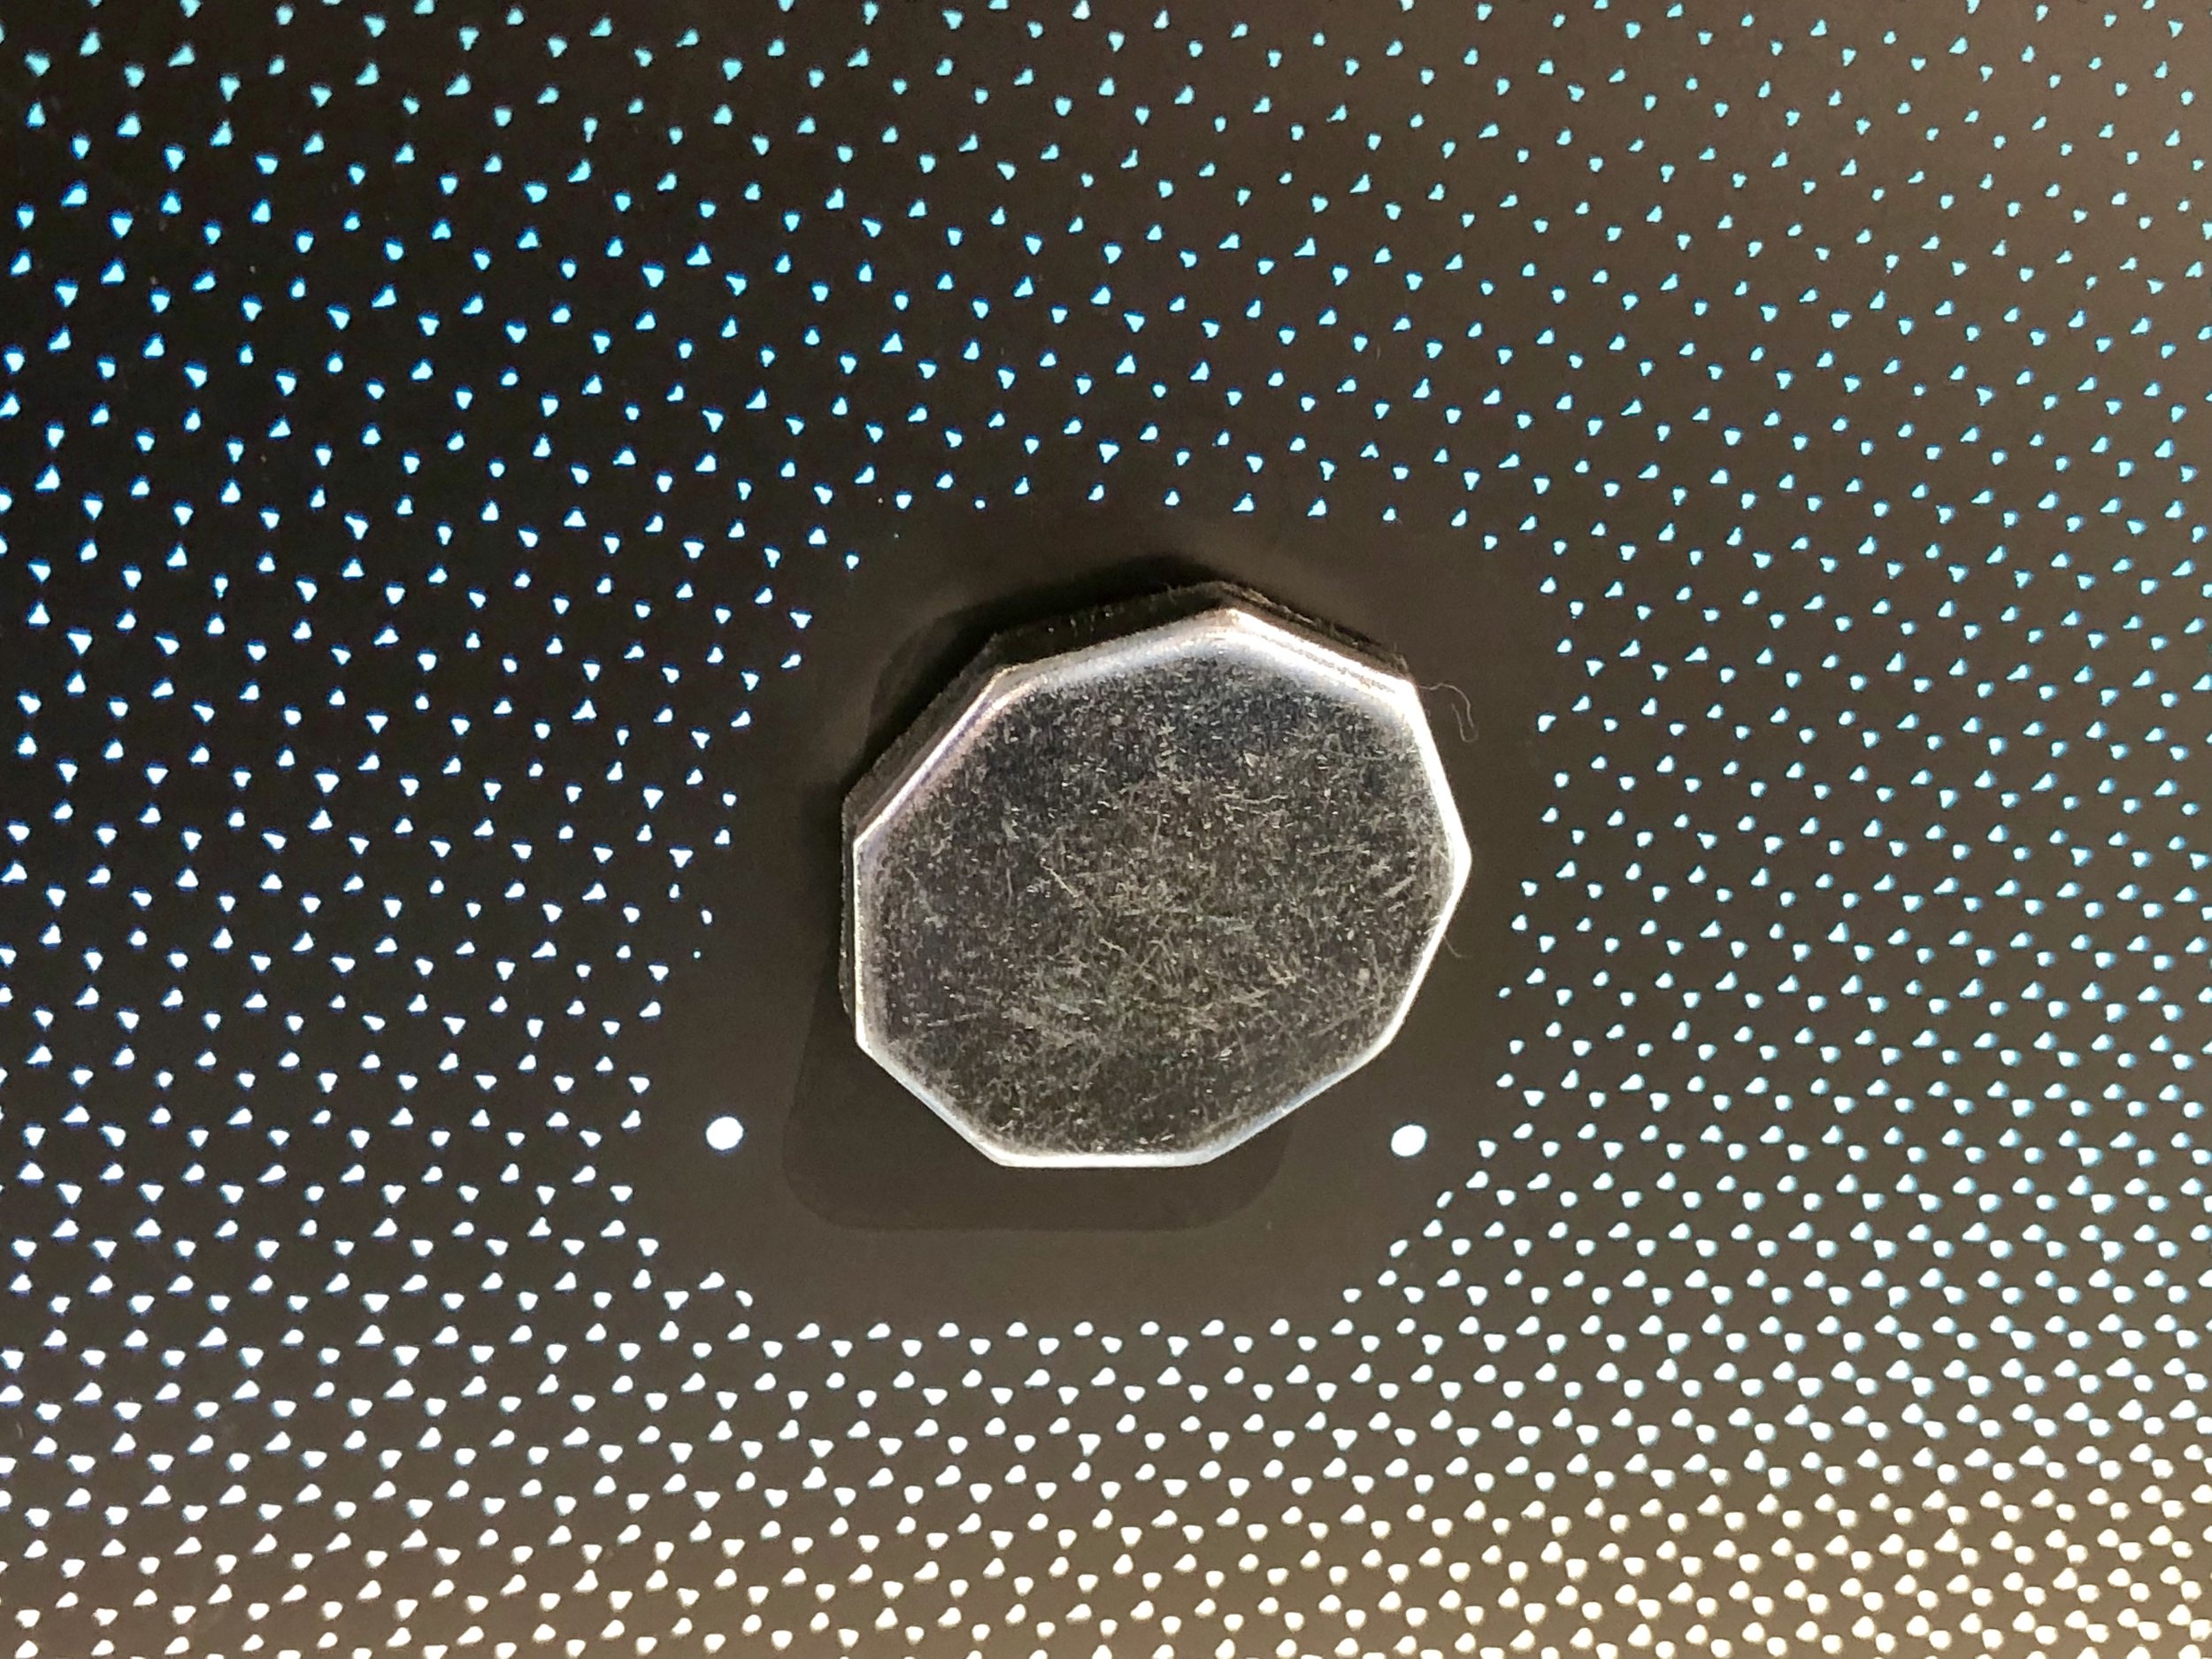
Removing the Rearview Mirror Bracket (optional)
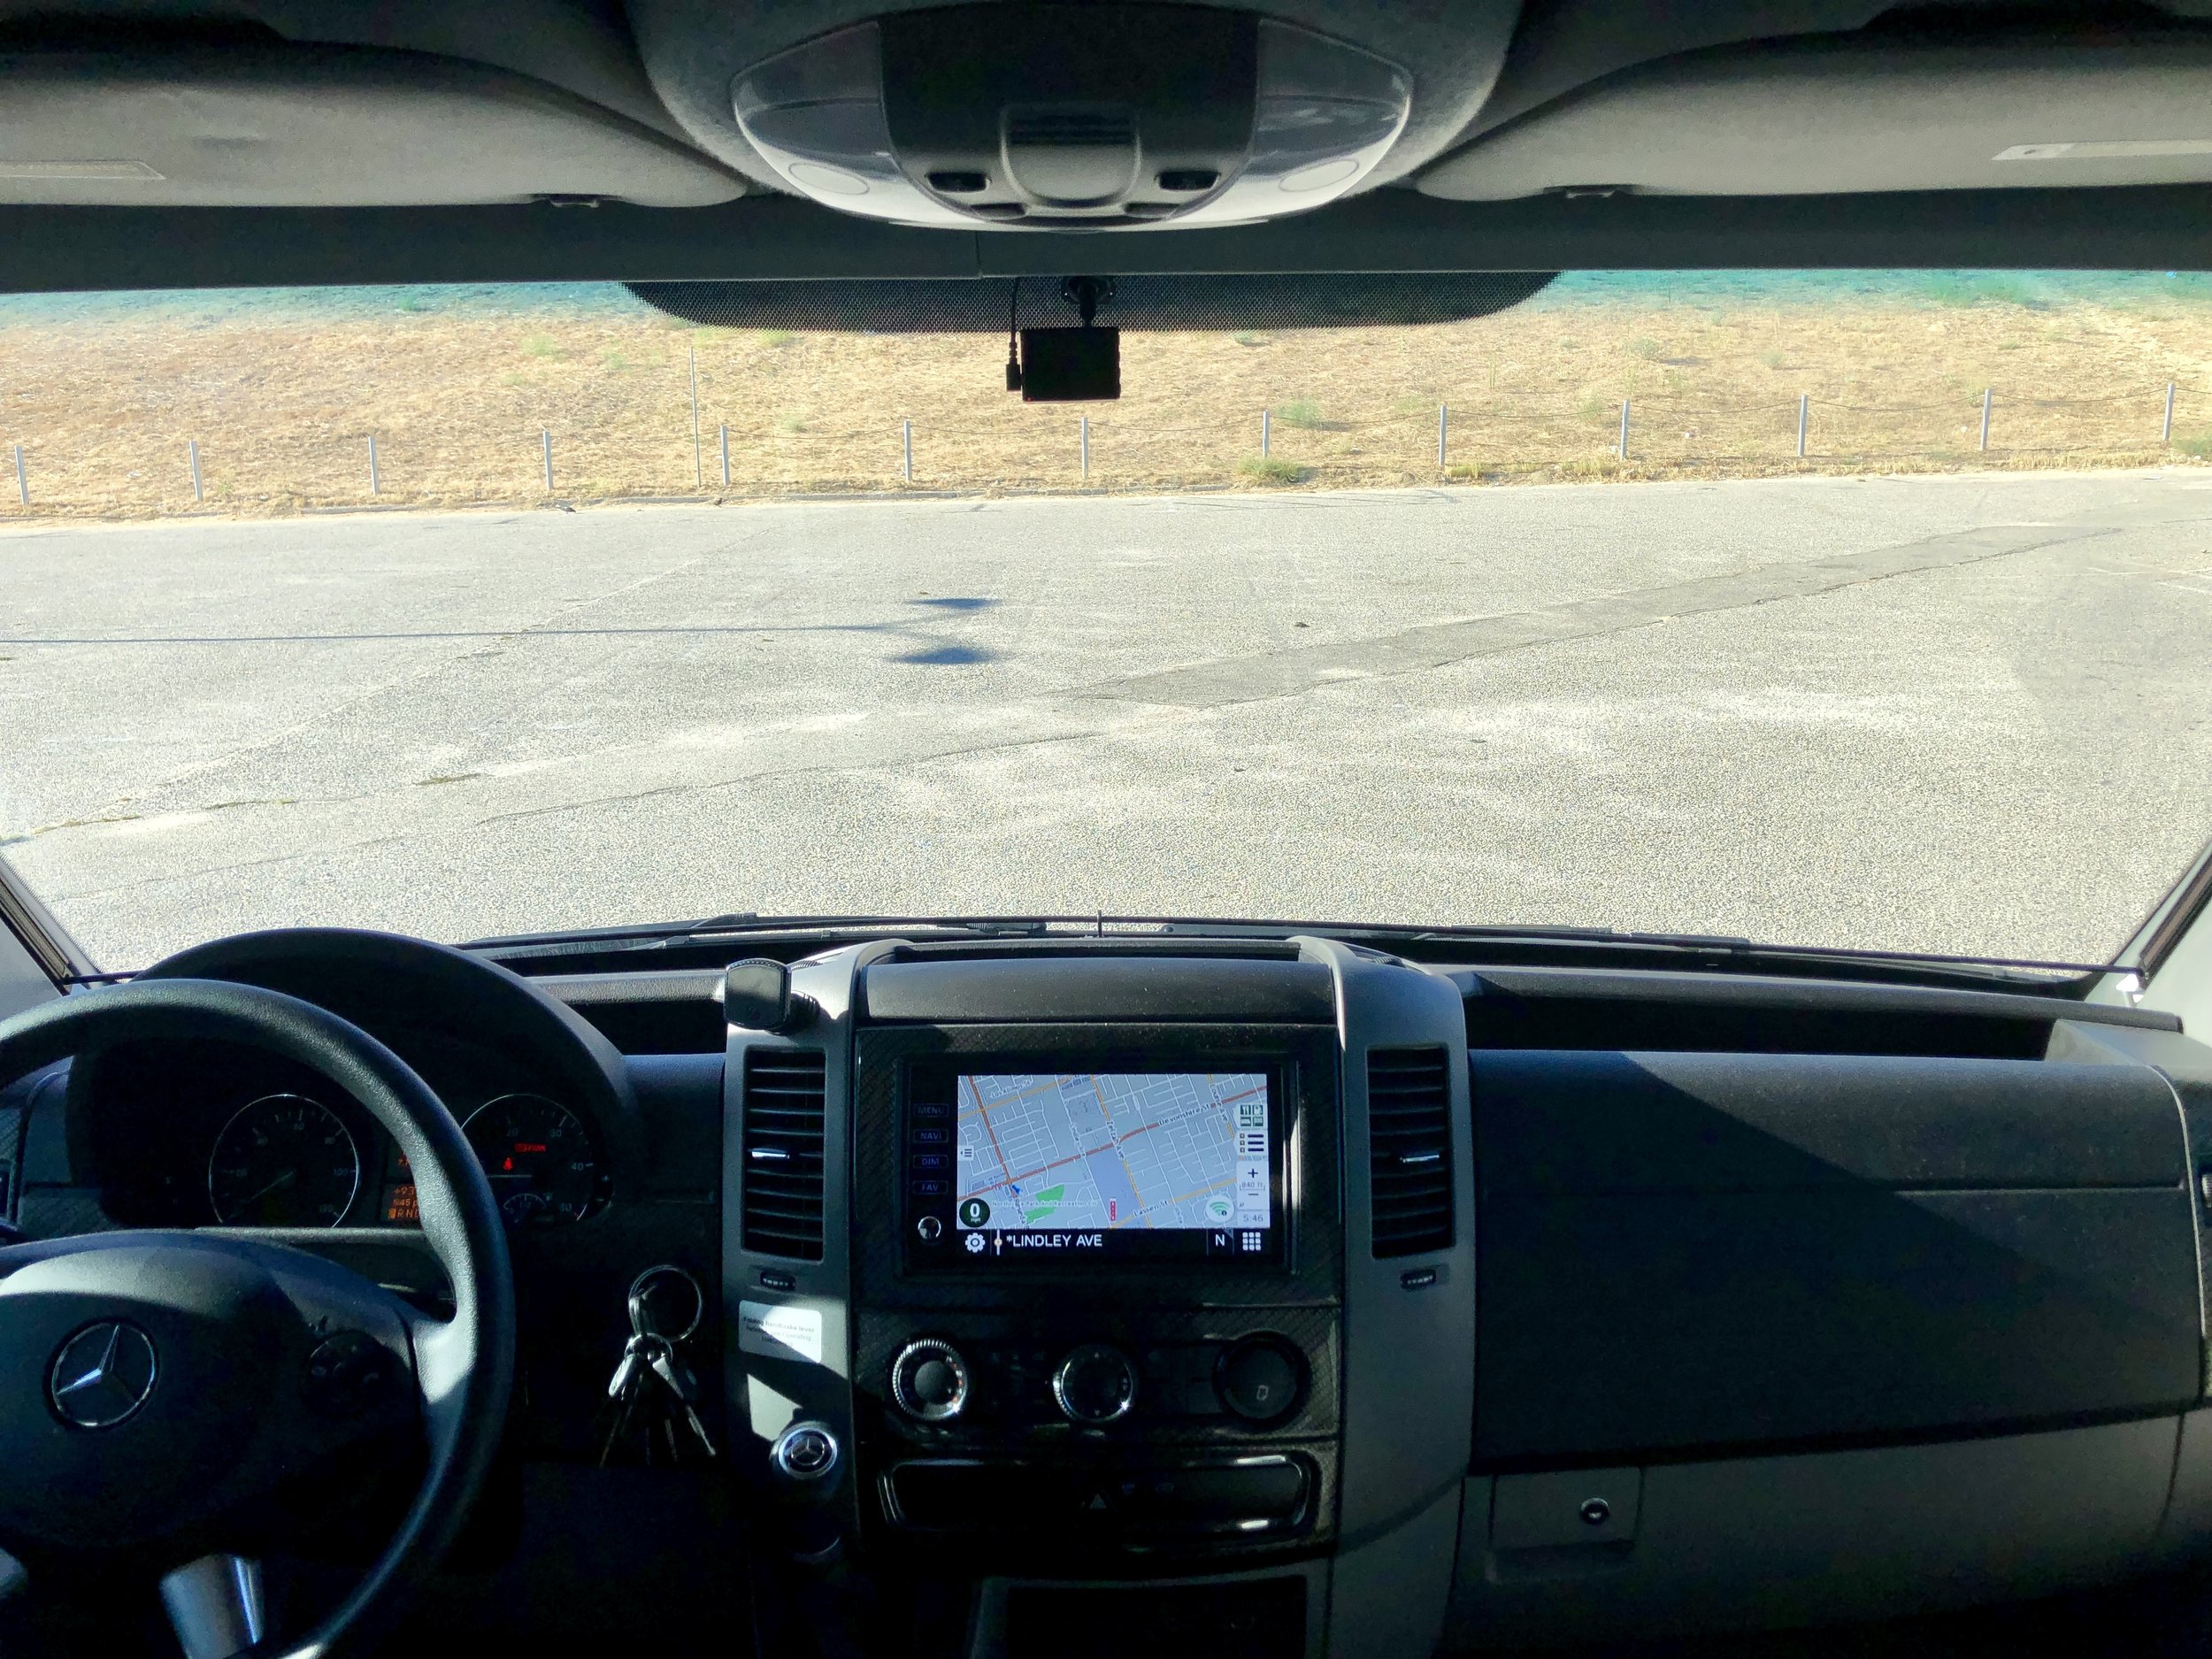
My preferred mounting location was dead center and up high on the windshield. Unfortunately, the (unused) rearview mirror mounting bracket is in that exact location (see photos). After watching this YouTube video, I decided to attempt to remove it — and it worked! IMPORTANT: be sure to have your front windshield already baking in the hot sun before you begin. Applied heat in one area of an otherwise cold windshield could crack the glass!
I did do one thing different than the guy in the video. Instead of waiting for the bracket to practically fall off, I used insulated pliers to get a good grip on it with one hand before I applied any heat. After 30-45 seconds, I was able to slowly twist the bracket as the glue softened. I was ultimately able to twist it off with moderate force well before it was as hot as he gets it in his video.
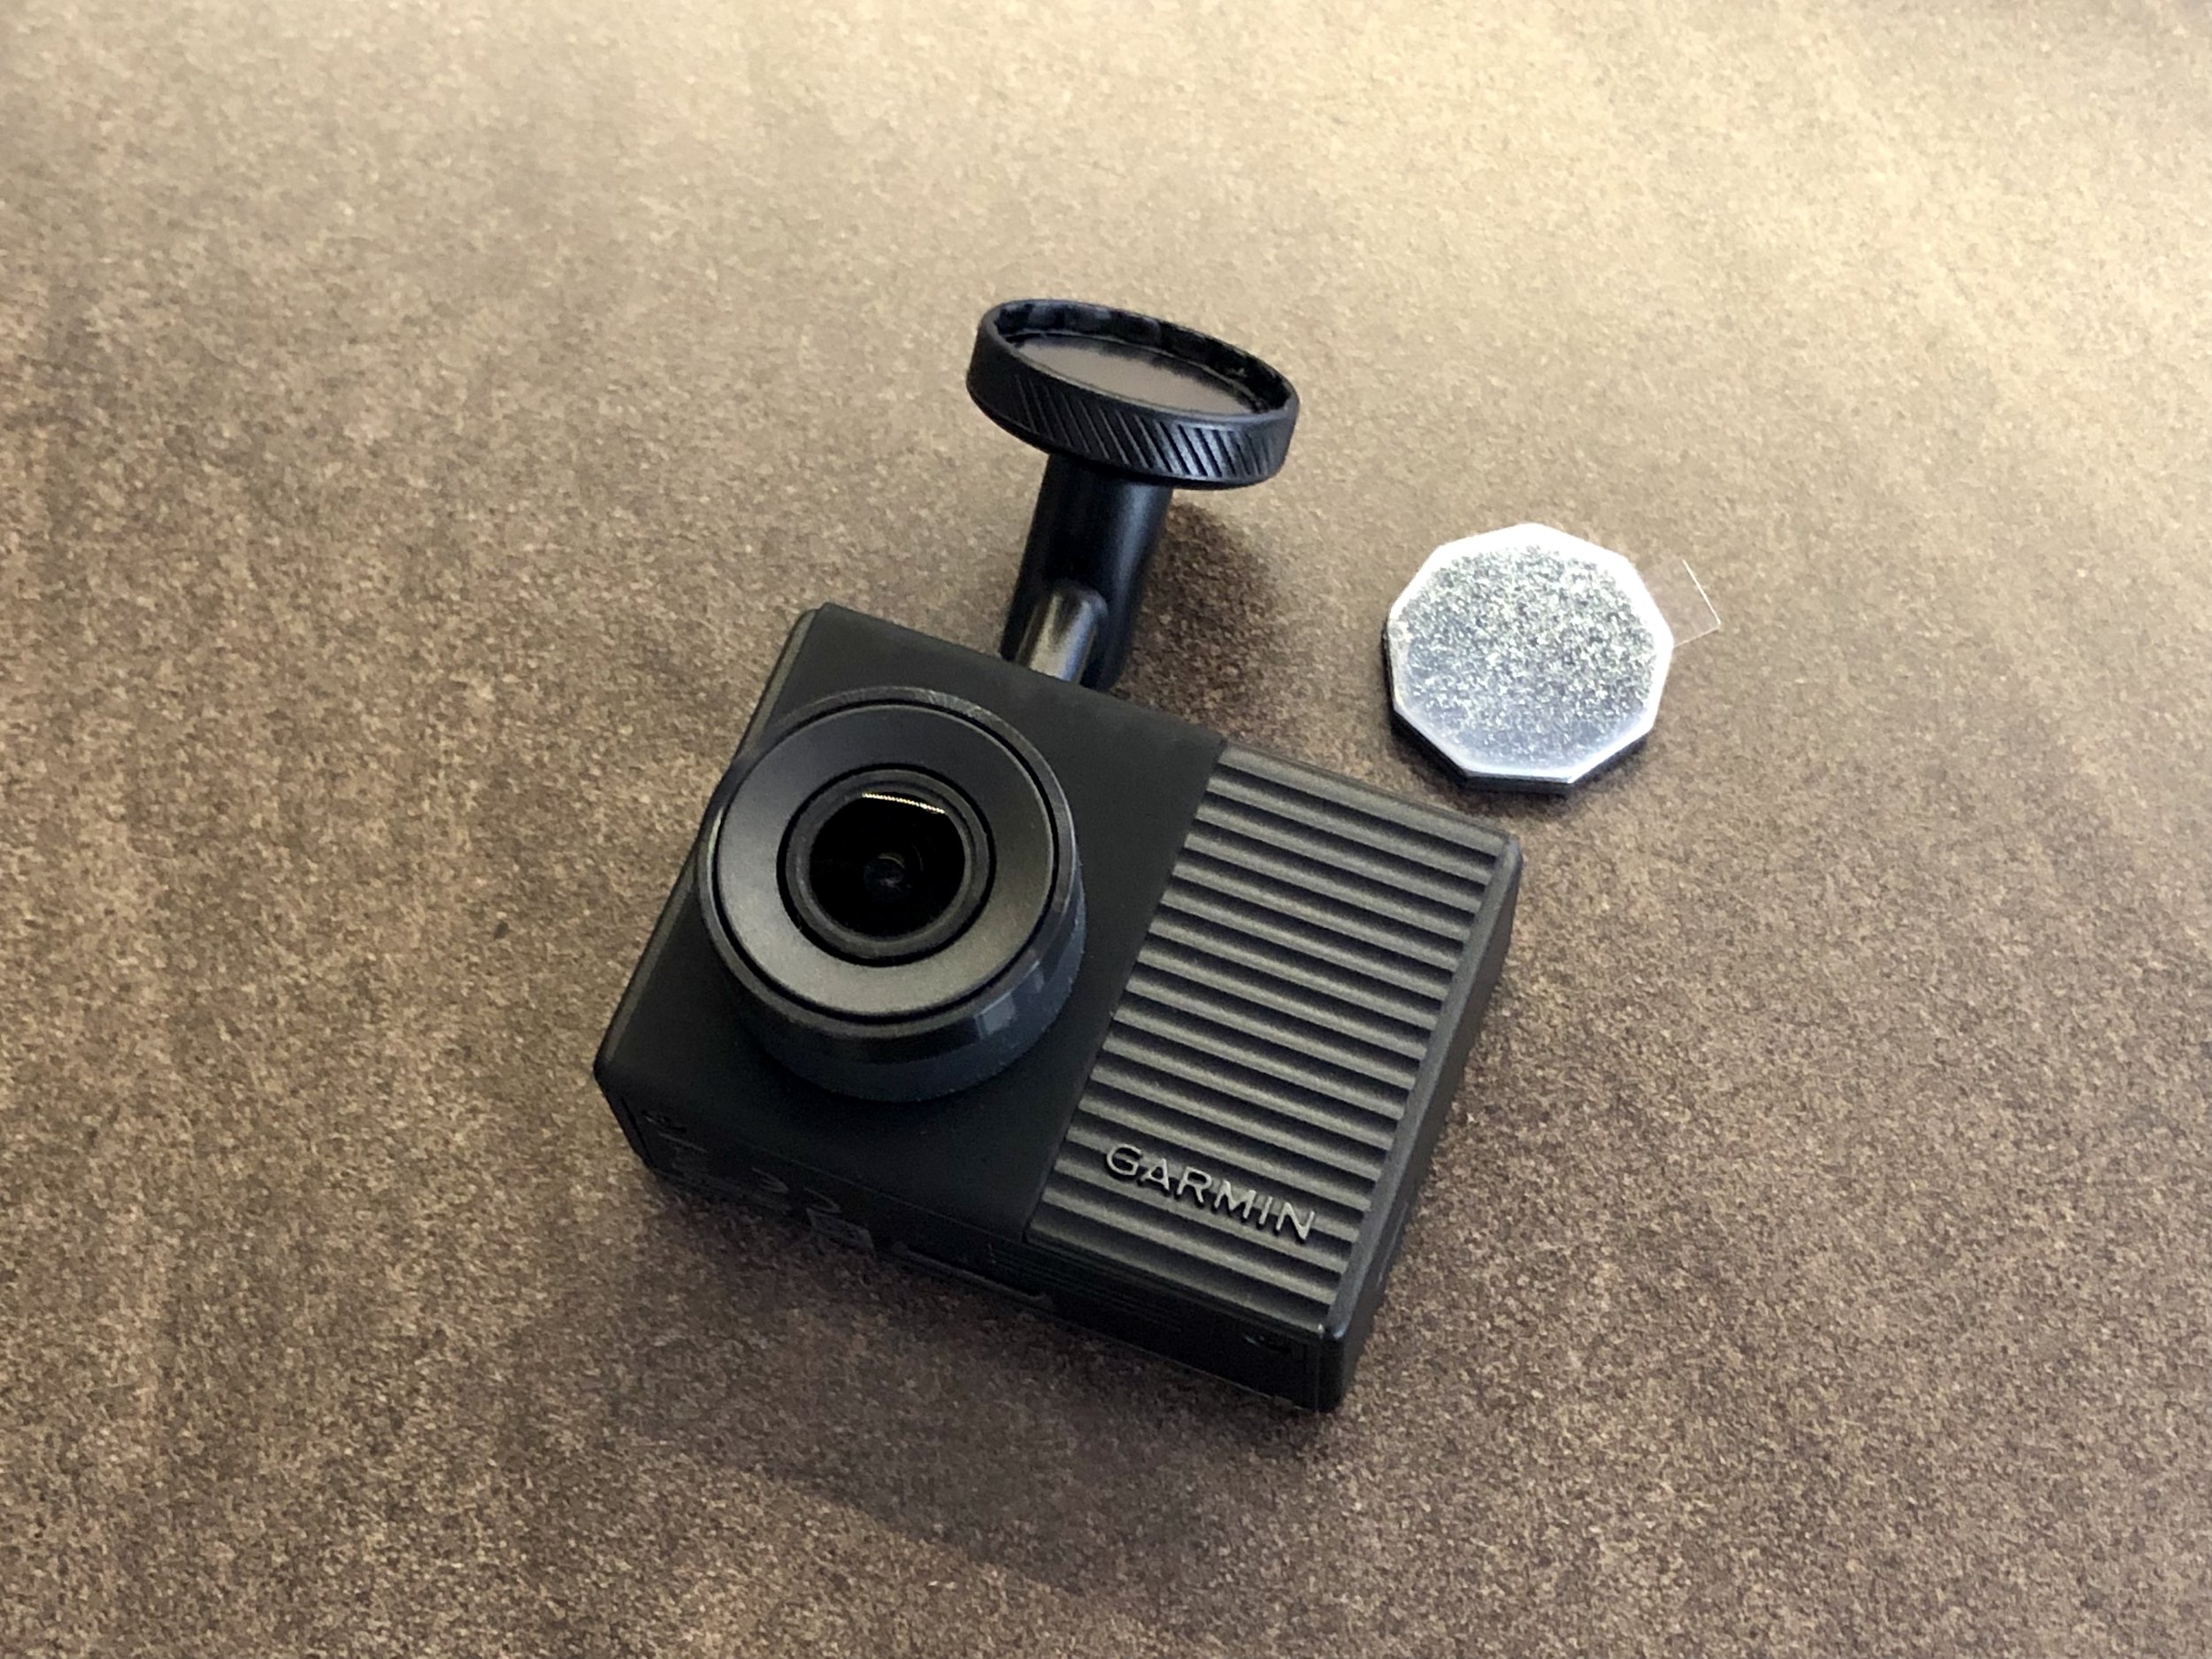
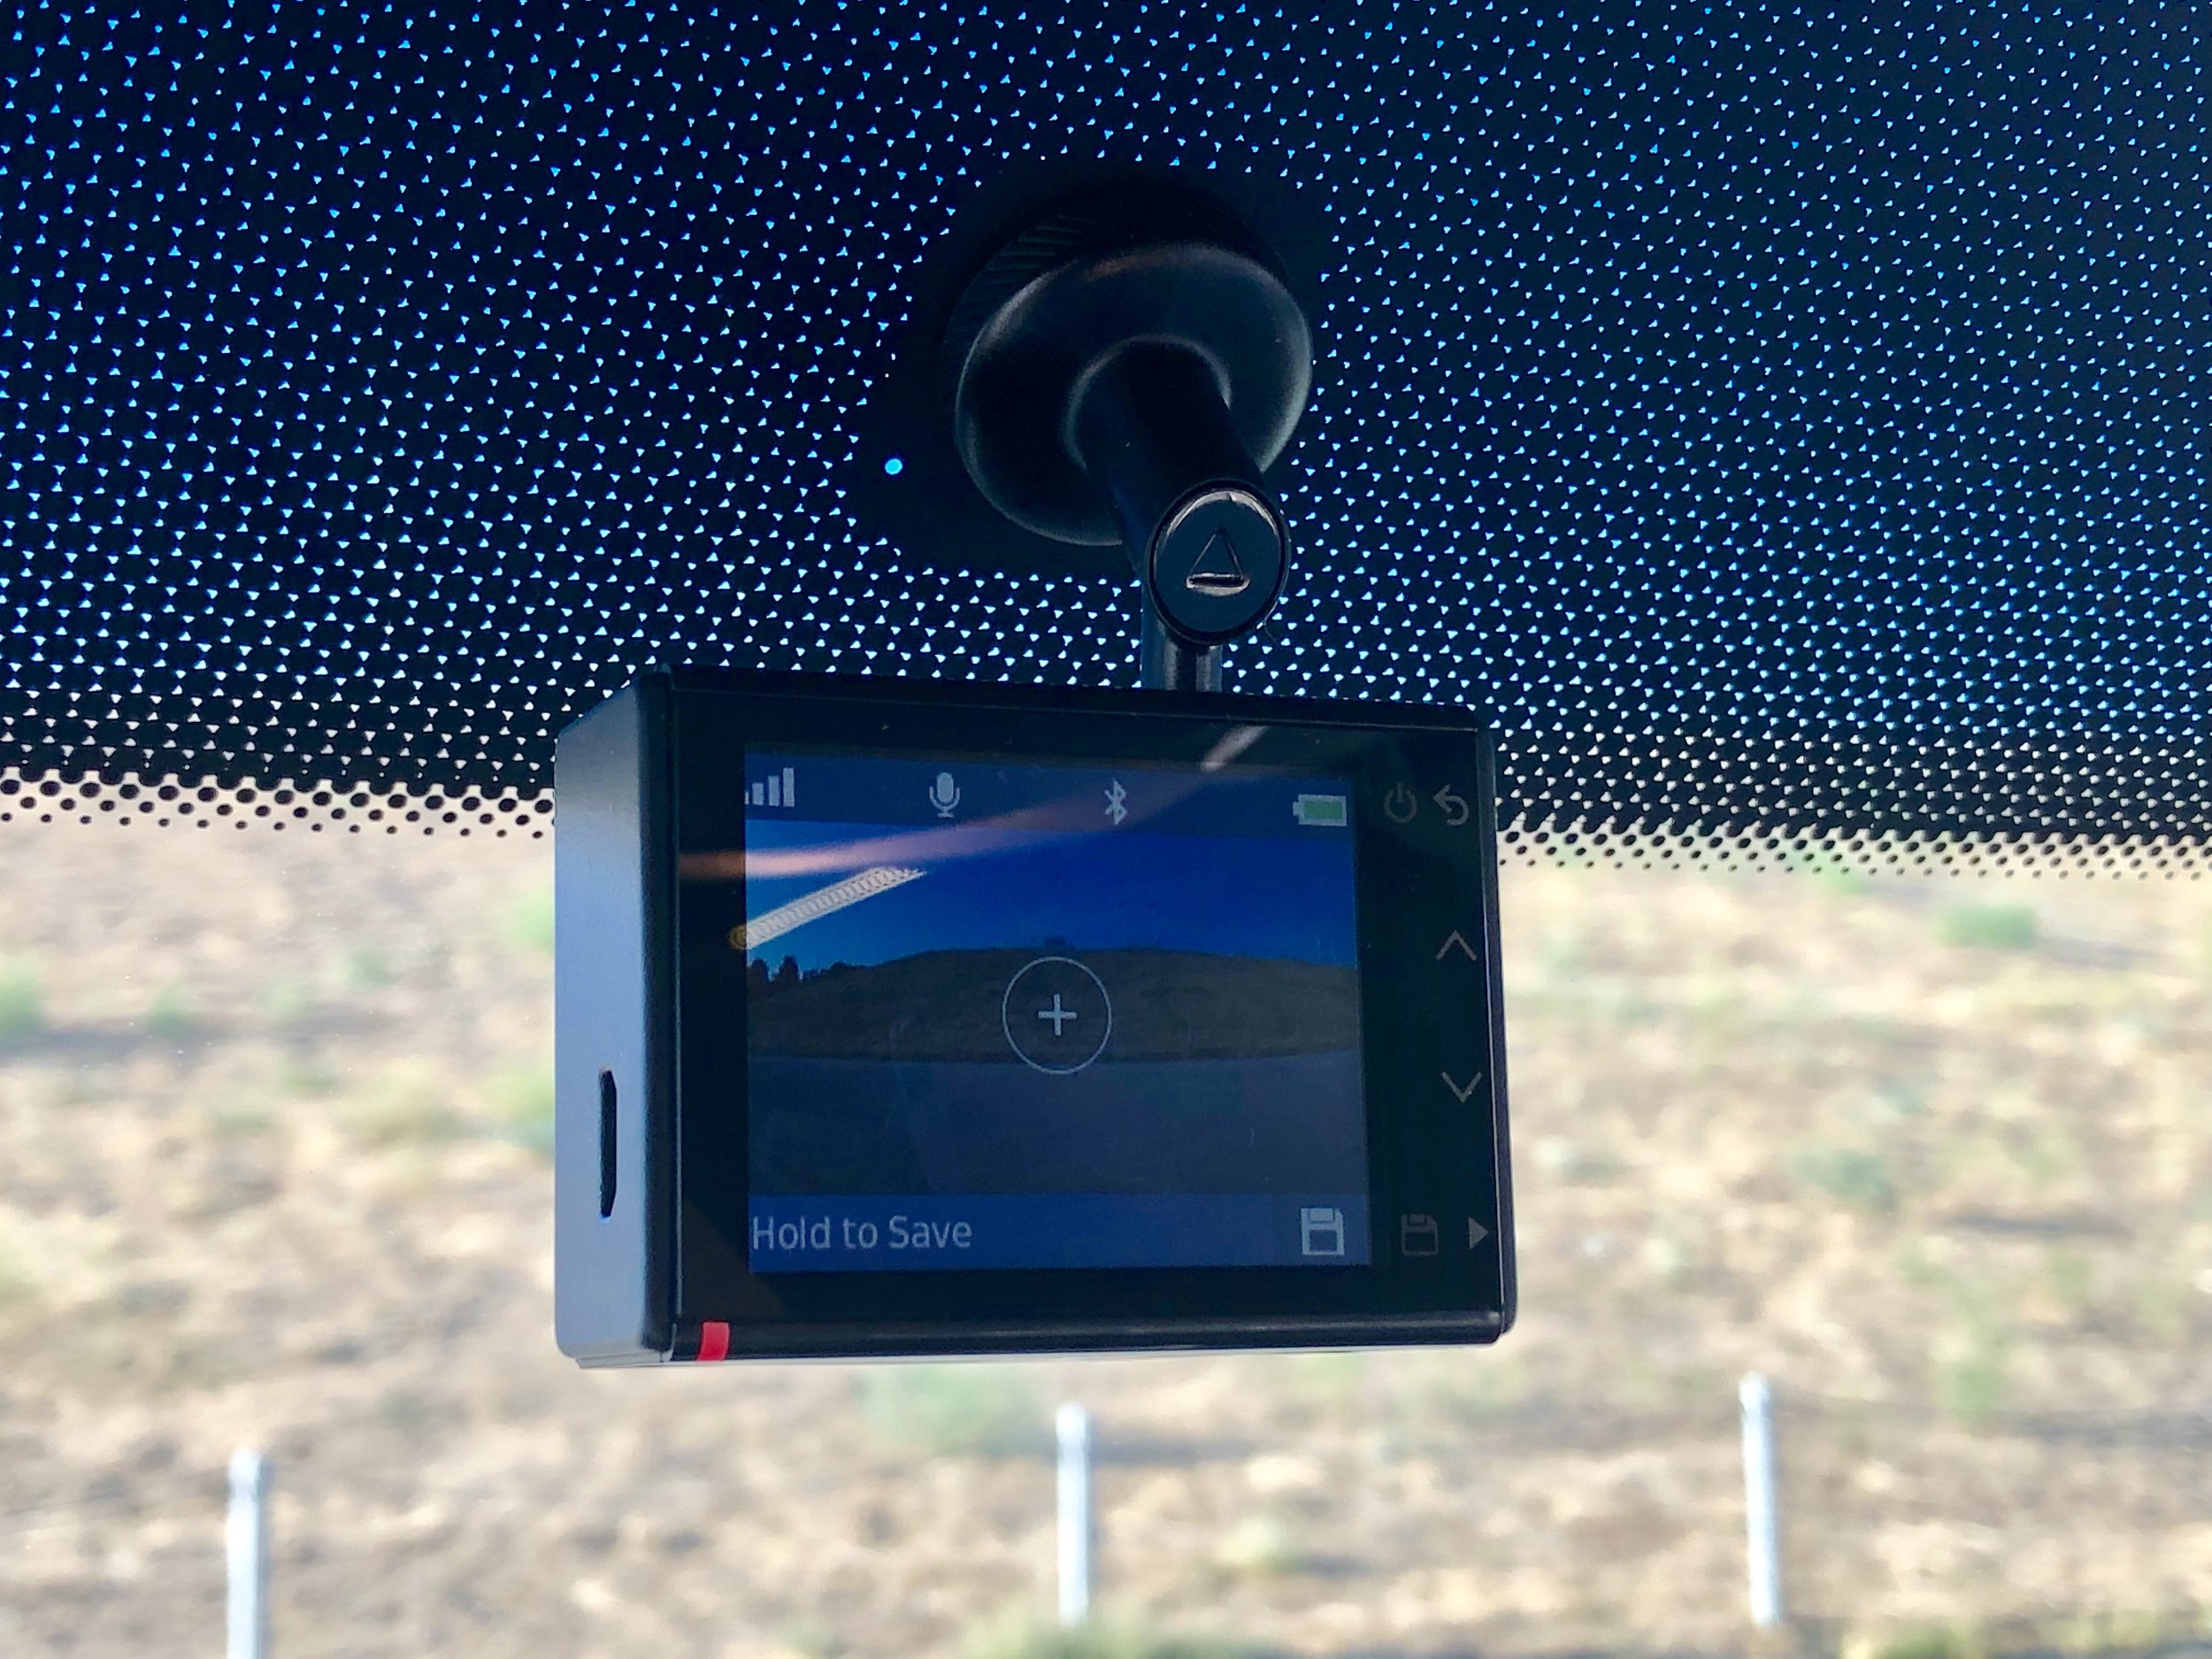
Installing the Camera Mount
The camera mount is a simple, low-profile magnet with a strong 3M-type adhesive. Follow the included instructions: clean the surface, peel the sticker and then hold magnet in place for 30-60 seconds. The adhesive will fully cure in 24 hours. The camera’s neck easily connects and disconnects to the magnet which allows for the pleated front blinds to be closed (this is a key feature to the dash cam mount’s design!).
Installing the Parking Mode Cable (optional)
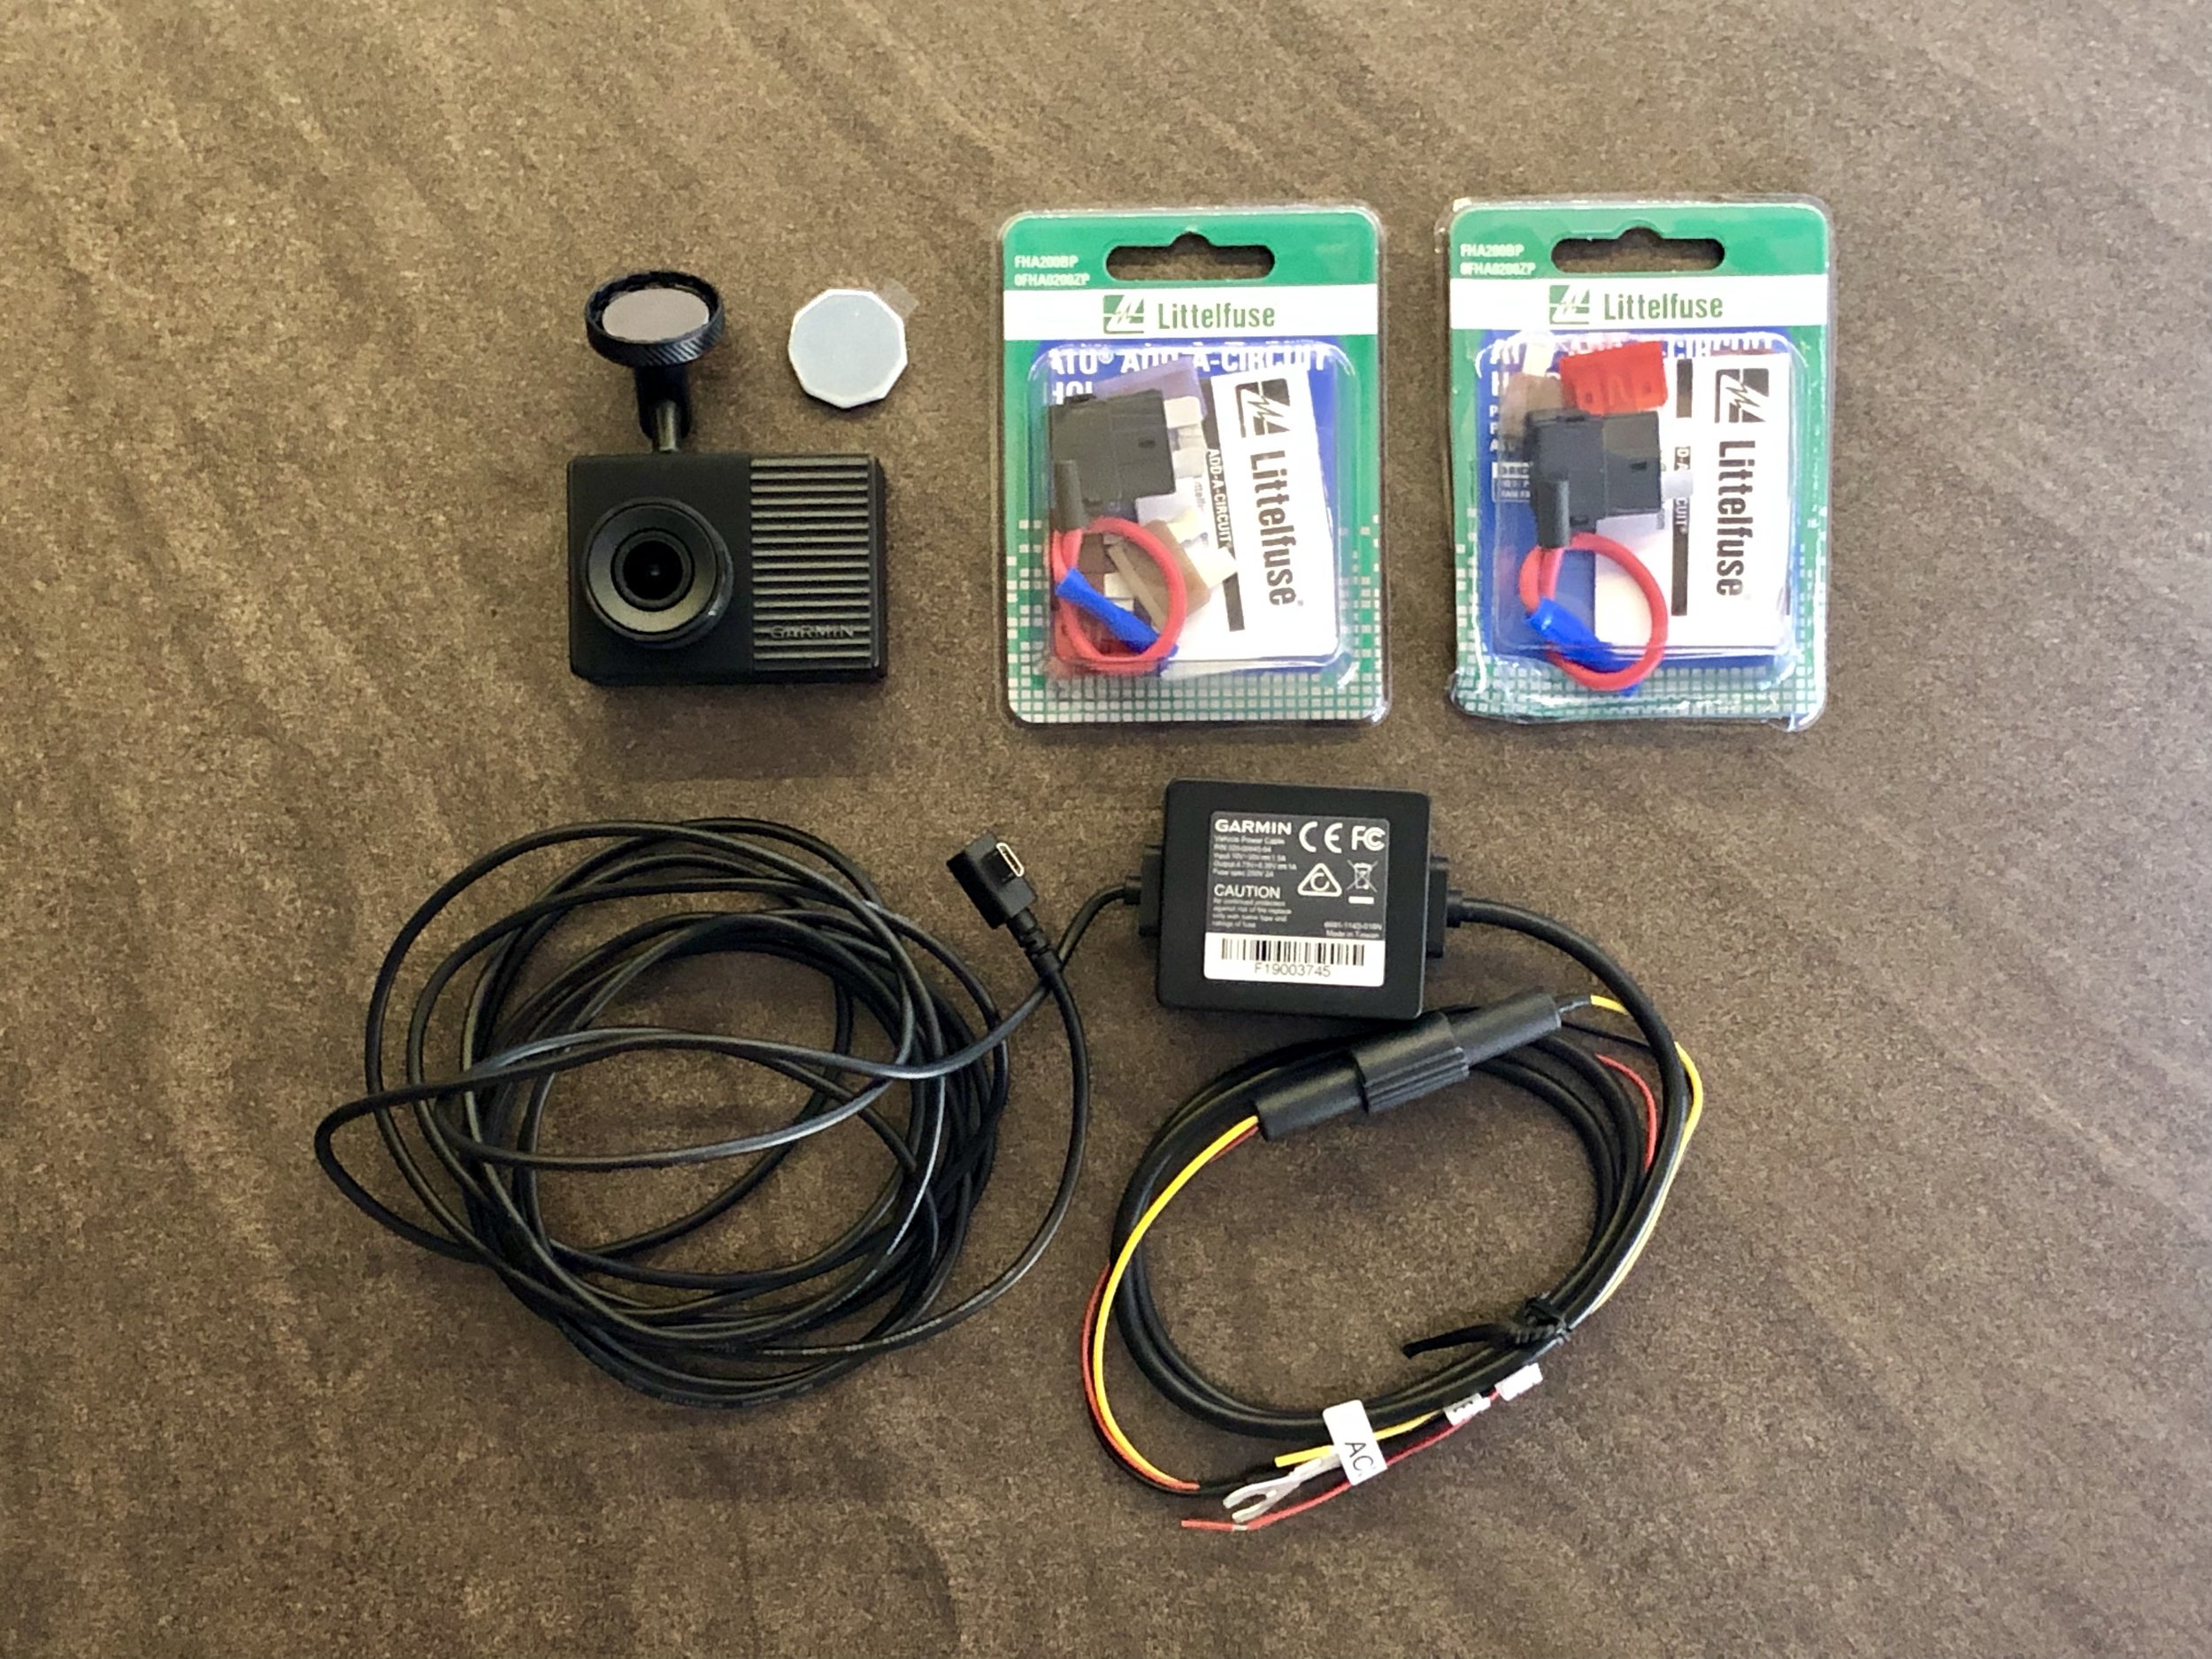
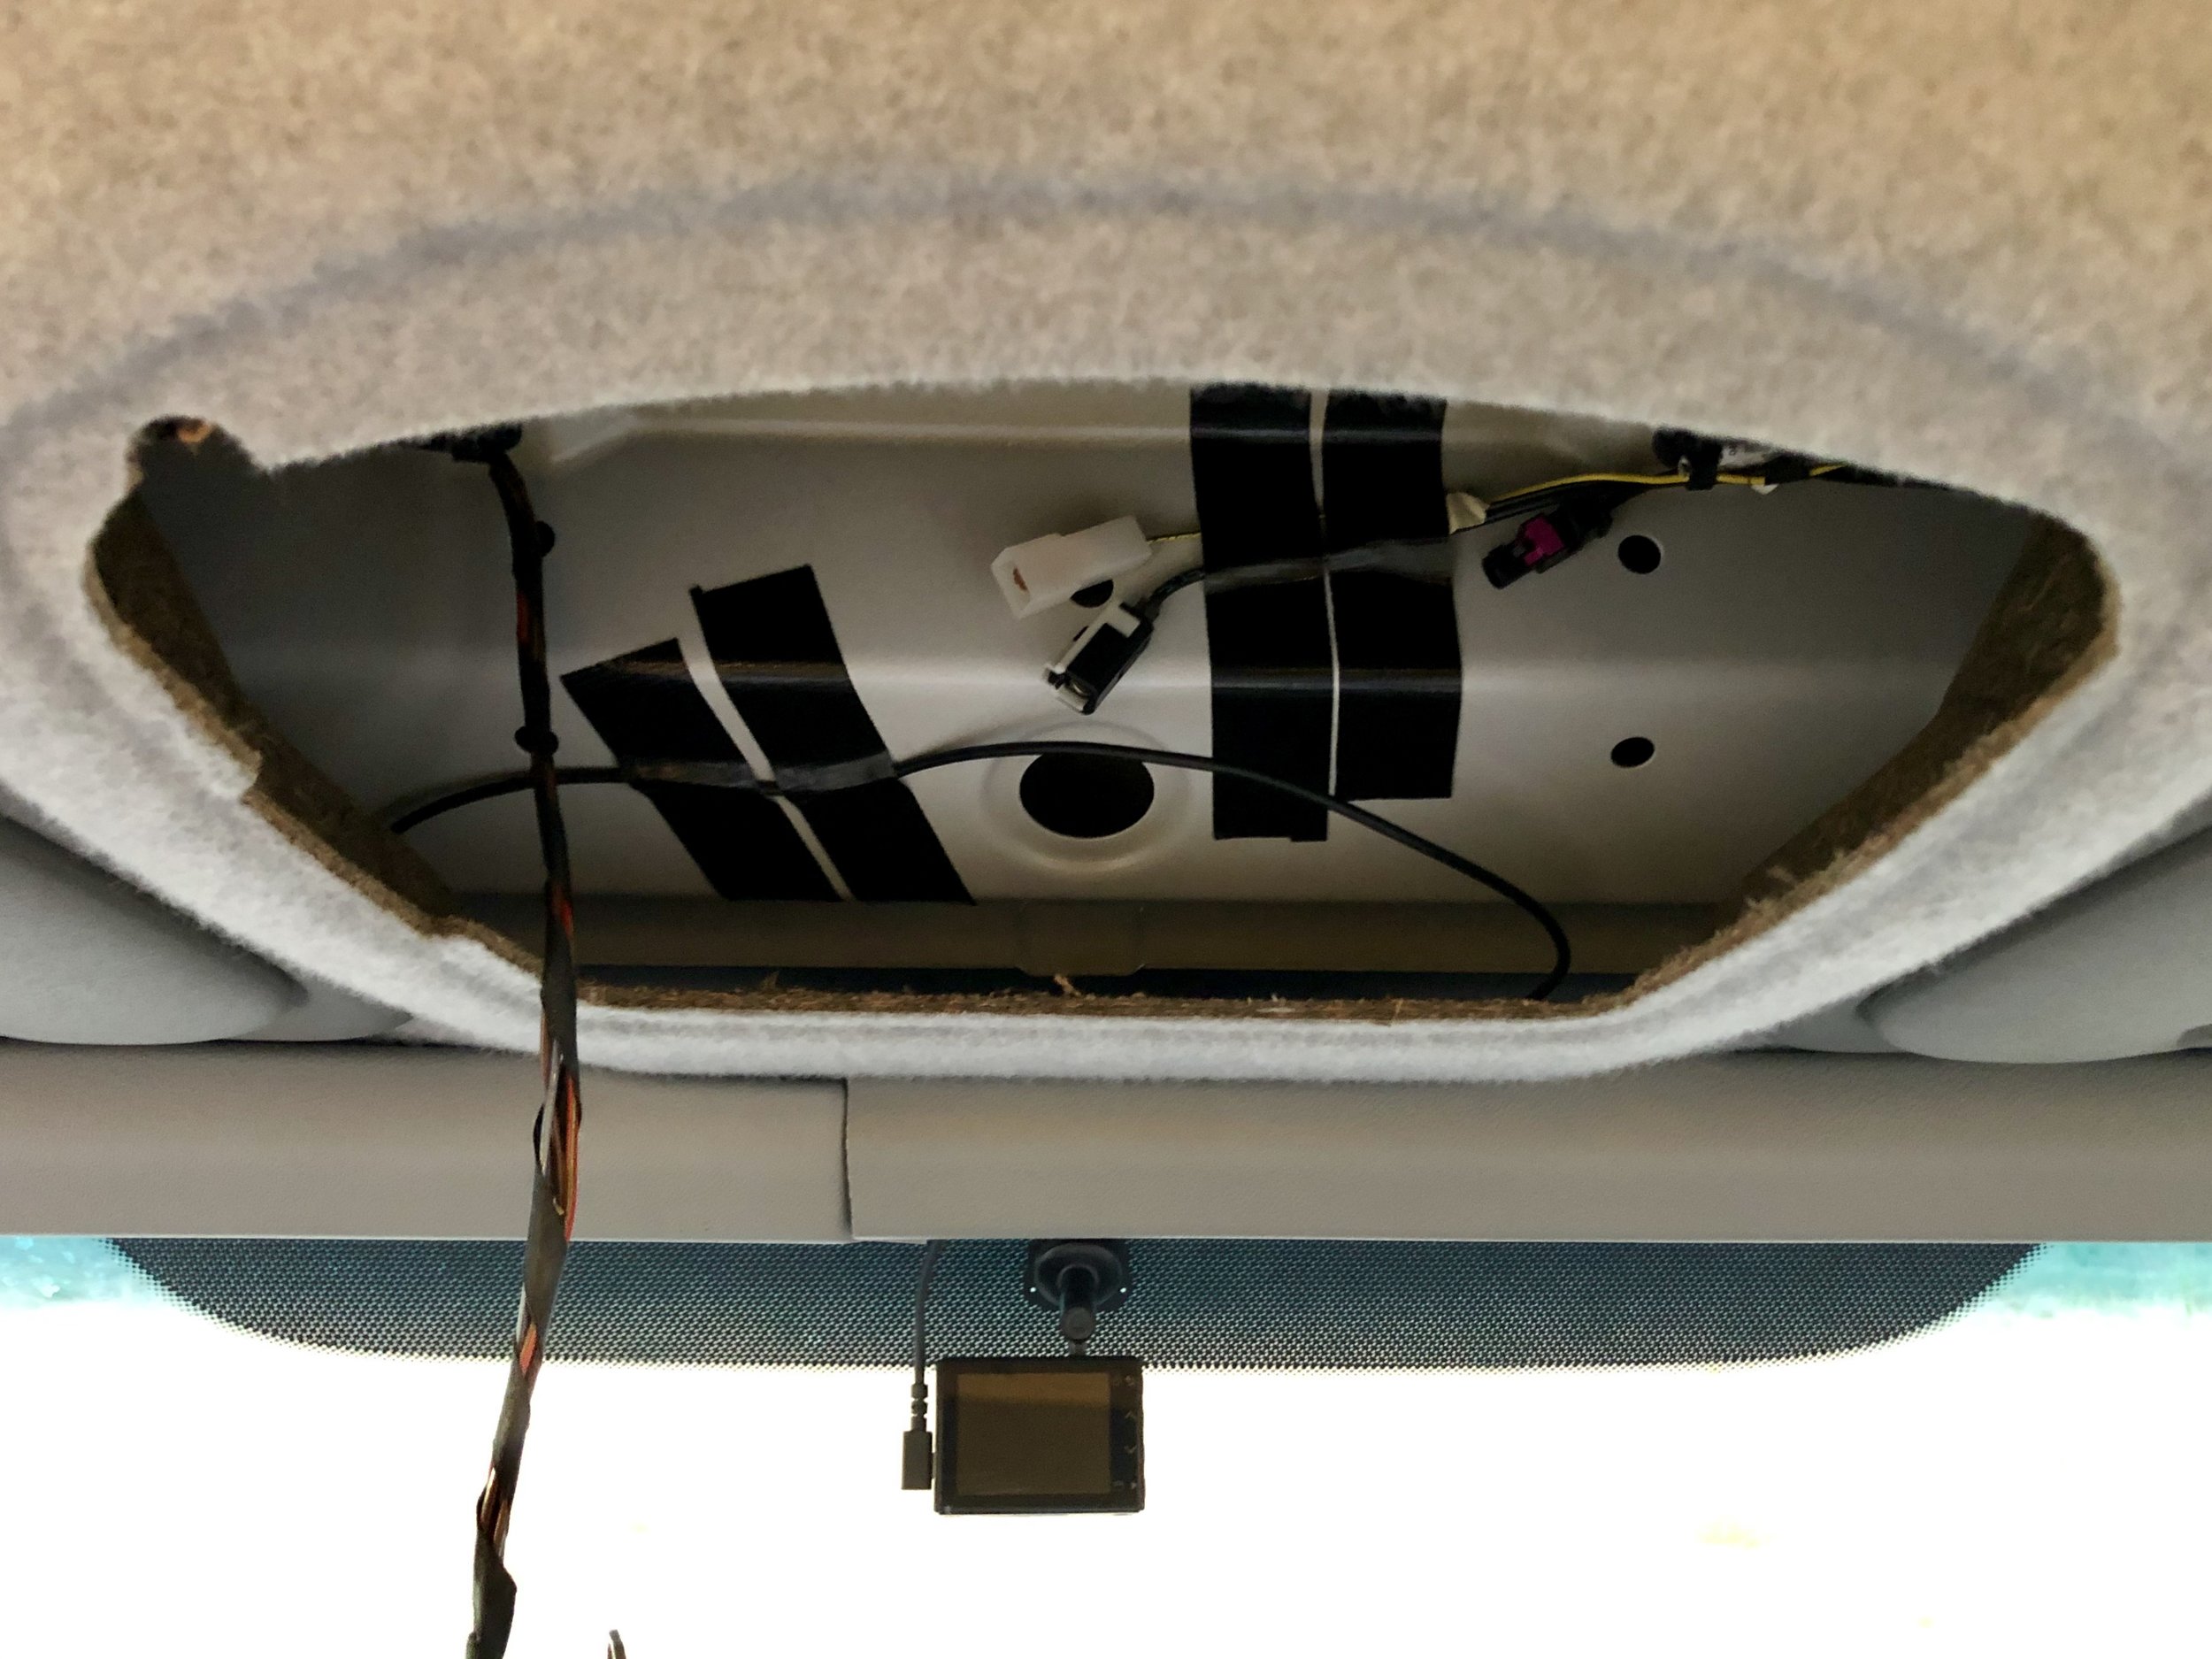
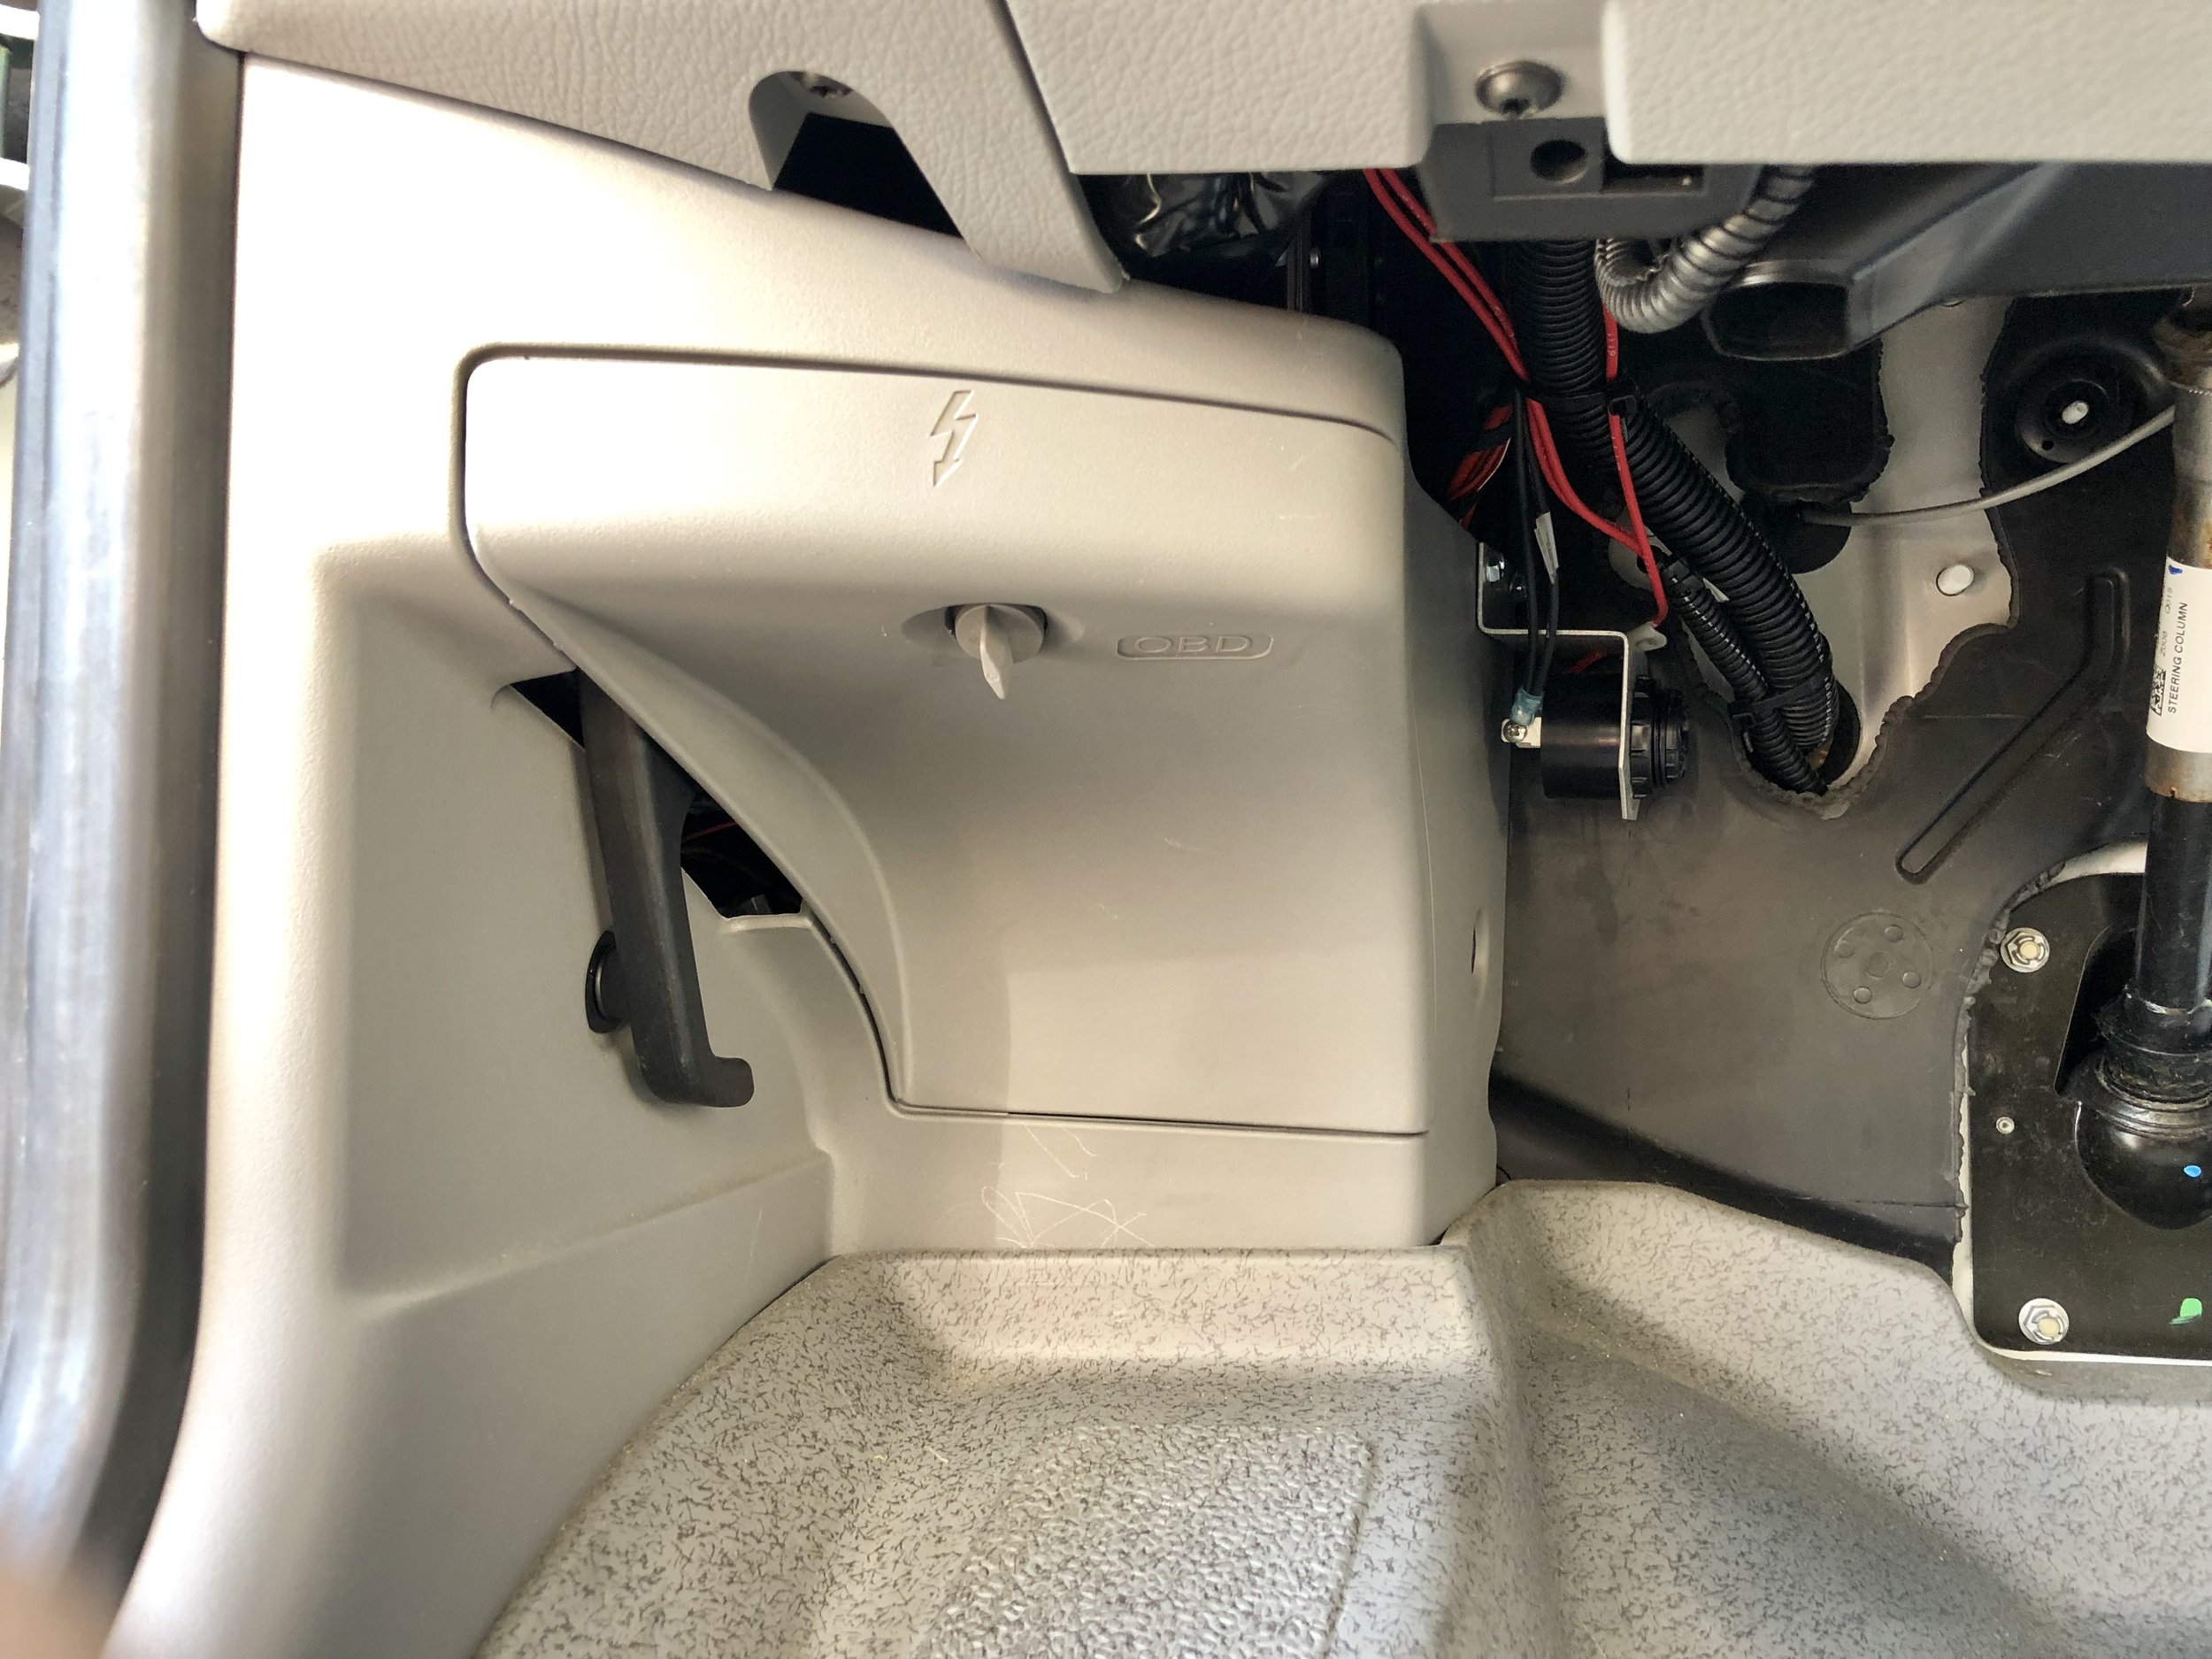
The optional parking mode cable hardwires the camera to the chassis fuse box. It’s actually a very simple job! There are 3 wires in the harness: ground and two positive wires. One of the positive wires is for a “battery” connection that is always on, and the other positive is for “accessory” which is only on when the key is inserted and turned to the “on” position. This keeps power to the camera 100% of the time, yet it helps differentiate when you’re driving vs. when you’re parked. You can always disconnect the USB connection at the camera if you want to power off and/or unmount the camera altogether.
I ran the wires down and behind the driver’s side pillar. I only had to remove two screws in the Remi blinds to gain access. The wires don’t have far to go, so it wasn’t that complicated. Fishing the wires is made easier with a wire noodler kit.
To connect the two wires to the chassis 12v fuse box, you’ll need to utilize two add-a-circuits. For the always-on “battery” wire, I plugged into fuse #18 in the lower area (which was available, see photo). For the “accessory” wire, I piggybacked fuse #13 in the upper area (see photo). Fuse #13 is connected to one of the 12v cigarette lighters as well as the glovebox light. For a YouTube video tutorial with more info, click here.
Garmin 56 Owner’s Manual
The PDF owner’s manual is available online by clicking here.
Garmin 56 Dash Cam: www.amazon.com/dp/B0932FTP6D
Parking Mode Cable: www.amazon.com/dp/B06XTBPYS2
256 GB SD Card: www.amazon.com/dp/B07FCR3316
Add-a-Circuit (pack of 5): www.amazon.com/dp/B01BU59RFM
Auto Trim Removal Tool: www.amazon.com/dp/B01L8GHB7O
Wire Noodler Kit: www.amazon.com/dp/B01LXCJSRP
[BACK TO MODS MAIN PAGE]