Mod: House Speakers + Amp


DETAILS: House Speakers + Amp
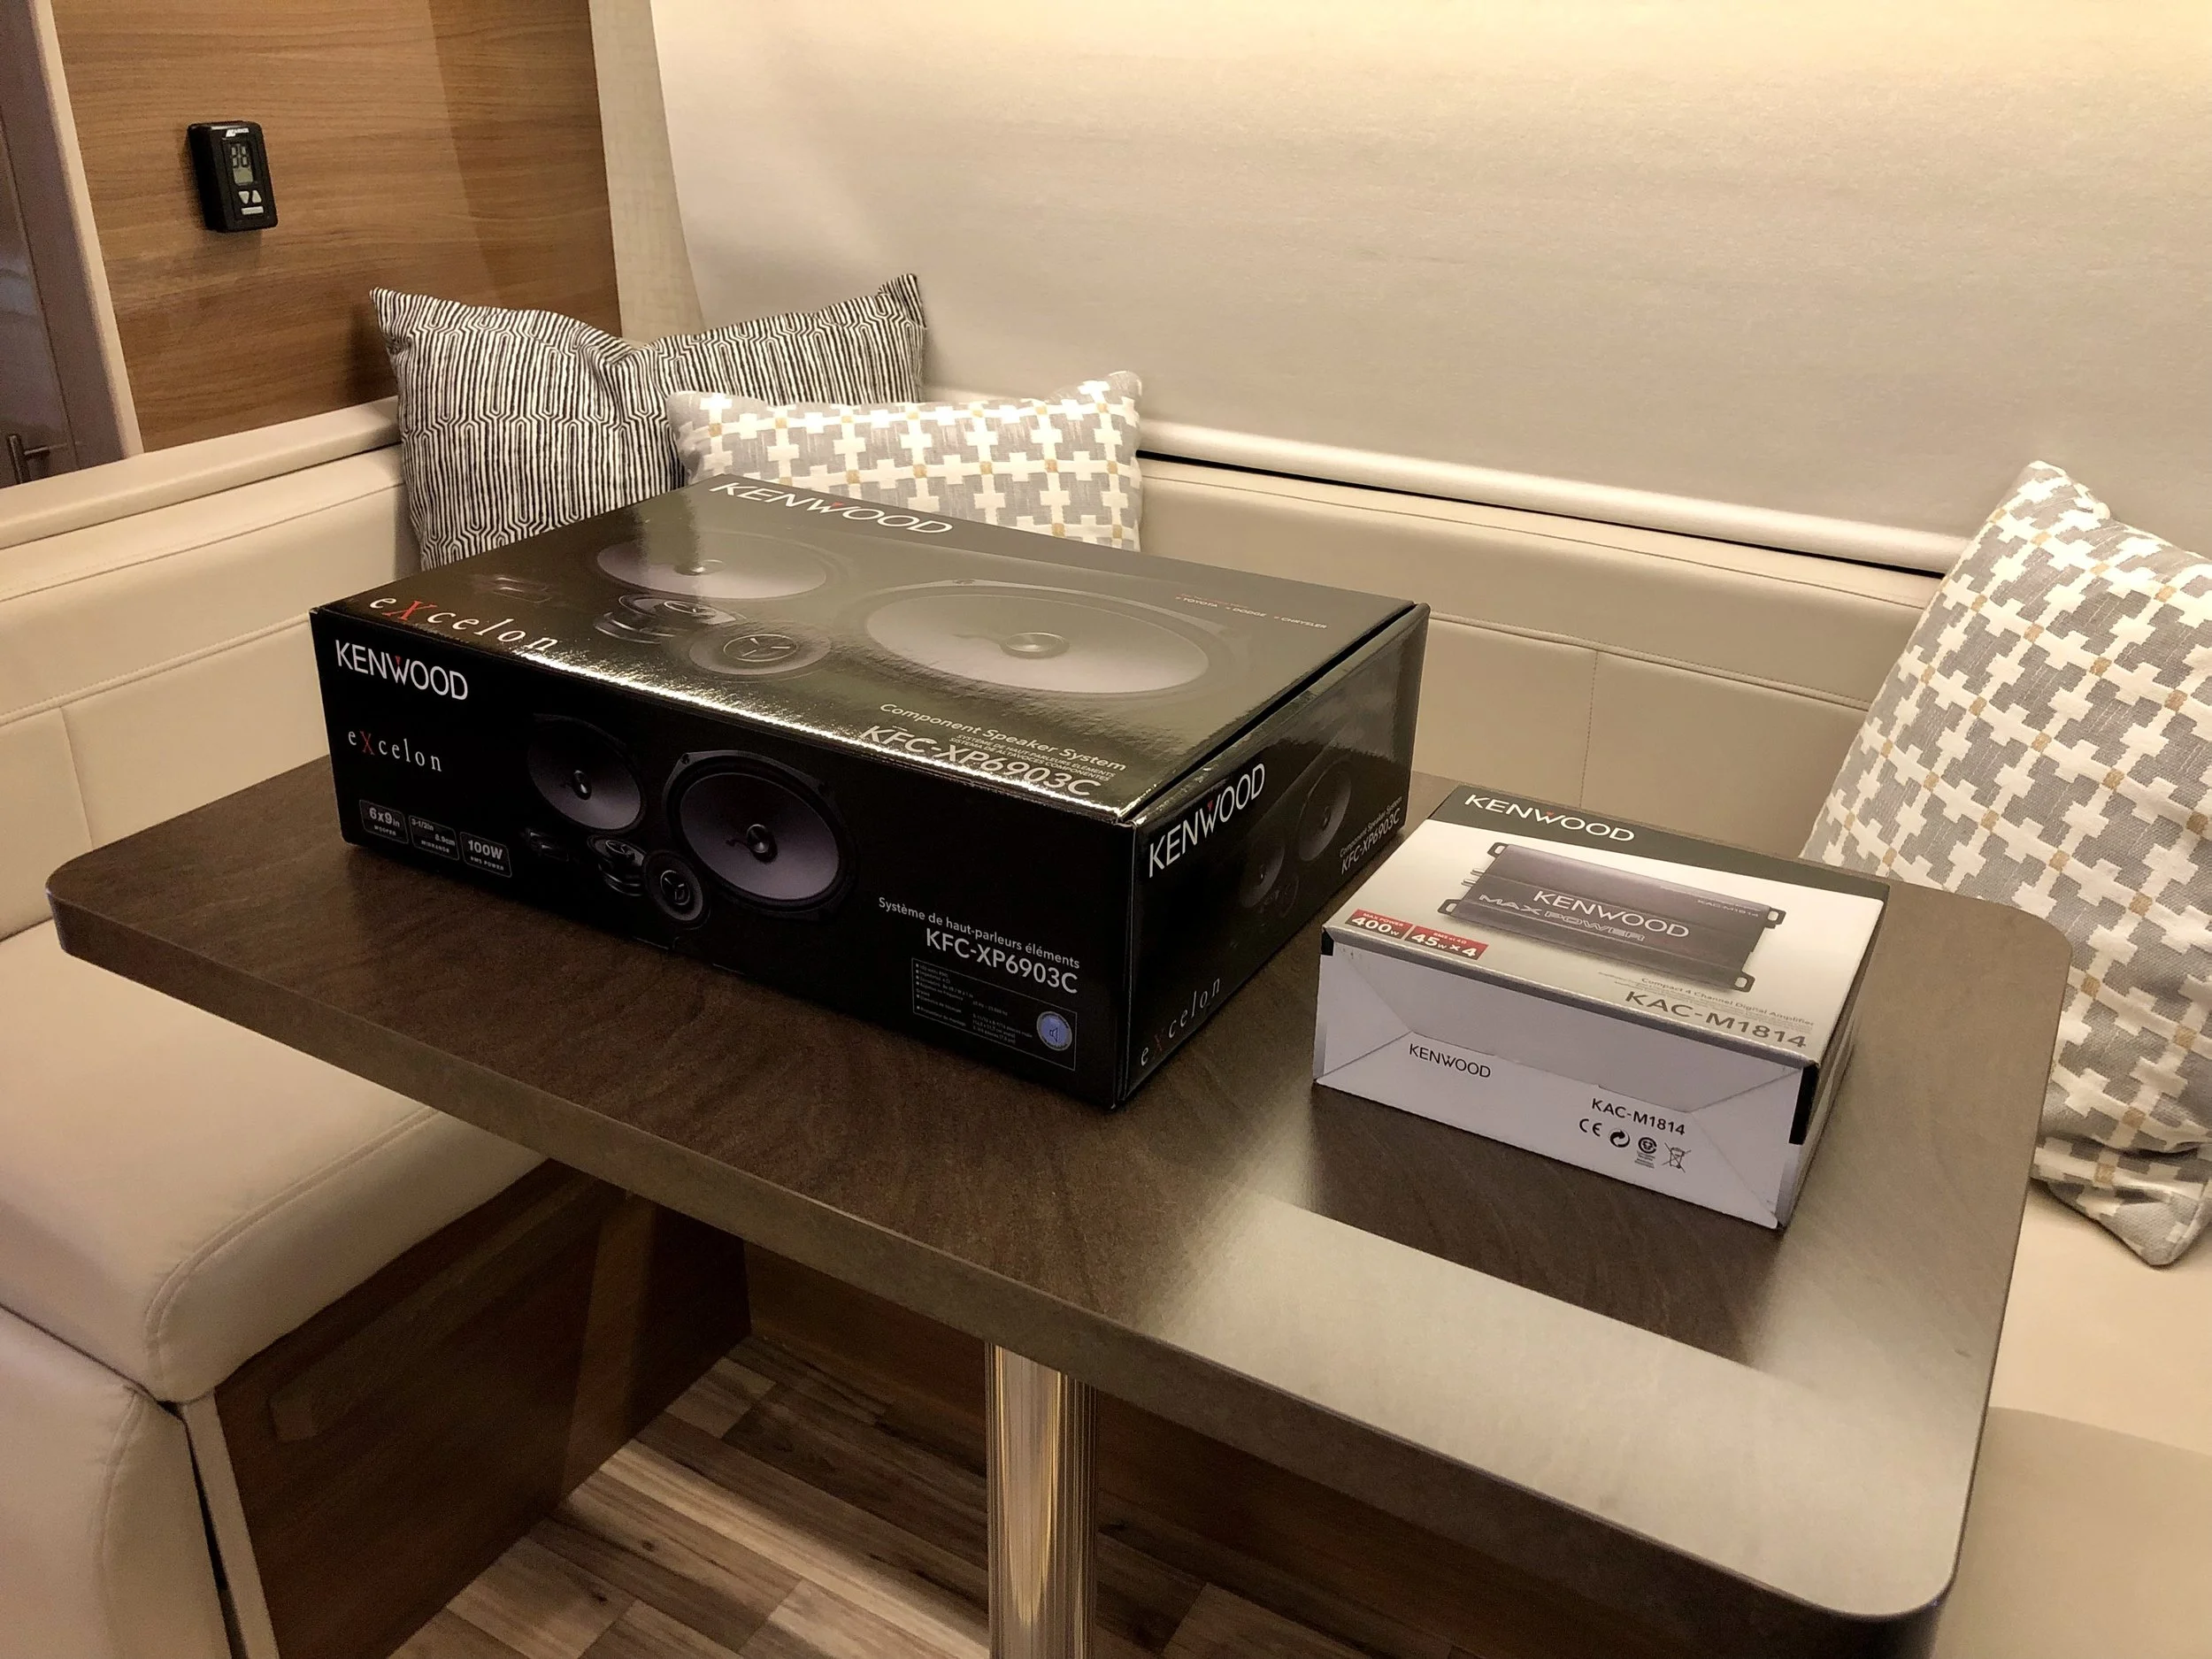
Sound systems in RVs aren’t typically very impressive, but read-on if you want to change that! I just completed a major upgrade to the house radio sound system. Even though the stock Jensen radio remains in place, the two main problems have been solved: the need for an amplifier to power much better speakers. Adding just better speakers without a matching amplifier, or just an amplifier without new speakers, won’t produce the desired improvement.
Added two 4-channel amplifiers
Replaced all 7 OEM speakers (A, B and C zones)
Added a second “subwoofer” in zone A
Removed all OEM crossovers
Added two low pass crossovers (one for each 6x9 “subwoofers”)
Added two speakers above bed
The stock Jensen radio has the capability to play 8 channels, though Winnebago only utilizes 6 of the channels (despite connecting 7 speakers!). Confused? I was too. After speaking with Winnebago and studying their wiring diagrams, I figured out that they are splitting one of the channels in the “A” zone to double as the Right/Front channel in Zone “A” as well as the “subwoofer” (which is really just a 6” x 9” speaker with a crossover to play low frequencies). Winnebago left a 4-pin harness unused for channels 7/8 which I ended up utilizing for the two bedroom speakers (more info on this below).
Dinette Speakers in Zone “A”
I replaced the two small speakers above the dinette with slightly larger Kenwood Excelon 3.5” speakers (which came as part of a 4-speaker component package with two 6” x 9” speakers). Since these speakers didn’t come with grills, I ended up getting some spares from a local car radio installation shop.
Subwoofers in Zone “A”
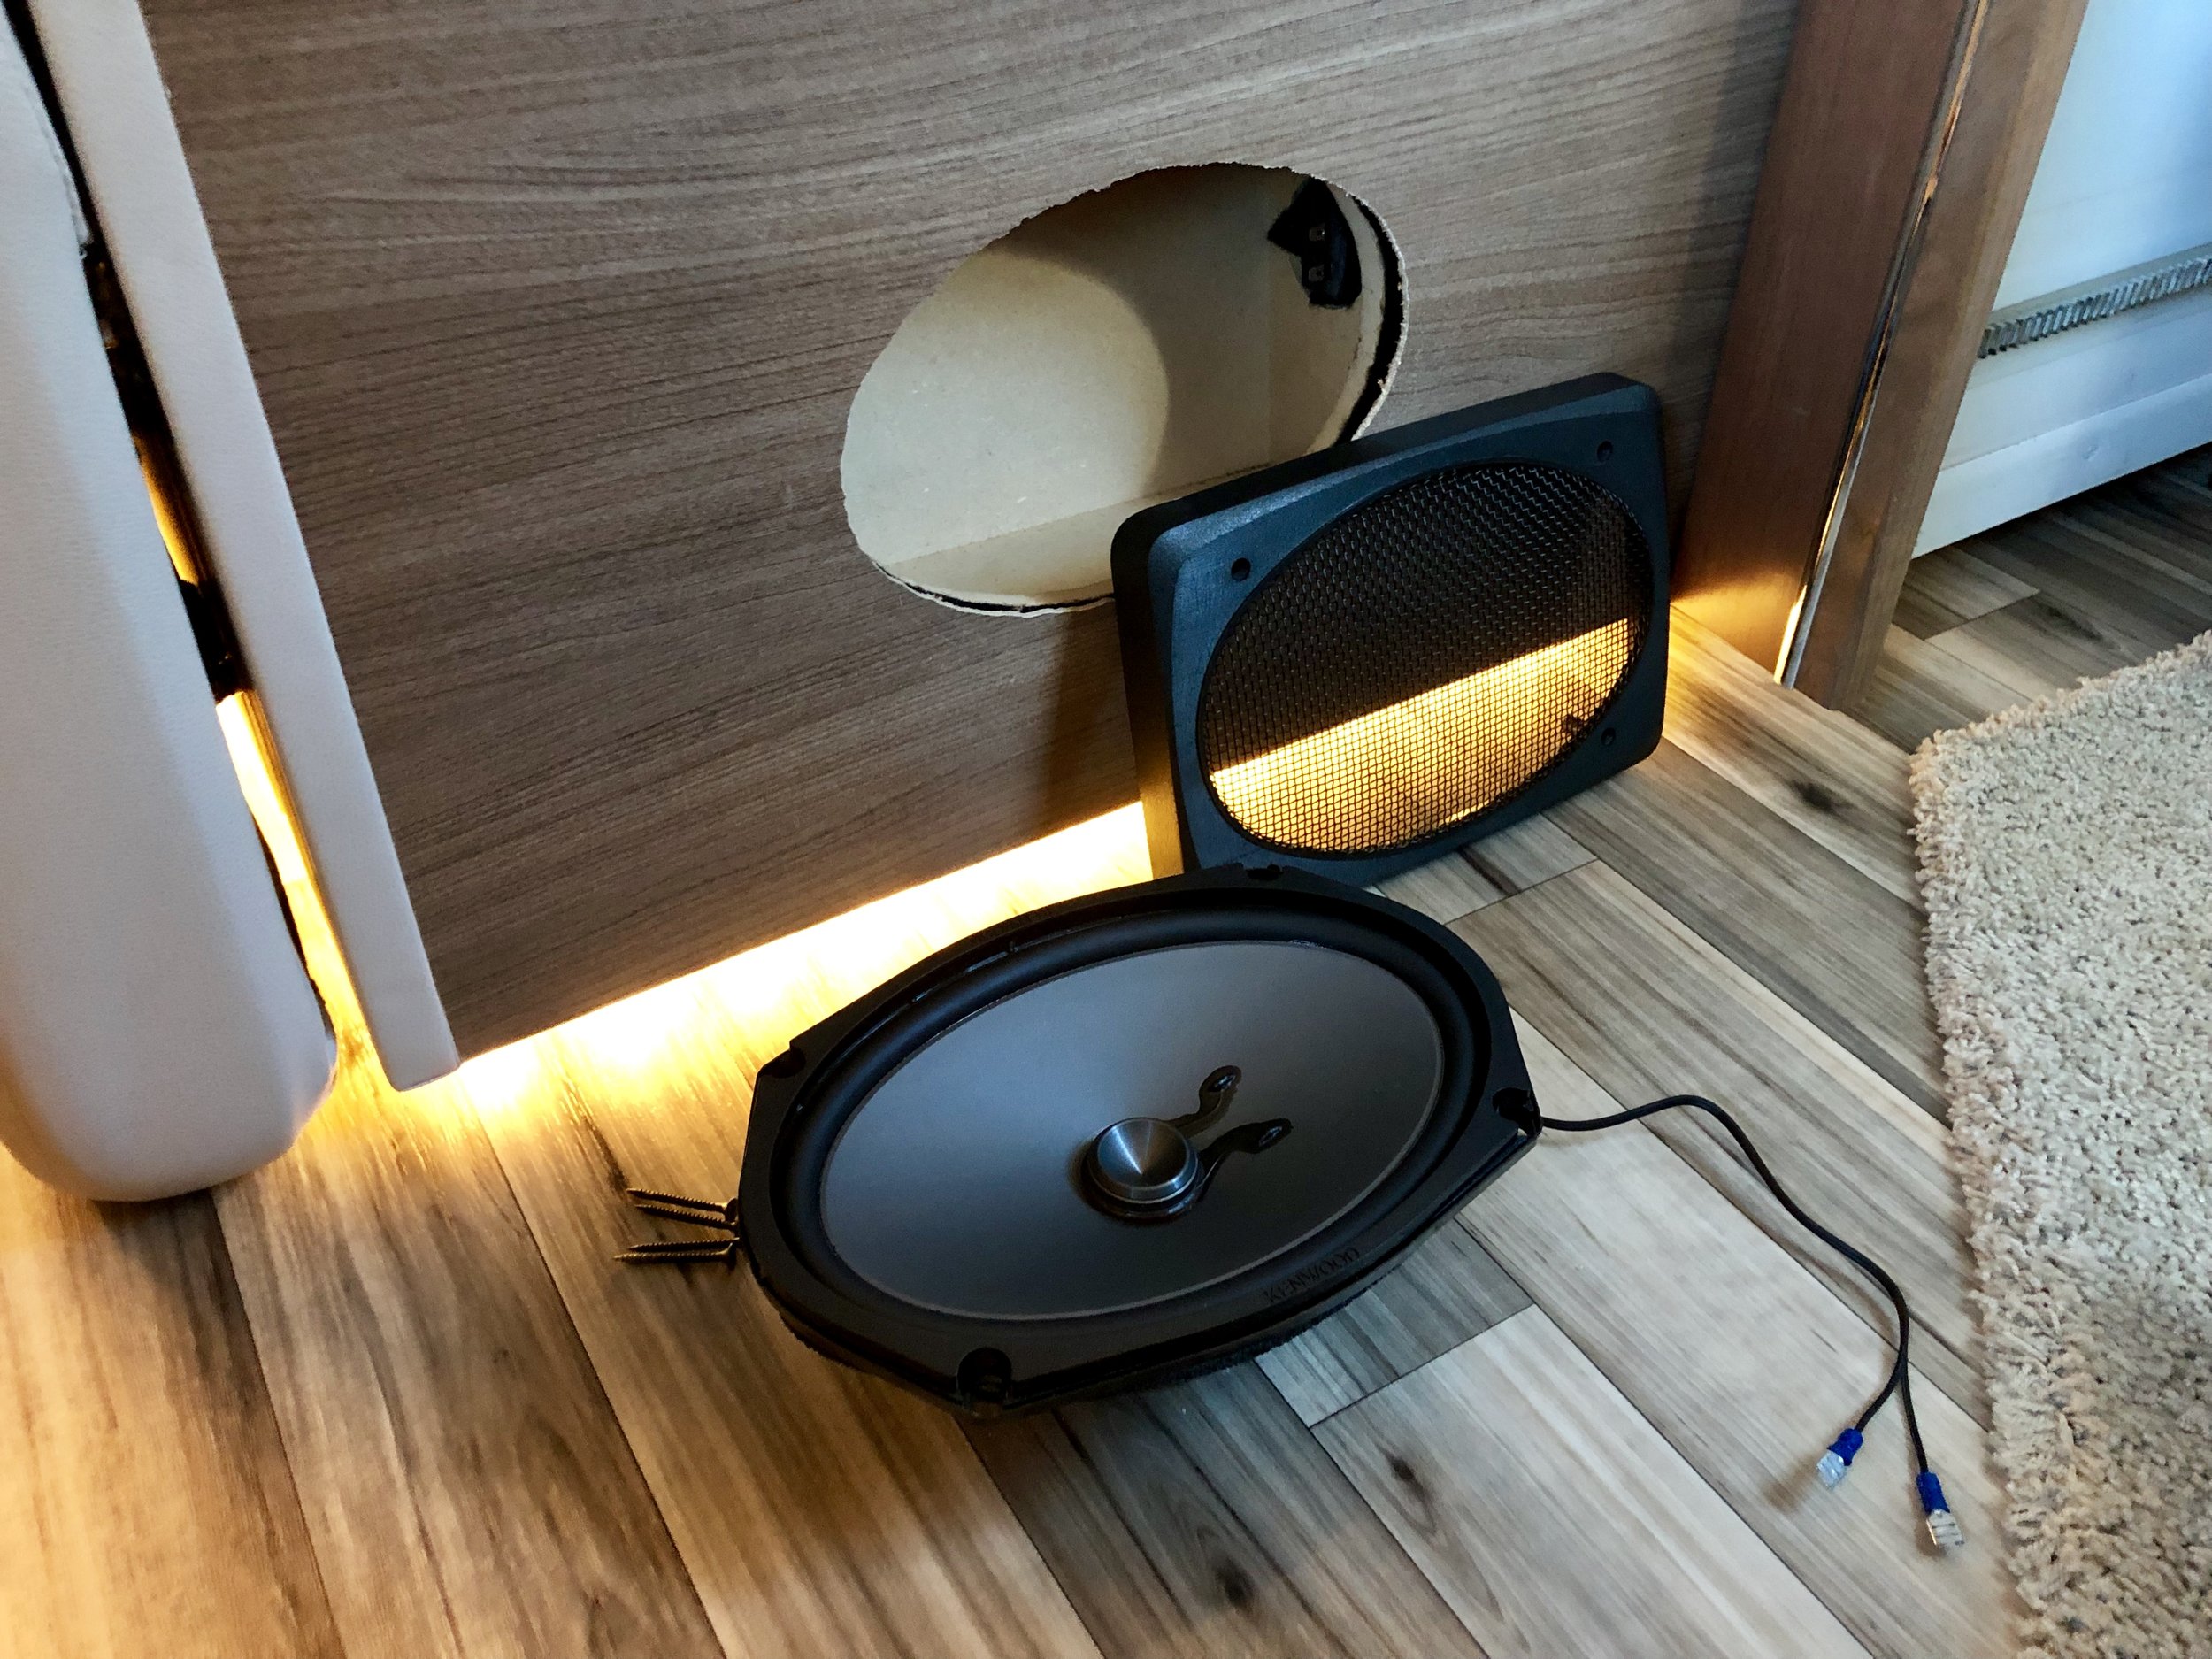
The 8th speaker is a second 6” x 9” speaker which I installed on the opposite side of the dinette (close to the driver’s seat). This addition provides a nice balance of sound inside the motorhome. In order to add the speaker, I needed to Dremel an oval in the thin wood (see photos). Since the wood is so thin, the relatively heavy speaker didn’t have enough structure to screw into, so I placed a 6” x 9” speaker box to put on the inside of the thin wall of wood. The speaker (mounted on the outside of the wall) is screwed into the speaker box which is sitting inside the wall (underneath the dinette seats).
The new 6” x 9” speaker is wired in series with the other 6” x 9” speaker which is located in the original Winnebago position on the other side of the dinette. To wire in series, connect the positive lead coming from the amp to the positive lead of one of the two speakers, and the negative lead coming from the amp to the negative lead of the other speaker, and then add a wire connecting the two remaining terminals on the two speakers.
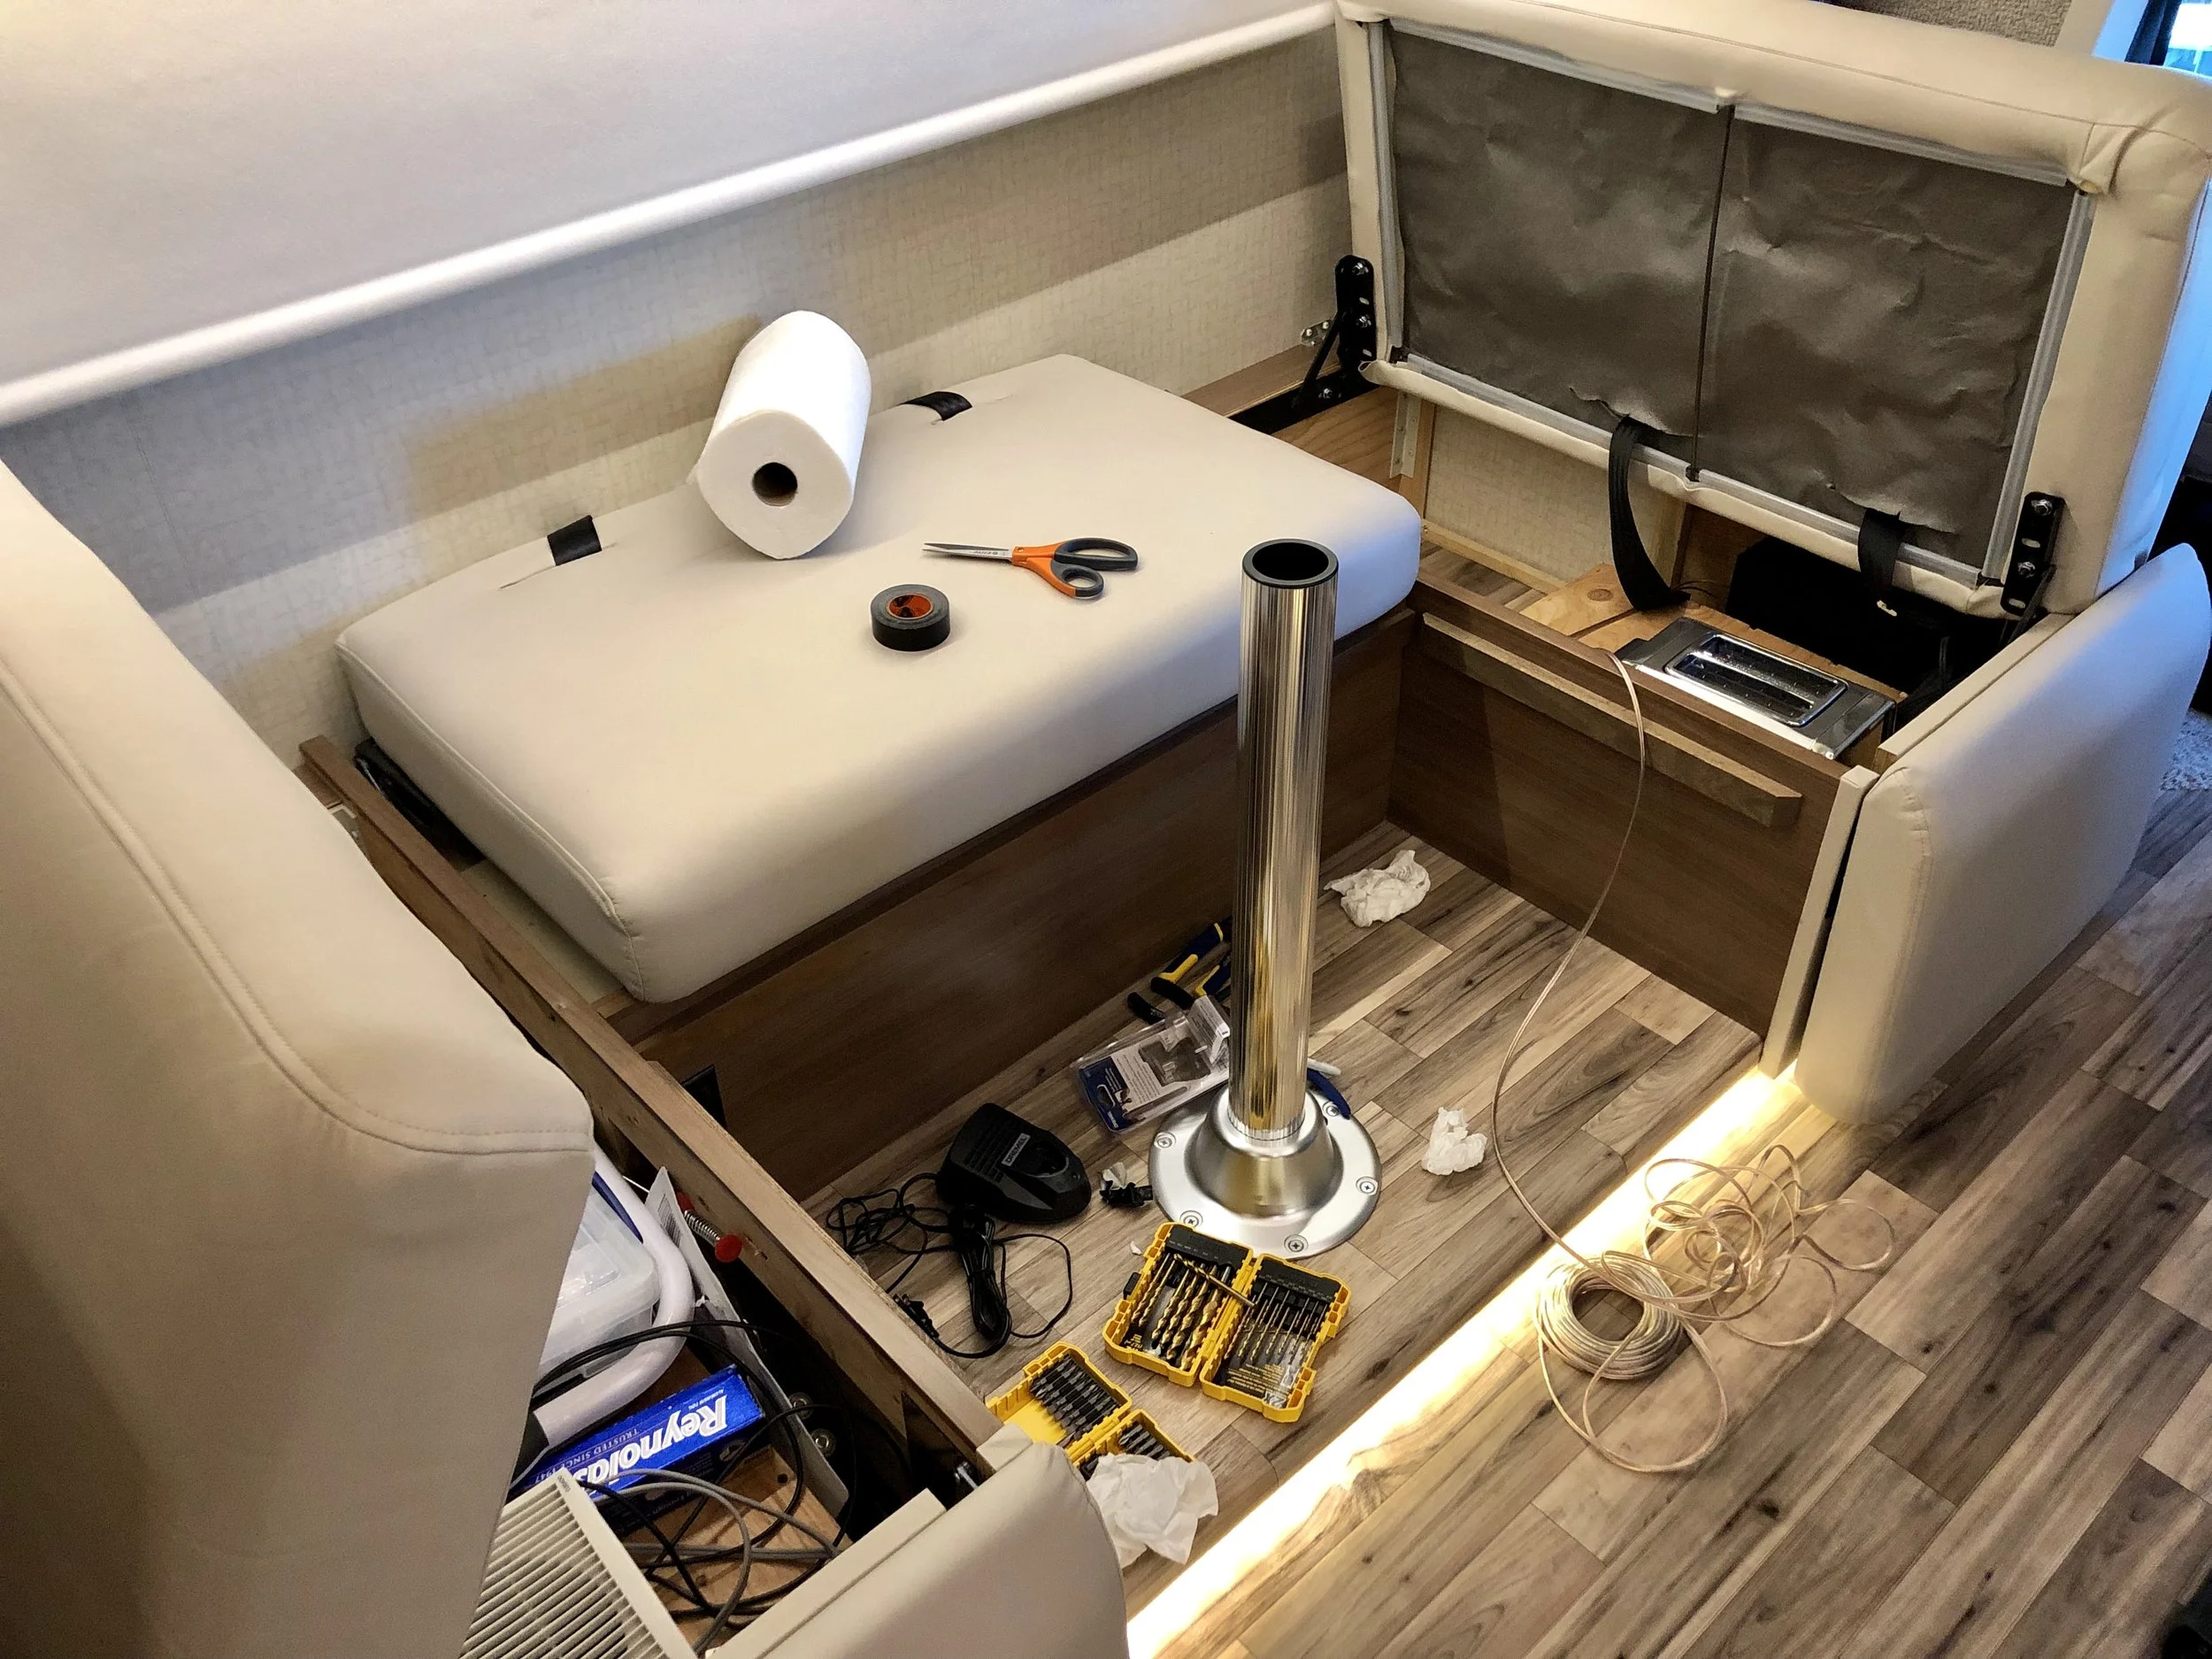
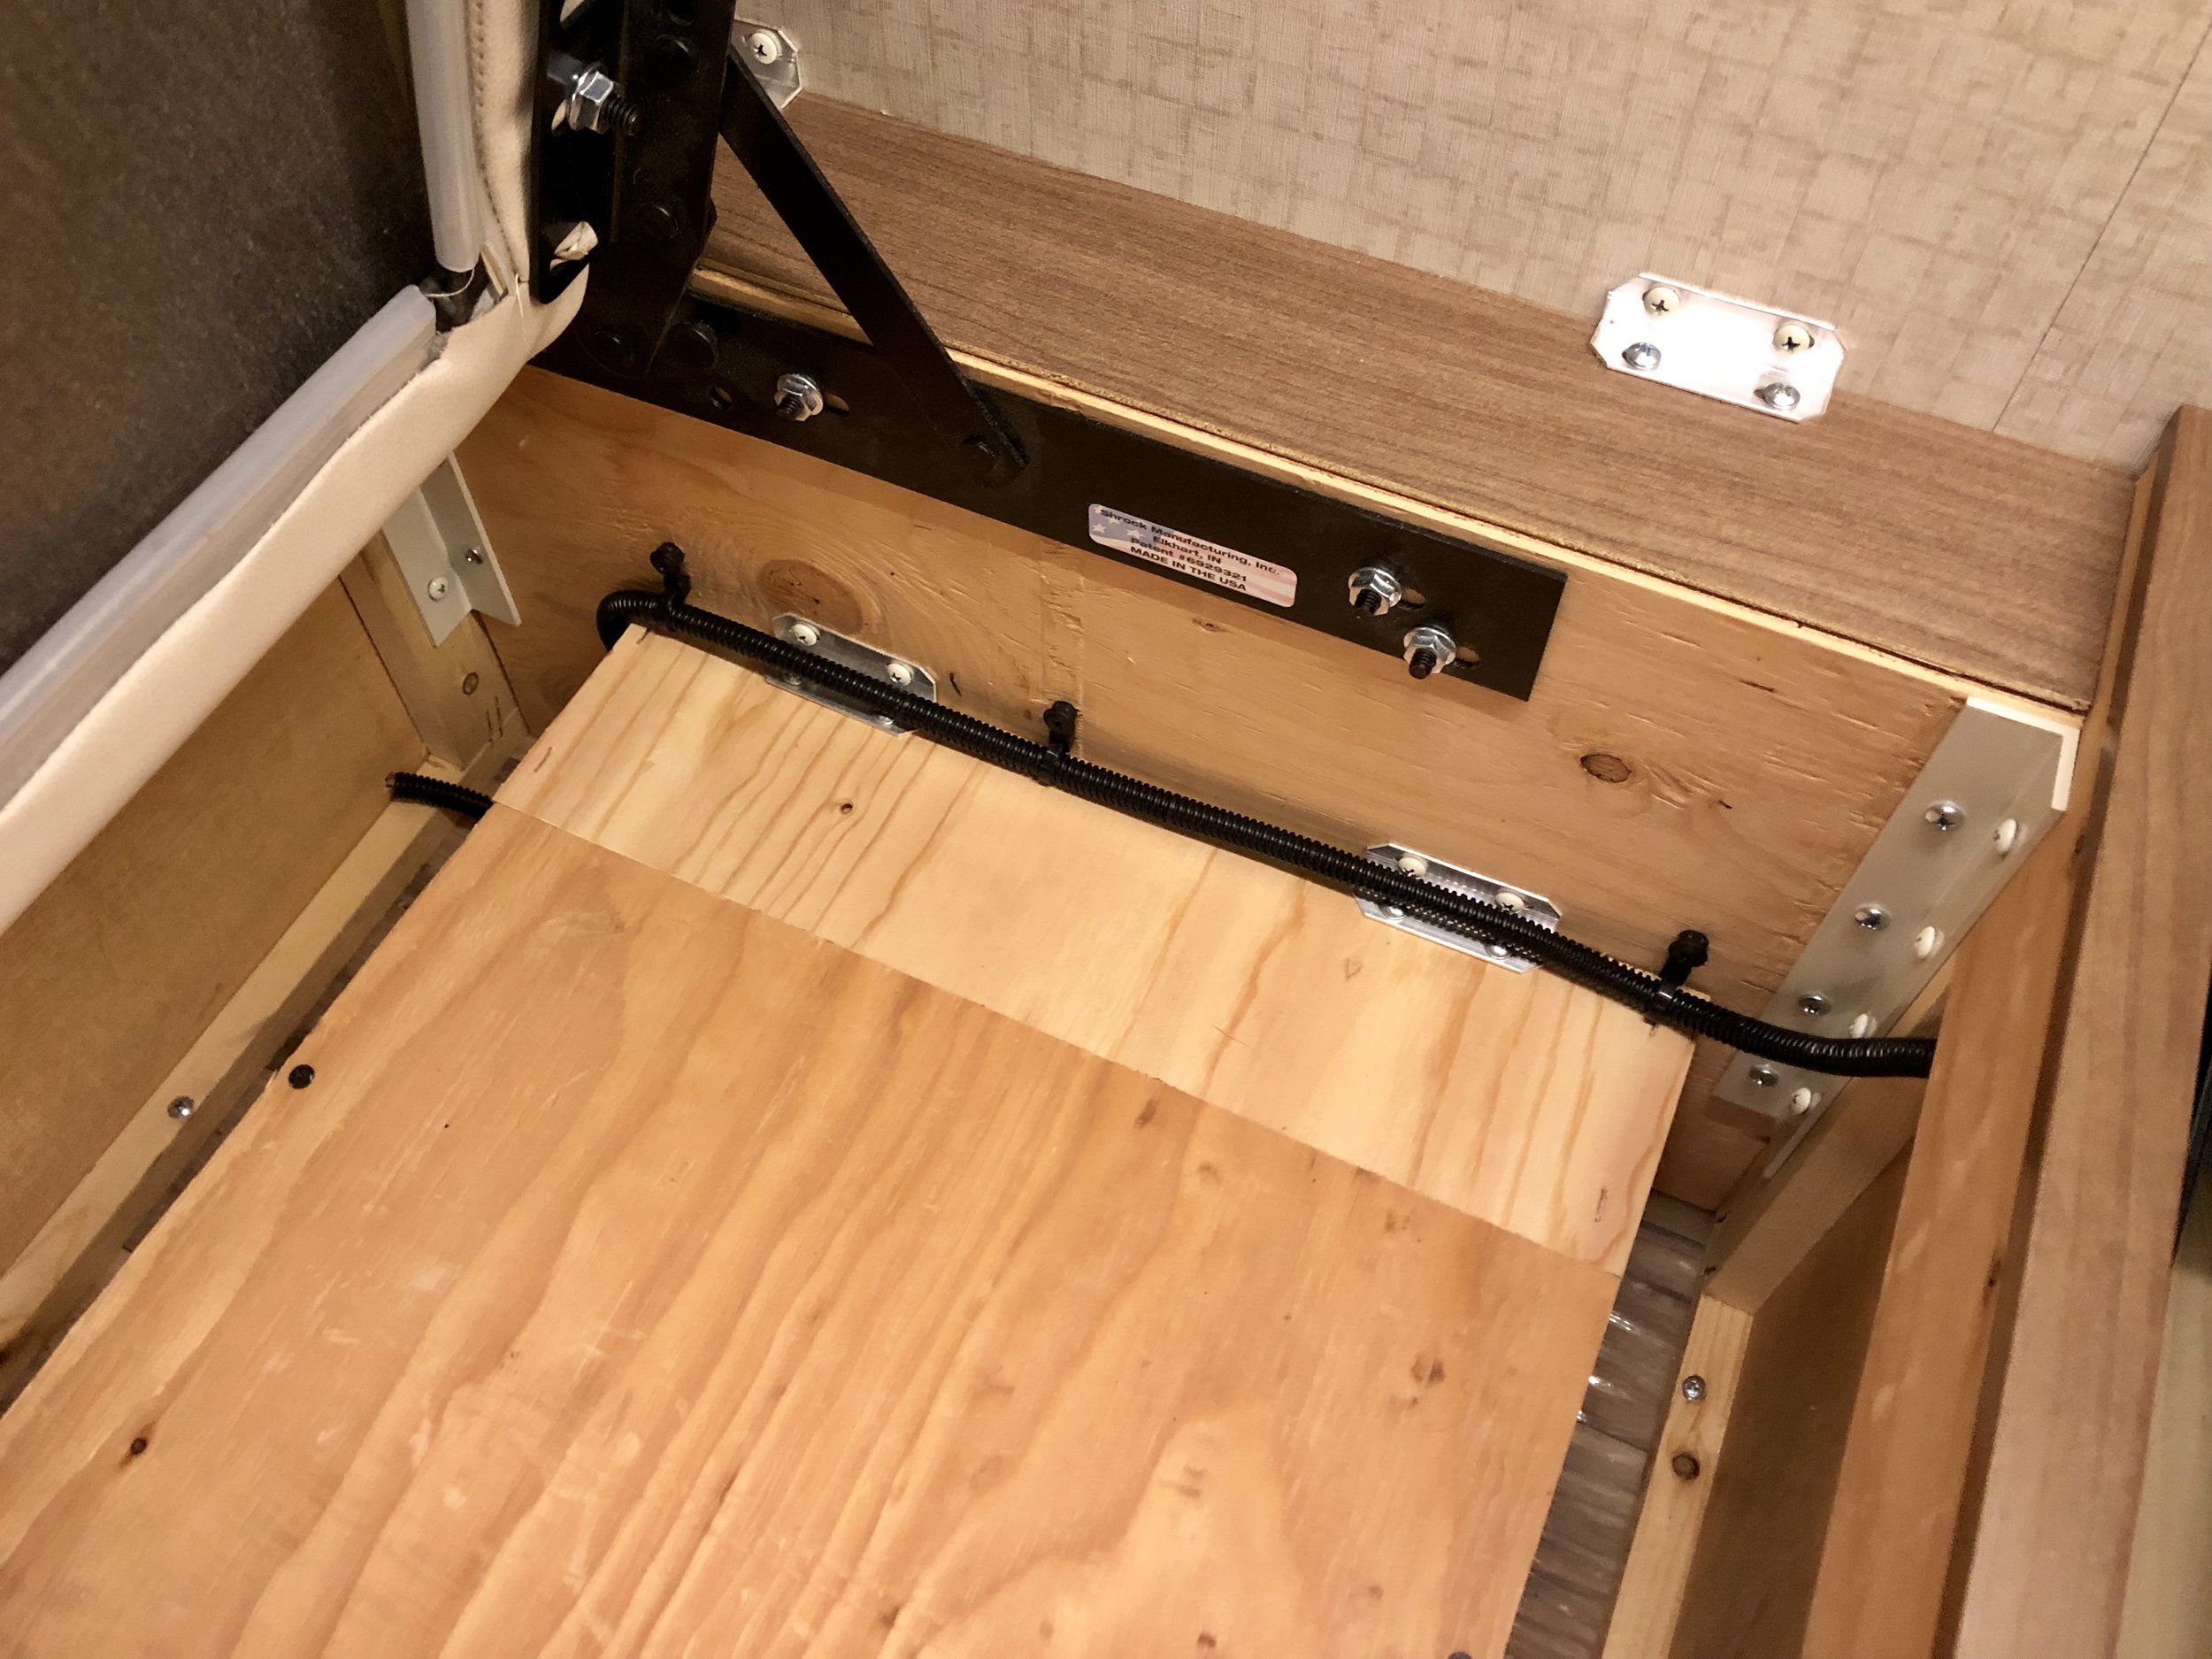
I ran the speaker wires in a thin conduit underneath the dinette seating along the inside edges of all 3 compartments underneath the seats (see photos).
Crossovers
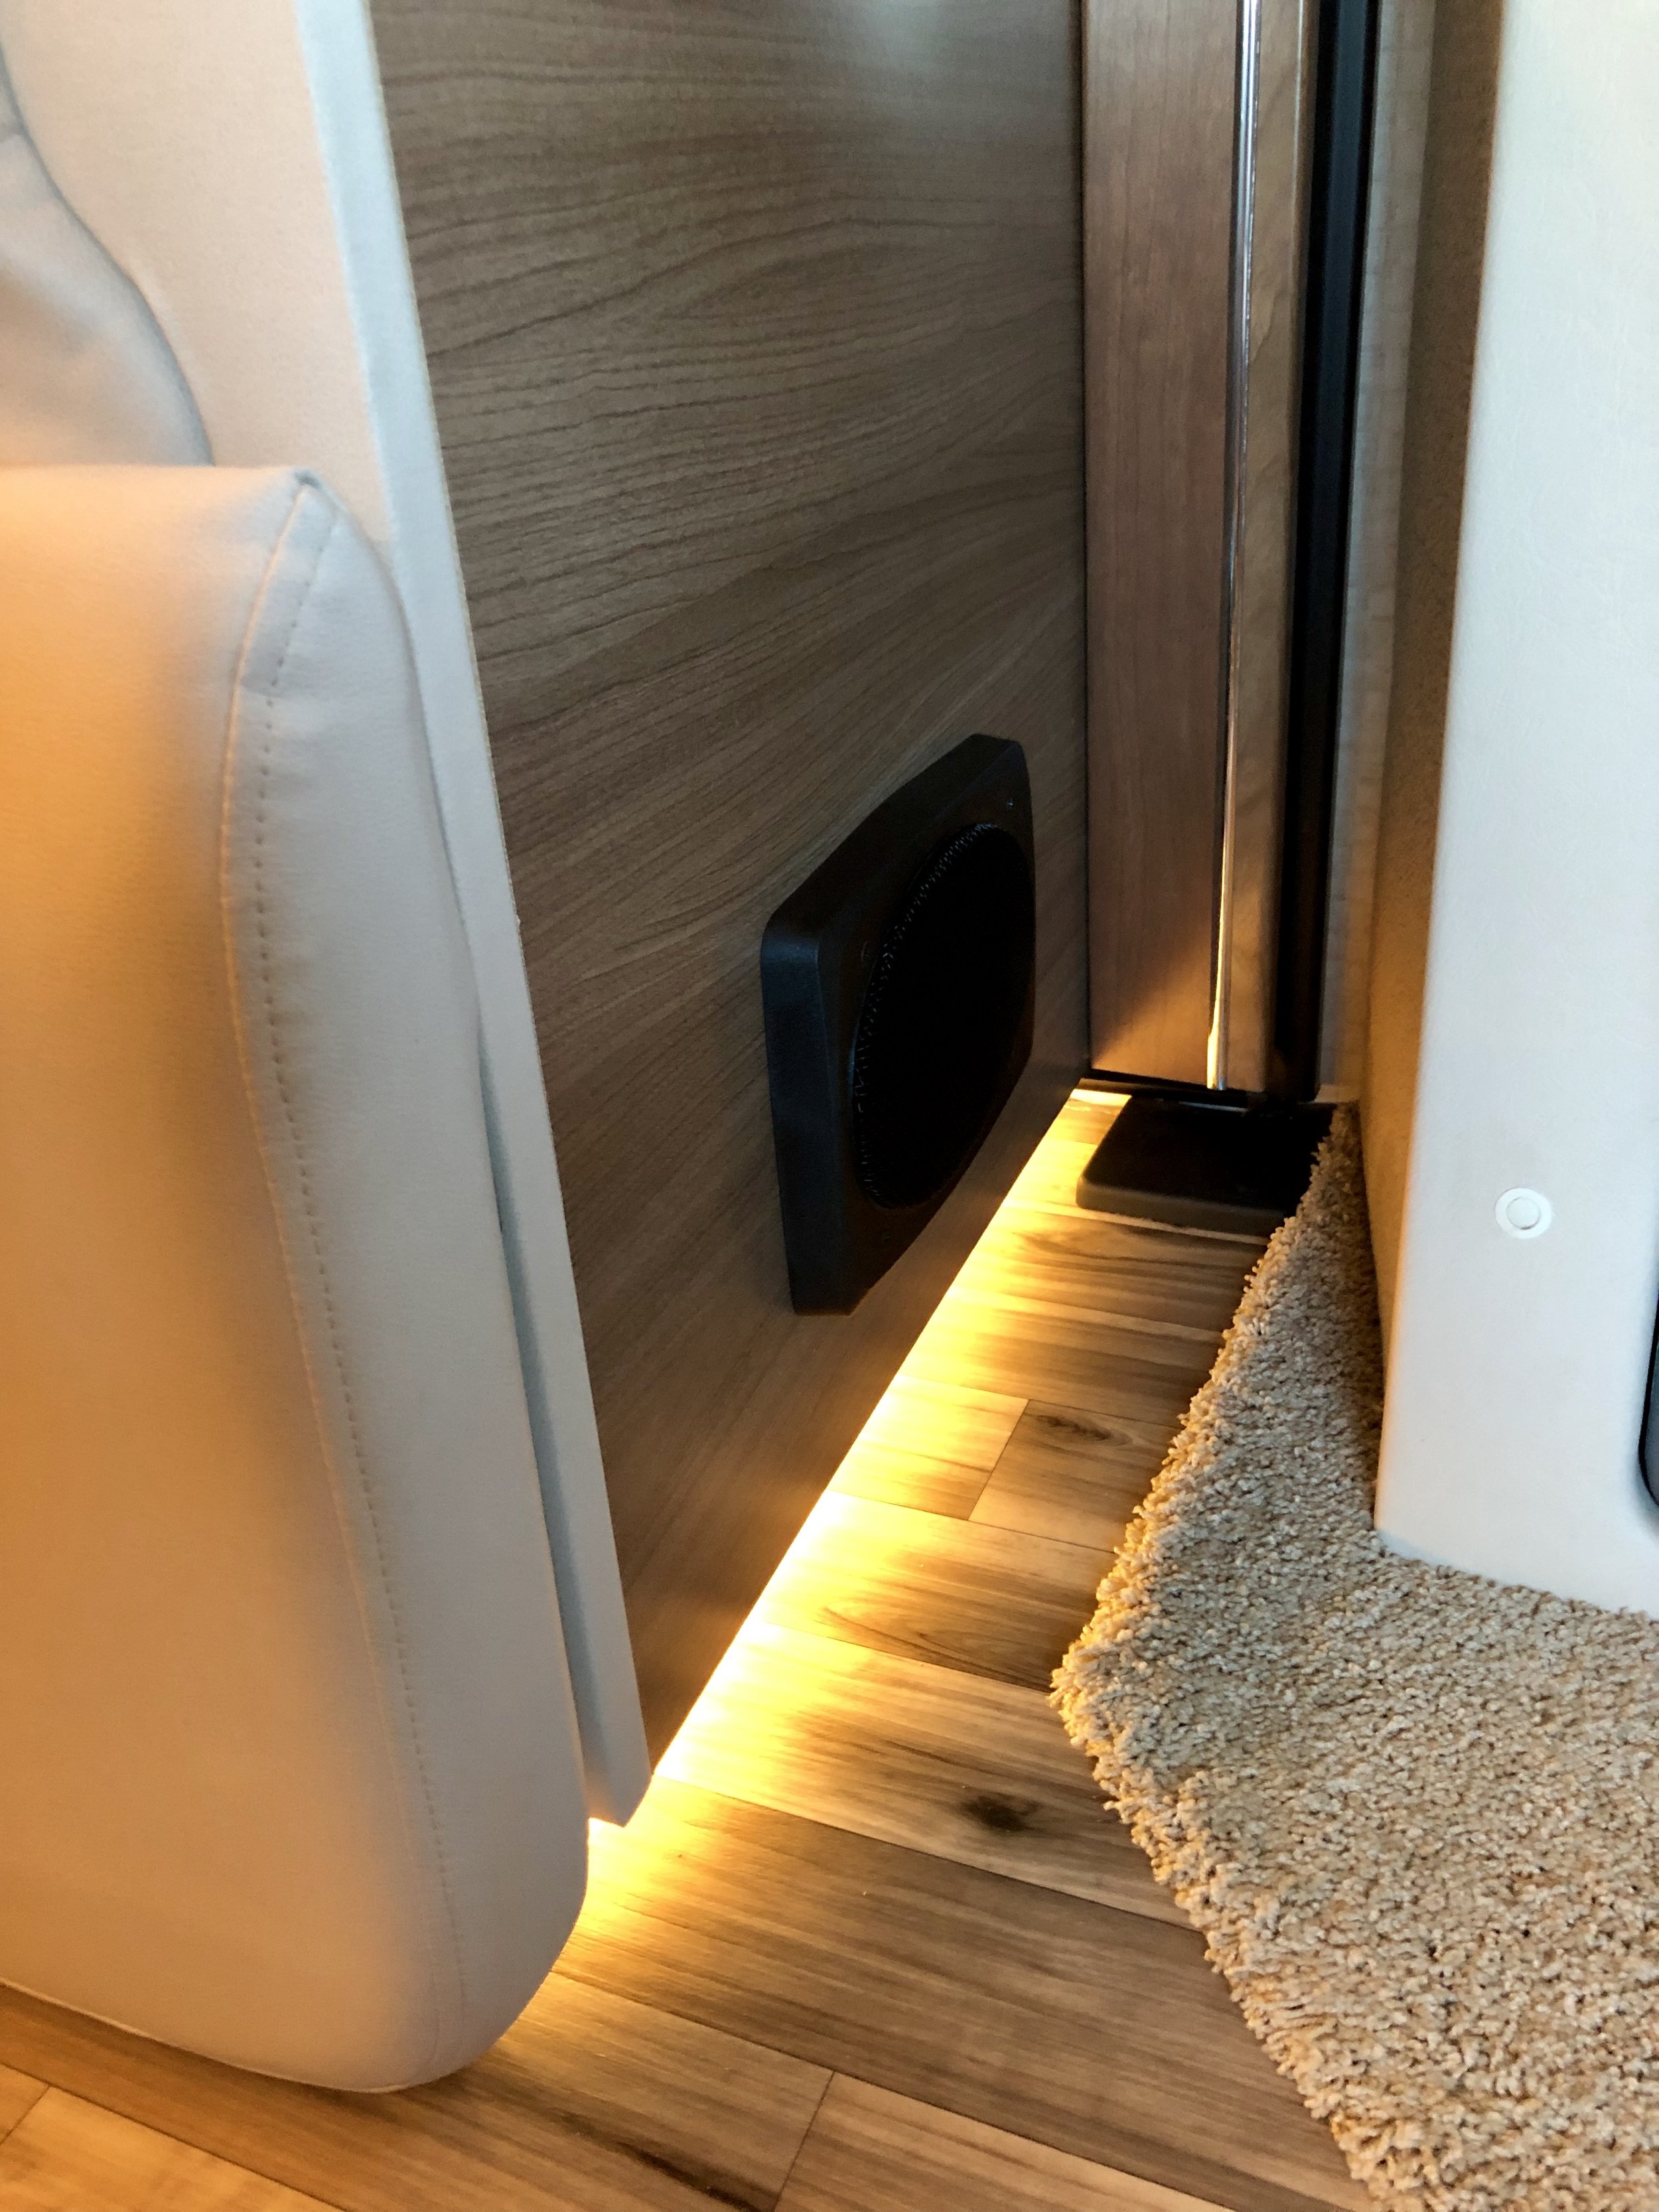
I removed all OEM-installed crossovers under the galley drawers and hard-wired the resulting wire leads. For the small Kenwood “A” speakers above the dinette, I used the provided Kenwood crossovers. Although the Kenwood 6x9 speakers have a built-in low-pass cross over option, it passes through too much mid-range and sounds more like a speaker than a subwoofer. To make the two 6x9 speakers sound like subwoofers, I installed an after-market low-pass crossover immediately before each 6x9 speaker (link below).
Cabover Speakers
I replaced the OEM speakers in the ceiling of the cabover with two Kenwood Excelon 6.5” speakers.
Outdoor Speakers
I replaced the OEM outdoor speakers with two Polk Audio MM1 5.25” speakers (which required 1” spacers).
Bedroom Speakers
I added two Kenwood Excelon 5.25” speakers above the bed (which required 1” spacers). This addition adds sound throughout the entire coach, front to back. It also enables high quality sound when watching a movie in bed (vs. just the TV speakers).
To connect the wires from the amp to the mounting location for these speakers, I ran the wires up high under the kitchen sink, then down under the galley drawers, under the refrigerator, through the water heater compartment, just below the false bottom under the J corner bed, past the water pump and then vertically up the wall shared with the bathroom. The speaker wires end up at the 120v outlet next to the USB outlets (above the bed).
Once the two holes are cut out of the false ceiling with a Dremel tool, the speaker wires can be fished the final few inches (see photos). Since the depth of the space just below the cabinet is less than 2”, the spacers (linked below) are required to mount the speakers slightly below the cabinet. This ends up being a benefit since there is a lip on the doors in the cabinets above.
One last mod: I re-wired the cabover speakers in the ceiling to be part of zone “A”, and I made the new bedroom speakers exclusively zone “B” so that I can turn them on/off. Most importantly, when watching a movie in bed, I can have just zone “B” turned on with all of the other speakers up front turned off.
Audio Settings
My audio settings are set as follows:
Bass = +6
Treble = +3
Balance = 0
Fader = 0
Loudness = OFF
Bluetooth Source Volume
To avoid distortion, it’s imperative that the volume on the Bluetooth device is set no higher than 3/4. For best results, set the output volume (on your phone, tablet, etc.) to a number between 2/3 and 3/4. Then, adjust the volume to taste on the Jensen stereo itself.
Kenwood 4-channel Amplifier: www.amazon.com/dp/B07NZWHVWS
Kenwood Component Speaker System (dinette): www.amazon.com/dp/B07P843K9Q
Kenwood 5.25” Speakers (bedroom): www.amazon.com/dp/B072BC8B6H
Kenwood 6.5” Speakers (cabover): www.amazon.com/dp/B072BS5FDB
6” x 9” Speaker Box (set of 2): www.amazon.com/dp/B00H7WF7ZW
6” x 9” Speaker Grills (set of 2): www.amazon.com/dp/B01I1XC5LE
Low Pass Subwoofer Crossover: www.amazon.com/dp/B009D9KHZ2
Polk Audio MM1 Outside Speakers: www.amazon.com/dp/B072Q9BCGH
1” Spacers for Bedroom and Outdoor Speakers: www.amazon.com/dp/B00CROVY02
Wire Noodler Kit: www.amazon.com/dp/B01LXCJSRP