Mod: LED Accent Lighting


DETAILS: LED Accent Lighting
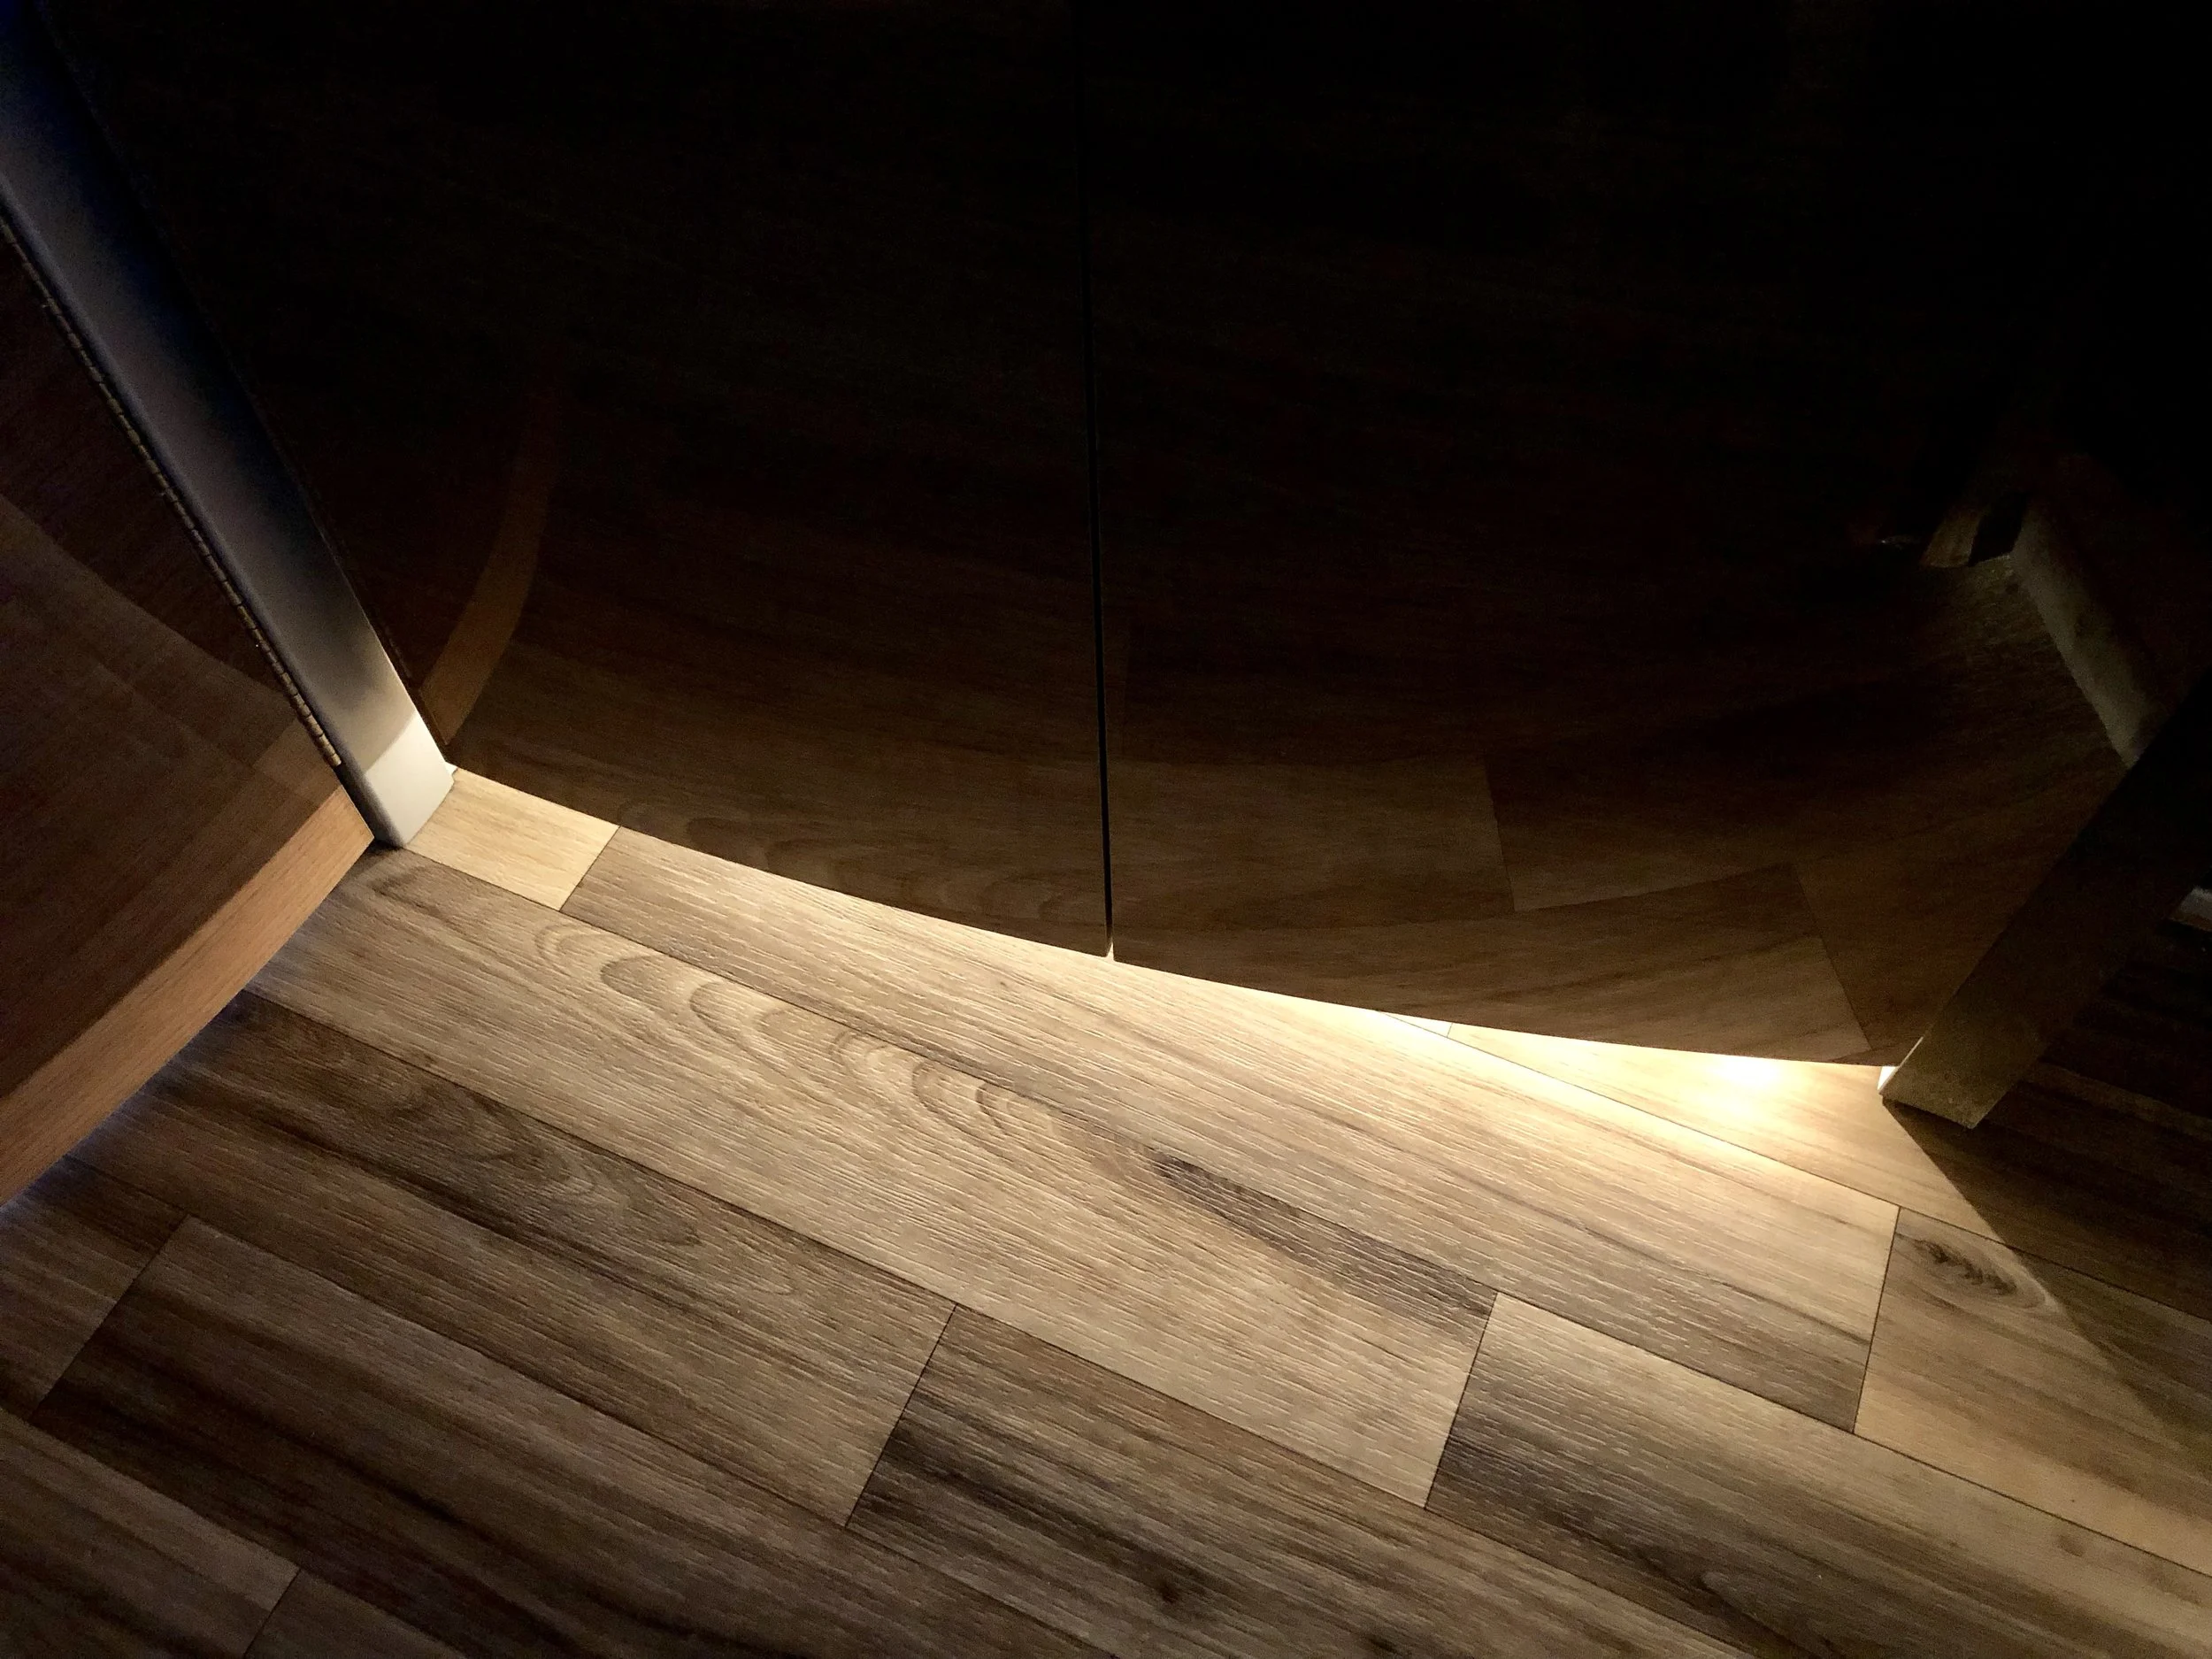
I added LED accent lighting in multiple places: underneath the bottom of the kitchen cabinets, underneath the slide and behind the slide frame at the top. The above pictures are cropped unless you click on them. The lighting renders a soft glow in all areas despite the pictures looking like harsh neon lights.
I have since added dimmers to all lights which you can read about here.
The LED strips are very inexpensive (less than $10 for 16 feet, linked below) and you can cut the strips to length which makes the custom sizing very easy. The hardest part is the 12v wiring, but even that is pretty straight forward.
Toe Kick Lighting Installation
For the lights underneath the kitchen cabinets, I tapped into the existing power (and switch) that runs the accent light above the cabover bed. I placed the light strip on the upper portion of the vertical wall under the lower cabinets (lights facing out) vs. on the underside of the cabinets (lights facing down). This placement creates a more even glow on the floor vs. a harsher hot spot. I drilled a small hole in the wood (picture #5 above) for the wires to come up underneath the kitchen sink area and then ran the wires up inside the front corner and to the switch.
Slide Out Lighting Installation
For the lights above and below the slide out, I had to install a new switch that matches the OEM black rocker switch from Winnebago (switch, base and bezel all linked below). The easiest place to tap into power, and mount the switch, is on the lower outside area of the wardrobe closet (pictures 8-12). I grabbed power from the positive (yellow) and ground (white) wires going to the propane leak detector which is mounted just a few inches away.
Since I did this mod while on the road, I didn’t have access to any sophisticated tools. As a result, I cut the rectangular hole for the switch with a drill and razor blade. It got the job done in less than 10 minutes. After drawing the dimensions of the hole with a Sharpie, I proceeded to drill a series of holes around the perimeter (the material is very, very thin). I then reinserted the drill bit into the holes and moved the drill up and down to “connect the dots” of the holes. I used a razor blade to clean up the rectangular hole and then installed the switch in place.
12v LED Strip Lights: www.amazon.com/dp/B00WQFP1LU
Black Rocker Switch: www.amazon.com/dp/B00NUL02XQ
Black Switch Base: www.amazon.com/dp/B00NUKILS0
Black Switch Bezel: www.amazon.com/dp/B00NUKKRDC
Black Double Rocker Switch: www.amazon.com/dp/B002UC144M
Wire Noodler Kit: www.amazon.com/dp/B01LXCJSRP